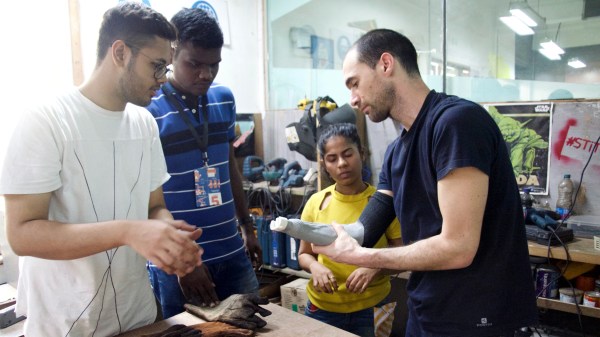
 Innovation in prosthetics is open to anyone looking to enhance the quality of life, but there’s an aspect of it that is sometimes under-served. The DIY Prosthetic Socket entry to the Hackaday Prize is all about the foundation of a useful prosthesis: a custom, form-fitting, and effective socket with a useful interface for attaching other hardware. While [atharvshringaregt] is also involved with a project for a high-tech robotic hand with meaningful feedback, socket fitting and design is important enough to be its own project.
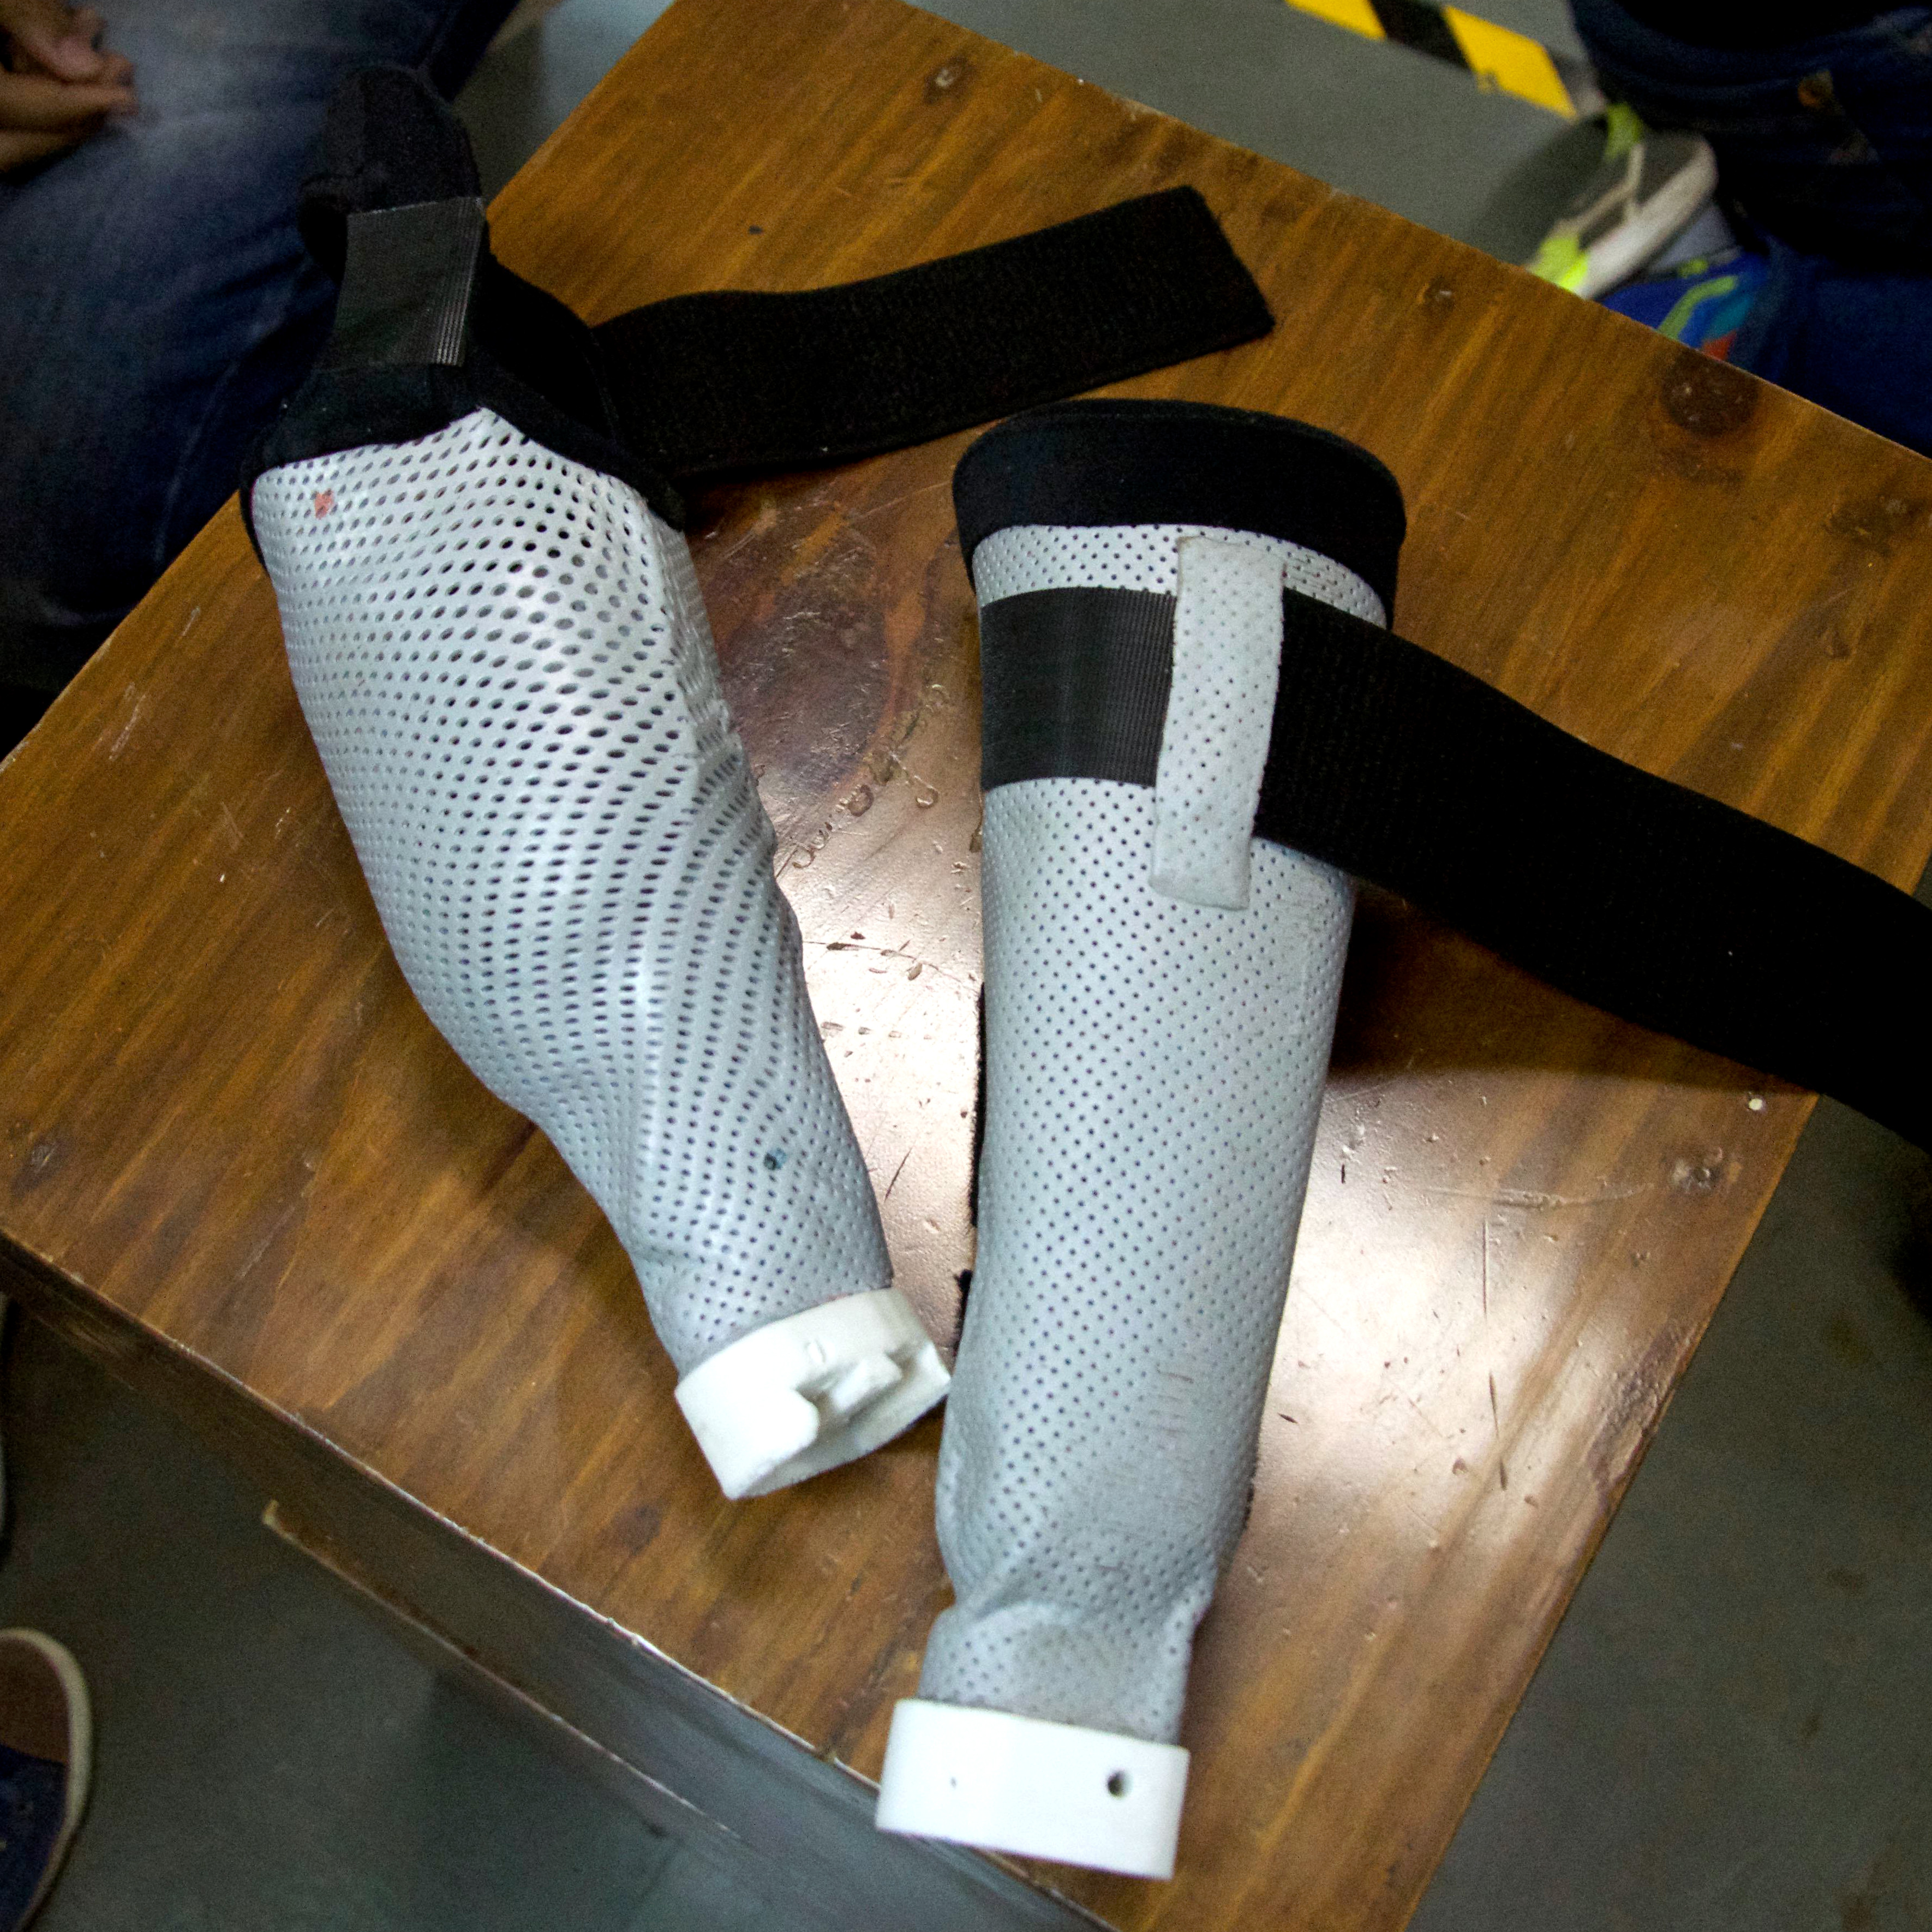
The goal is not just to explore creating these essential parts in a way that’s accessible and affordable to all, but to have them include a self-contained rechargeable power supply that can power attachments. Thoughtful strap placement and a power supply design that uses readily available components with a 3D printed battery housing makes this DIY prosthetic socket a useful piece of design that keeps in mind the importance of comfort and fitting when it comes to prosthetics; even the fanciest robot hand isn’t much good otherwise.


 While the core functionality of Octoprint is fantastic alone, its true power is unlocked through the plugin system and the community that’s sprung up around it. With plugins, Octoprint can do everything from control RGB light strips in your printer’s enclosure to sending status messages via Discord. One particularly popular plugin that has been making the rounds lately is