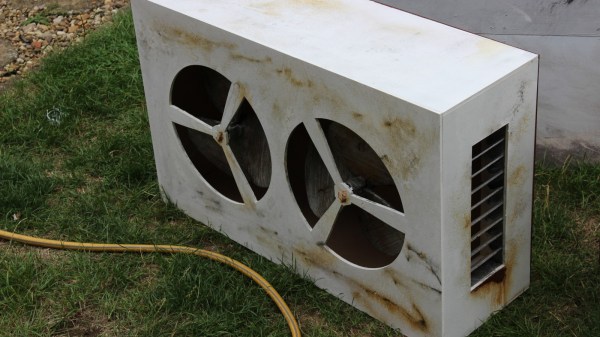
2D design and part fabrication doesn’t limit one to a 2D finished product, and that’s well-demonstrated in these Faux Aircon Units [Martin Raynsford] created to help flesh out the cyberpunk-themed Null Sector at the recent 2018 Electromagnetic Field hacker camp in the UK. Null Sector is composed primarily of shipping containers and creative lighting and props, and these fake air conditioner units helped add to the utilitarian ambiance while also having the pleasant side effect of covering up the occasional shipping container logo. Adding to the effect was that the fan blades can spin freely in stray air currents; that plus a convincing rust effect made them a success.
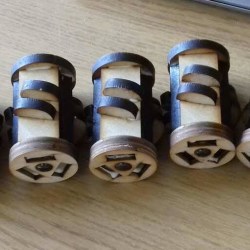
The units are made almost entirely from laser-cut MDF. The fan blades are cut from the waste pieces left over from the tri-pronged holes, and really showing off the “making 3D assemblies out of 2D materials” aspect are the fan hubs which are (with the exception of bearings) made from laser-cut pieces; a close-up of the hubs is shown here.
Capping off the project is some paint and the rusted appearance. How did [Martin] get such a convincing rust effect? By using real rust, as it turns out. Some cyanoacrylate glue force-cured with misted water for texture, followed by iron powder, then vinegar and hydrogen peroxide with a dash of salt provided the convincing effect. He was kind enough to document the fake rust process on his blog, complete with photos of each stage.
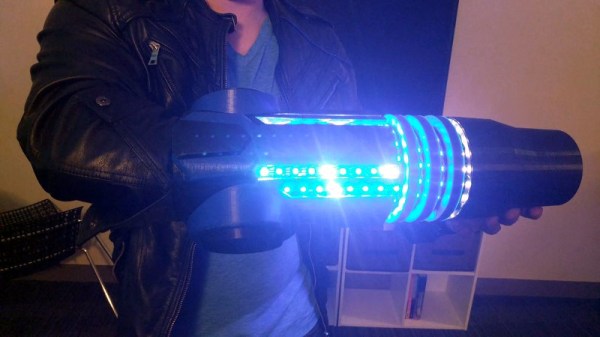
Null Sector showcased a range of creativity; it’s where this unusual headdress was spotted, a device that also showed off the benefits of careful assembly and design.
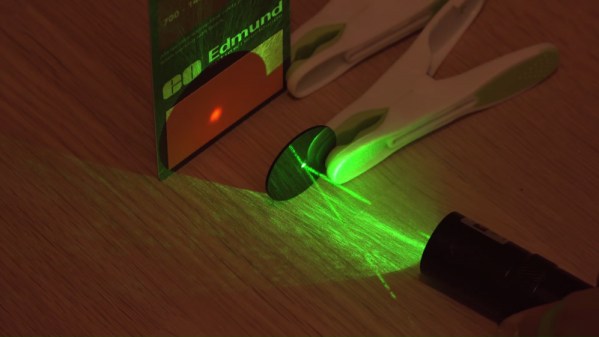
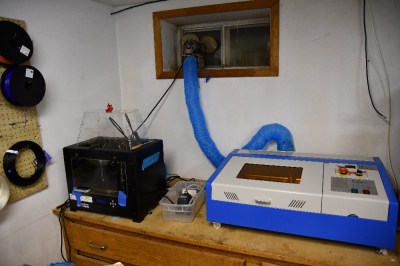 Over the last decade or so things have changed. China got involved, and suddenly there were cheap lasers on the market. Currently, there are several low-cost laser models available in various power levels. The most popular is the smallest – a 40-watt model, dubbed the K40. There are numerous manufacturers and there have been many versions over the years. They all look about the same though: A blue sheet metal box with the laser tube mounted along the back. The cutting compartment is on the left and the electronics are on the right. Earlier versions came with Moshidraw software and a parallel interface.
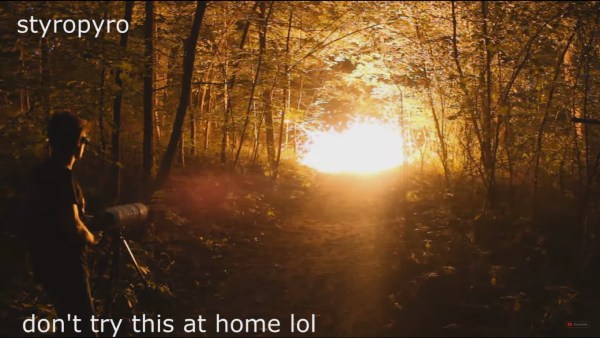
 [Styropyro’s]