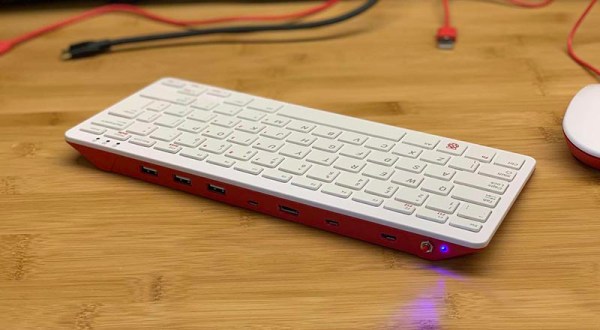
Our recent coverage of a Raspberry Pi Zero inside the official Pi keyboard prompted a reader to point us to another far more unusual keyboard with a Pi Zero inside it. It may be a couple of years old, but [Mario Lang]’s Braille keyboard and display with built-in Pi is still an interesting project and one that should give sighted readers who have not encountered a Braille display an introduction to the technology.
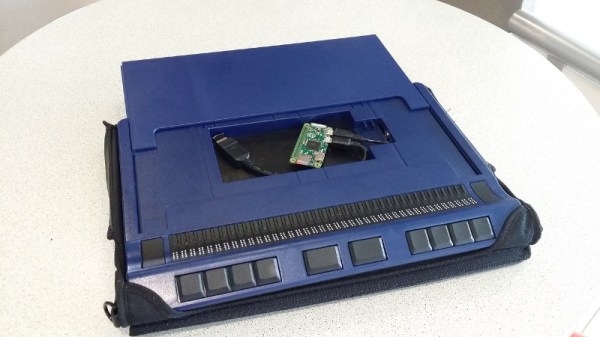
The model in question is a Handy Tech Active Star 40, which seems to have been designed to have a laptop sit on top of it. A laptop was not the limit of its capabilities, because it also has a compartment with a handy USB connector that was intended to take a smartphone and thus makes a perfect receptacle for a Pi Zero. Sadly the larger boards are a little tall with their connectors.
If this hack were preformed today he would undoubtedly have used a Pi Zero W, but since the Zero he had did not possess WiFi he relied upon a Bluetooth dongle for connectivity to the outside world. The BRLTTY screen reader provides a Braille interface to the Linux console, resulting in an all-in-one Braille computer in a very compact form factor.
This is one portable Braille computer, but it’s by no means the only one we’ve seen. Thanks [Simon Kainz] for the tip, and here’s a nod to the Pi keyboard that inspired him.