It used to be that if you wanted to make a nice scale model of an airplane, you’d be building the frame out of thin balsa ribs and covering it all up with tissue paper. Which incidentally was more or less how they built most real airplanes prior to the 1930s, so it wasn’t completely unreasonable to do the same on a smaller scale. But once injection molded plastics caught on, wood and tissue model kits largely went the way of the dodo.
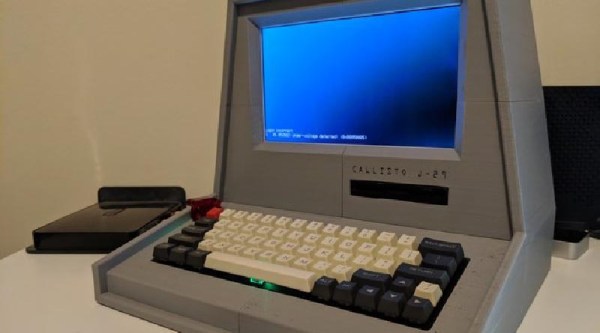
[Marius Taciuc] wanted to share that classic model building experience with his son, but rather than trying to hunt down balsa kits in 2019, he decided to recreate the concept with modern techniques. His model of the Supermarine Spitfire, the vanguard of the British RAF during the Second World War, recreates the look of those early model kits but substitutes 3D printed or laser cut components for the fragile balsa strips of yore. The materials might be high-tech, but as evidenced by the video after the break, building the thing is still just as time consuming as ever.
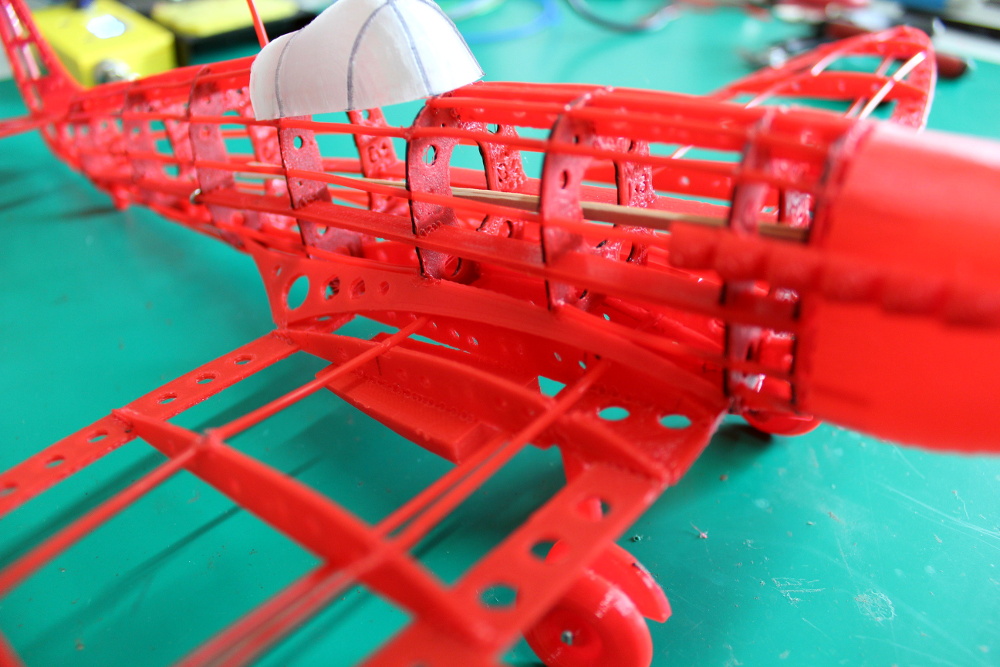
 Using a laser cutter to produce the parts would be the fastest method to get your own kit put together (you could even cut the parts out of balsa in that case), but you’ll still need a 3D printer for some components such as the propeller and cowling. On the other hand, if you 3D print all the parts like [Marius] did, you can use a soldering iron to quickly and securely “weld” everything together. For anyone who might be wondering, despite the size of the final plane, all of the individual components have been sized so everything is printable on a fairly standard 200 x 200 mm print bed.
While there’s no question the finished product looks beautiful, some might be wondering if it’s really worth the considerable effort and time necessary to produce and assemble the dizzying number of components required. To that end, [Marius] says it’s more of a learning experience than anything. Sure he could have bought a simplified plastic Spitfire model and assembled it with his son in an afternoon, but would they have really learned anything about its real-world counterpart? By assembling the plane piece by piece, it gives them a chance to really examine the nuances of this legendary aircraft.
We don’t often see much from the modeling world here on Hackaday, but not for lack of interest. We’ve always been in awe of the lengths modelers will go to get that perfect scale look, from the incredible technology packed into tiny fighter planes to large scale reproductions of iconic engines. If you’ve got some awesome model making tips that you think the Hackaday readership might be interested in, don’t be shy.
Continue reading “Recreating Classic Model Kits With Modern Tech” →
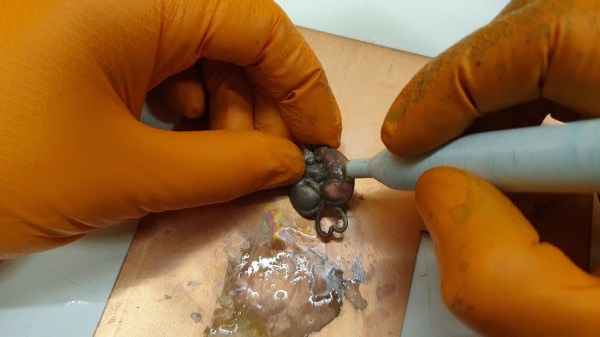

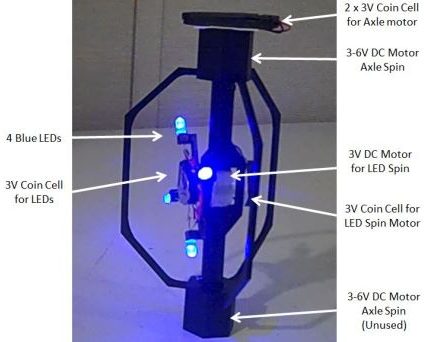 [Bithead] wanted to make a prop replica of an Electrostaff from Star Wars, but wasn’t sure how best to create the “crackling arcs of energy” effect at the business ends. After a few false starts, he decided to leverage the persistence of vision effect by
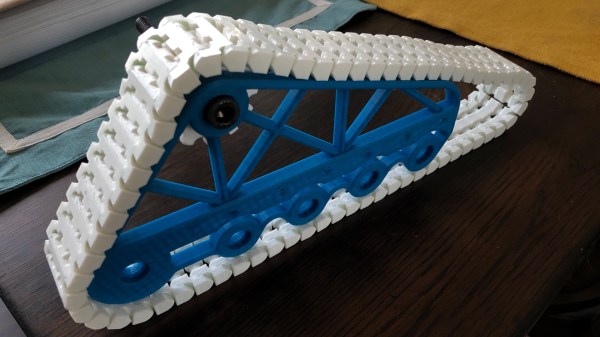
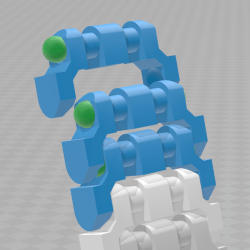 Each segment has hollows made to snugly fit 6 mm BBs (shown as green in the image here) which serve both as fasteners and bearing surfaces. Assembly requires a bit of force to snap everything together, but [AlwynxJones] judges the result worth not having to bother with bolts, wires, or other makeshift fasteners.
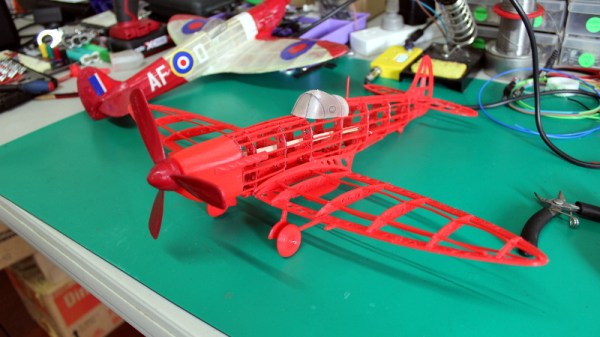
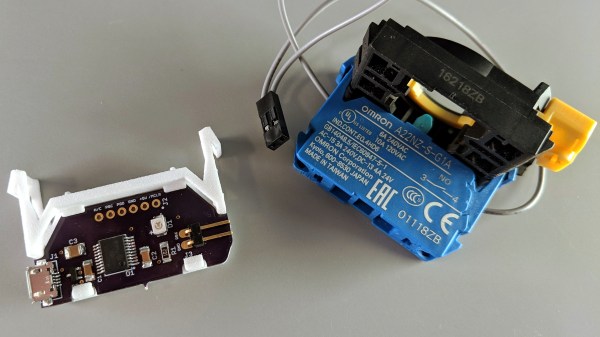
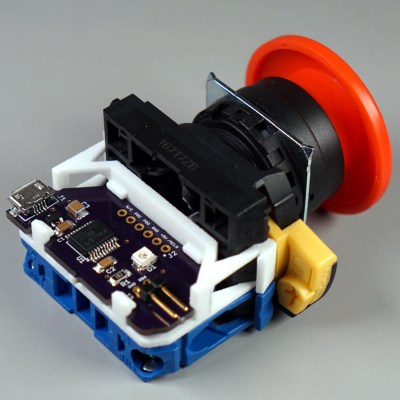 It turns out that industrial push buttons have standardized components which can be assembled in an almost LEGO-like manner, with components mixed and matched to provide different switch actions, light indicators, and things of that nature. [Glen] decided to leverage this feature to make his custom PCB (the same design used in his