Now is an amazing time to be involved in the hobby electronics scene. There are robots to build, cheap microcontrollers which are easy to program, and computers themselves are able to be found for very low prices. That wasn’t the case in the 1960s though, where anyone interested in “electronics” might have had a few books about ham radios or some basic circuits. If you were lucky though, you may have found a book from 1968 that outlined the construction of a digital computer made out of paperclips that [Mike Gardi] is hoping to replicate.
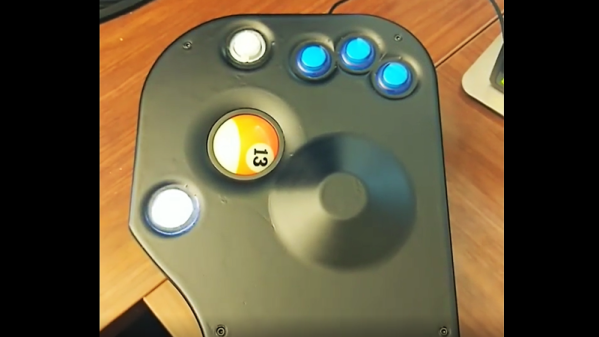
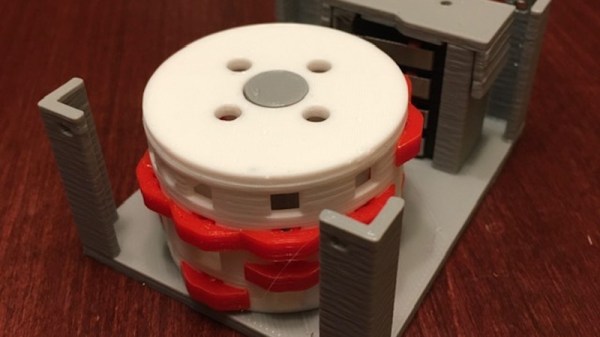
One of the first components that the book outlines is building an encoder, which can convert a decimal number to binary. In the original book the switches were made from paper clips and common household parts, but [Mike] is using a more reliable switch and some 3D prints to build his. The key of the build is the encoder wheel and pegs, which act as the “converter” between decimal and binary and actually performs the switching.
It’s a fairly straightforward build, but by working through the rest of the book the next steps are to build two binary encoders and hook all of them up to an ALU which will give him most of a working computer from long lost 1960s lore. He’s been featured recently for building other computers from this era as well.
Thanks to [DancesWithRobots] for the tip!