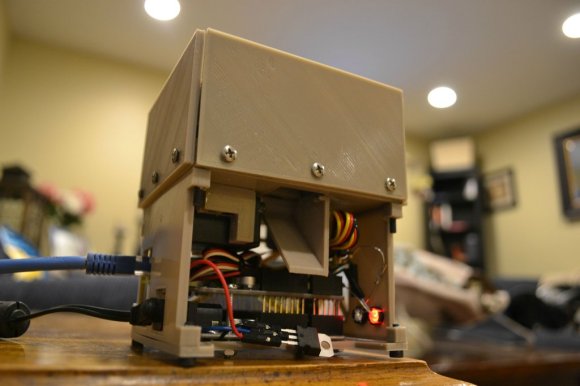
POV Digital Clock Is The Literal Sands Of Time

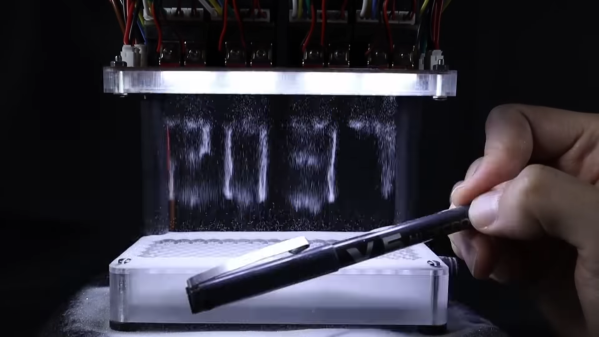
Sand has been used to keep track of the passage of time since antiquity. But using sand to make a persistence of vision digital clock (English translation) is something altogether new. And it’s pretty cool, too.

The idea behind the timepiece that [Álvaro Gómez Giménez] built is pretty simple drop a tiny slug of fine sand from a hopper and light it up at just the right point in its fall. Do that rapidly enough and you can build up an image of the digits you want to display. Simple in concept, but the devil is in the details. Sand isn’t the easiest material to control, so most of the work went into designing hoppers with solenoid-controlled gates to dispense well-formed slugs of sand at just the right moment. Each digit of the clock has four of these gates in parallel, and controlling when the 16 gates open and close and when the LEDs are turned on is the work of a PIC18F4550 microcontroller.

The build has a lot of intricate parts, some 3D printed and some machined, but all very carefully crafted. We particularly like the big block of clear plastic that was milled into a mount for the main PCB; the translucent finish on the milled surfaces makes a fantastic diffuser for the 96 white LEDs. The clock actually works a lot better than we expected, with the digits easy to make out against a dark background. Check it out in the video below.

Between the noise of 16 solenoids and the sand getting everywhere, we’d imagine it wouldn’t be a lot of fun to have on a desk or nightstand, but the execution is top-notch, and an interesting and unusual concept we haven’t seen before. Sure, we’ve seen sandwriting, but that’s totally different. Continue reading “POV Digital Clock Is The Literal Sands Of Time”

One-Motor Domino Laying Machine Works For Tips

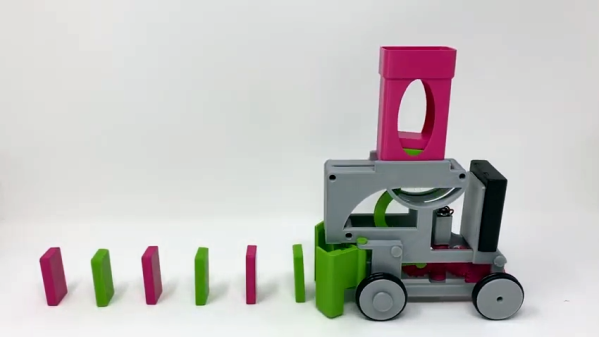
[Gzumwalt] did things a little differently with his Pink and Green Domino Machine II, a 3D printed device that drops dominoes in a neat row ready for toppling over. Unlike his earlier version, this one holds dominoes laying flat in a hopper that’s accessible from the top for easy loading. The previous unit had an elegance to it, but it was more limited with respect to how many dominoes it could hold at a time. This new version solves that problem while also showing off a slick mechanism that gracefully slides a domino from the bottom of the hopper, then gently positions it standing on end before opening a rear door to let it out as it moves to the next position. One of the interesting things [gzumwalt] discovered when designing this device was that there isn’t really a “standard” size of domino. That’s one of the reasons the demo uses 3D printed blocks.

Pulling this off with a single small DC motor is a remarkable achievement; the mechanism even stably ejects a positioned domino from the rear without halting its forward motion in the process. An animation of how the mechanism works is embedded below, be sure to check it out!

Continue reading “One-Motor Domino Laying Machine Works For Tips”

Paint The Rainbow With This Skittle-Dropping Pixel Art Robot

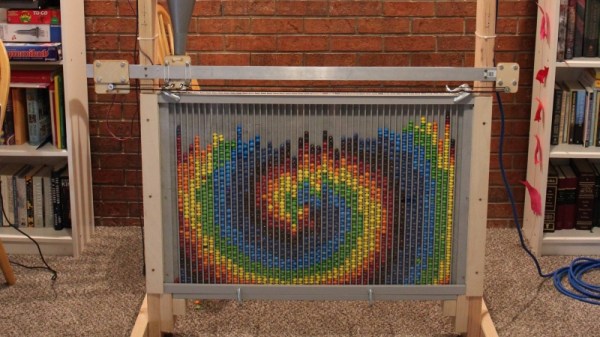
We hackers just can’t get enough of sorters for confections like Skittles and M&Ms, the latter clearly being the superior candy in terms of both sorting and snackability. Sorting isn’t just about taking a hopper of every color and making neat monochromatic piles, though. [JohnO3] noticed that all those colorful candies would make dandy pixel art, so he built a bot to build up images a Skittle at a time.

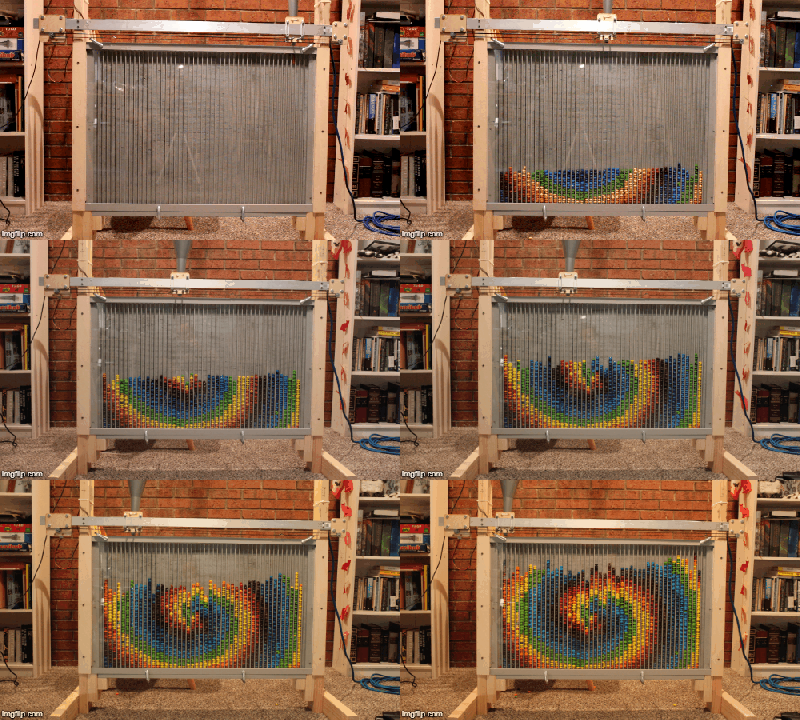
Dubbed the “Pixel8R” after the eight colors in a regulation bag of Skittles, the machine is a largish affair with hoppers for each color up top and a “canvas” below with Skittle-sized channels and a clear acrylic cover. The hoppers each have a rotating disc with a hole to meter a single Skittle at a time into a funnel which is connected to a tube that moves along the top of the canvas one column at a time. [JohnO3] has developed a software toolchain to go from image files to Skittles using GIMP and a Python script, and the image builds up a row at a time until 2,760 Skittle-pixels have been placed.

The downside: sorting the Skittles into the hoppers. [JohnO3] does this manually now, but we’d love to see a sorter like this one sitting up above the hoppers. Or, he could switch to M&Ms and order single color bags. But where’s the fun in that?

[via r/arduino]

No Filament Needed In This Direct Extrusion 3D-Printer

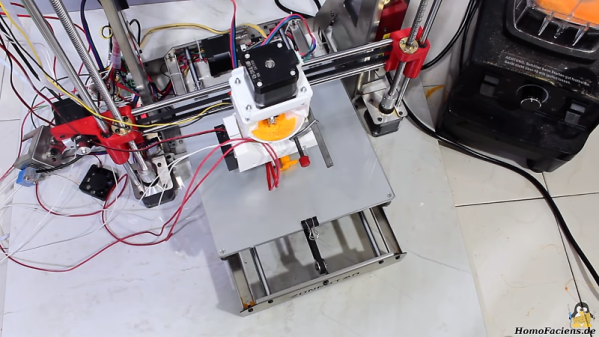
Ground plastic bits go in one end, finished 3D-prints come out the other. That’s the idea behind [HomoFaciens]’ latest build: a direct-extrusion 3D-printer. And like all of his builds, it’s made from scraps and bits most of us would throw out.

Pellet agitator is part of the extruder. All of this travels along with the print head.

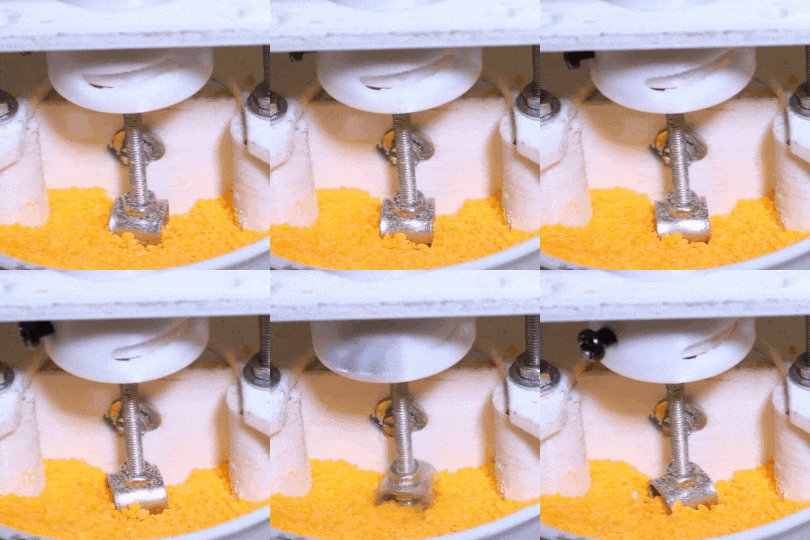
Take the extrusion screw. Like the homemade rotary encoders [HomoFaciens] is known for, it appears at first glance that there’s no way it could work. An early version was just copper wire wrapped around a threaded rod inside a Teflon tube; turned by a stepper motor, the screw did a decent job of forcing finely ground PLA from a hopper into the hot end, itself just a simple aluminum block with holes drilled into it. That worked, albeit only with basically powdered PLA. Later versions of the extruder used a plain galvanized woodscrew soldered to the end of a threaded rod, which worked with chunkier plastic bits. Paddles stir up the granules in the hopper for an even flow into the extruder, and the video below shows impressive results. We also picked up a few tips, like using engine gasket paper and exhaust sealant to insulate a hot end. And the slip coupling, intended to retract the extruder screw slightly to reduce stringing, seems brilliant but needs more work to make it practical.

It’s far from perfect, but given the inputs it’s pretty amazing, and there’s something attractive about reusing all those failed prints. It reminds us a bit of the trash printer we featured recently, which is another way to stick it to the filament man. Continue reading “No Filament Needed In This Direct Extrusion 3D-Printer”

Gorgeous NickelBot Serves Up Lasered Wooden Nickels

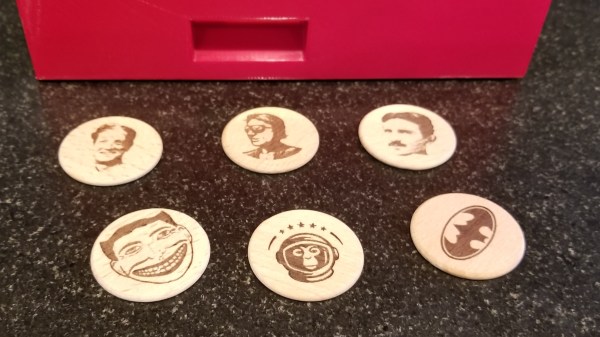
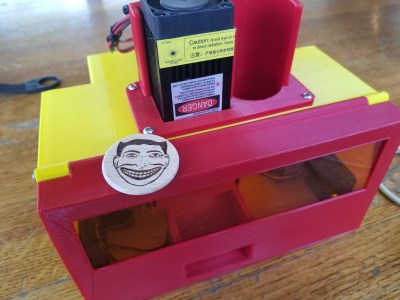
[bdring] just recently completed his absolutely fantastic NickelBot, which is a beautifully made unit that engraves small wooden discs with a laser like some kind of on demand vending machine, and it’s wonderful. NickelBot is small, but a lot is going on inside. For example, there’s a custom-designed combination engraving platform and hopper that takes care of loading a wooden nickel from a stack, holding it firm while it gets engraved by a laser, then ejects it out a slot once it’s done.

NickelBot is portable and can crank out an engraved nickel within a couple of minutes, nicely fulfilling its role of being able to dish out the small items on demand at events while looking great at the same time. NickelBot’s guts are built around a PSoC5 development board, and LaserGRBL is used on the software side to generate G-code for the engraving itself. Watch it work in the video embedded below.

Continue reading “Gorgeous NickelBot Serves Up Lasered Wooden Nickels”

Fish Feeder

3D Printed Fish Feeder

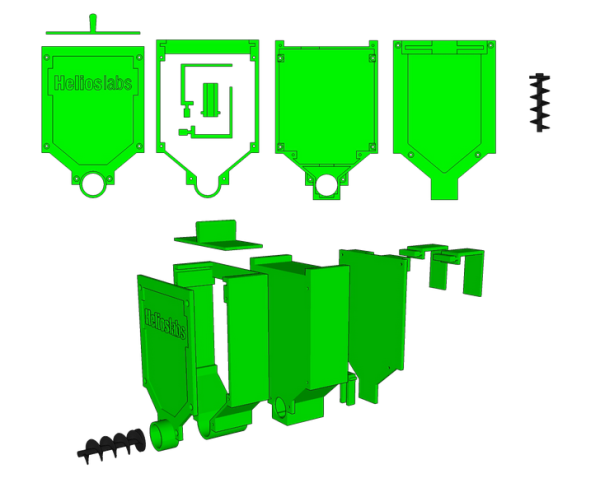
[Helios Labs] recently published version two of their 3D printed fish feeder. The system is designed to feed their fish twice a day. The design consists of nine separate STL files and can be mounted to a planter hanging above a fish tank in an aquaponics system. It probably wouldn’t take much to modify the design to work with a regular fish tank, though.

The system is very simple. The unit is primarily a box, or hopper, that holds the fish food. Towards the bottom is a 3D printed auger. The auger is super glued to the gear of a servo. The 9g servo is small and comes with internal limiters that only allow it to rotate about 180 degrees. The servo must be opened up and the limiters must be removed in order to enable a full 360 degree rotation. The servo is controlled by an Arduino, which can be mounted directly to the 3D printed case. The auger is designed in such a way as to prevent the fish food from accidentally entering the electronics compartment.

You might think that this project would use a real-time clock chip, or possibly interface with a computer to keep the time. Instead, the code simply feeds the fish one time as soon as it’s plugged in. Then it uses the “delay” function in order to wait a set period of time before feeding the fish a second time. In the example code this is set to 28,800,000 milliseconds, or eight hours. After feeding the fish a second time, the delay function is called again in order to wait until the original starting time.

3D Printed Dispenser Flings Treats At Your Pets

internet-connected-dog-treat-dispenser

If you’re stuck in the virtual world like [Kevin Flynn] you can still make sure your pup is rewarded for good behavior. Just follow [Jwarp’s] design for this Internet connect dog treat dispenser.

We were actually a bit surprised by the demo video. It shows that the compact unit is more than capable of reliably dispensing one treat at a time. It started as a wood prototype which allowed him to tweak how the servo motors worked before laying out all of the 3D parts in Sketch Up. Two motors cooperate to get the job done. The first allows one treat to exit that shoot coming from the center of the hopper. The other stirs the remaining inventory to both position the next treat and loosen any jams.

Continue reading “3D Printed Dispenser Flings Treats At Your Pets”