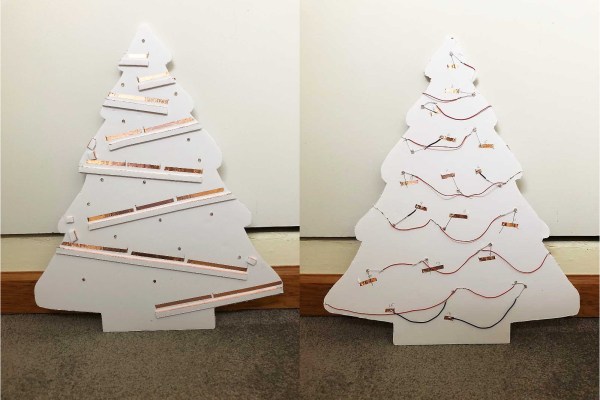
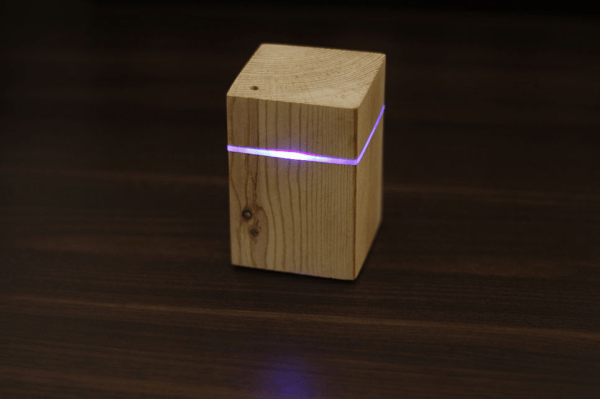
Pianos are great instruments, but being rather heavy and requiring a fair amount of space they are certainly not known for their convenience. Sure, there are more portable varieties available, but they rarely resemble the elegance and classiness of a grand piano. One option is of course to build a downscaled version yourself — and since you’re already customizing the instrument, why stop at the way you play it. [2fishy] didn’t stop there either and ended up with a wooden, space friendly, light controlled piano housing a Raspberry Pi.
Inspired by the concept of a laser harp, [2fishy] followed the same principle but chose a simpler and safer alternative by using LEDs instead. For each playable tone, a LED is mounted opposite a light dependent resistor, creating an array of switches that is then connected to the Raspberry Pi’s GPIO pins. A Python script is handling the rest, polling the GPIO states and — with a little help from pygame, triggering MIDI playback whenever the light stream is interrupted.
There are enough LED/LDR pairs to play one full octave and have some additional control inputs for menu and octave shifting. This concept will naturally require some adjustments to your playing — you can get an idea of it in the demonstration video after the break. And if this design is still not the right size for you, or if you prefer to play in total darkness, this similar MIDI instrument using ultrasonic distance sensors could be of interest.
Continue reading “Pulling Music Out Of Thin Air With A Raspberry Pi”

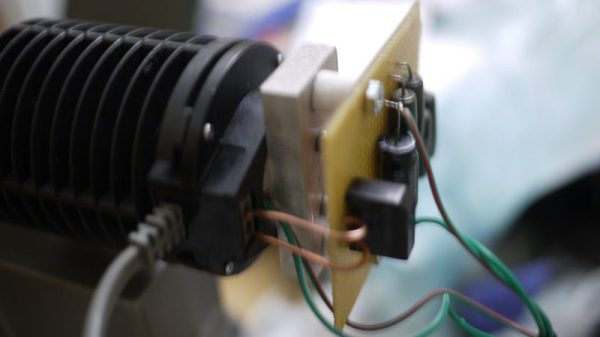
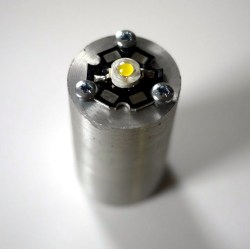 [Amen] obtained a microscope whose light source was an incandescent bulb, but the light from it seemed awfully dim even at its brightest setting. Rather than hunt down a replacement, he decided to