We’ve all heard the “Do not stare into laser with remaining eye” joke. It’s funny because it’s true, as pretty much any laser a hobbyist can easily come by can cause permanent damage to eyes unless the proper precautions are taken. But a fiber laser with 200kW peak power is in another hazard class entirely.
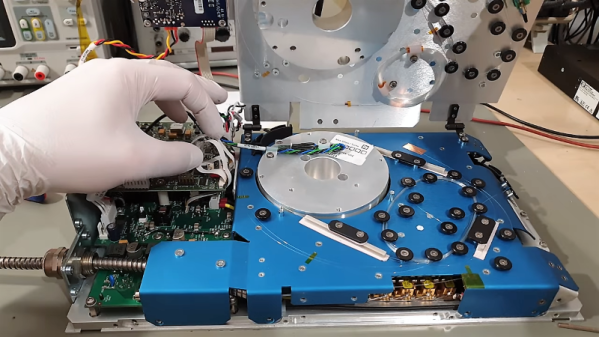
Granted, outsized power ratings like this are a bit misleading, based as they are on femtosecond-long pulses. And to be sure, the fiber laser that [Marco Reps] tears down in the video below was as harmless as a kitten when he got it, thanks to its output optics having been unceremoniously shorn from the amplifier by its former owner. Reattaching the output and splicing the fiber would be necessary to get the laser lasing again, but [Marco] had other priorities in mind. He wanted to understand the operation of a fiber laser, but the tangle of fibers on two separate levels inside the chassis was somewhat inscrutable. The coils of fiber wrapped around the aluminum drums inside the chassis turned out to be the amplifier; fed by a semiconductor seed laser, the light pulse travels through the ytterbium-doped fiber of the two-stage amplifier, which is the active gain medium where stimulated emission, and therefore amplification, occurs.
With a little reverse engineering and the help of an online manual, he was able to understand the laser’s operation. A laser company helped him splice the optics back together – seeing the splicing rig in action is worth the price of admission alone – and the unit seems to be in more or less working order at this point. Normally the most powerful laser we see around here are the CO2 lasers in those cheap Chinese laser cutters, so we’re looking forward to learning more about fiber lasers.