If you’ve ever felt the need to render DOOM using nothing but web browser checkboxes, [Andrew Healey] has you covered with his recent port of the first-person shooter. Naturally, this gets our tick of approval.
Yes, you read that right. You can now play DOOM in a 160 x 100 grid of HTML-generated checkboxes, much like this: ☑. The secret sauce for this project is partly derived from the fascinating Checkboxland project by fellow hacker Brian Braun, who uses HTML checkboxes to generate a variety of artistic demos.
[Andrew Healey] also made use of Cornelius Diekmann’s port of DOOM using WebAssembly, which we recently covered here on Hackaday. A smattering of code ties both projects together, and the end result is DOOM at 160×100 resolution, rendered entirely with HTML checkboxes.
The port can be played here using Chrome or Edge (other browsers may have issues if they do not support the zoom property in CSS). The source code is also available over on GitHub.
While the resolution and color palette aren’t what we have come to expect from DOOM, it’s likely that the graphics could be further improved by tinkering with the dithering and threshold settings. Higher resolutions may also be possible with further optimization.
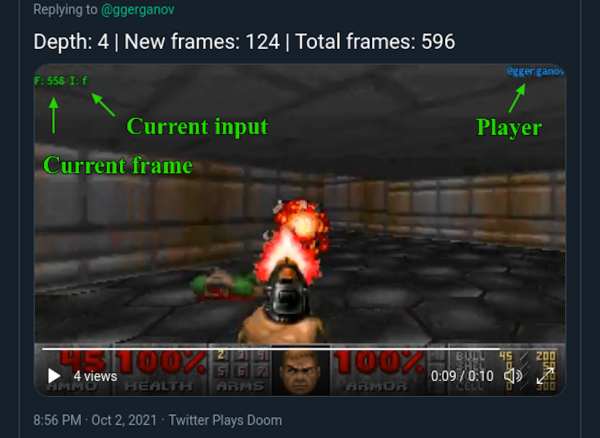
We would be hard pressed to pick our favorite port of DOOM, as the list is becoming quite long. However for something completely different, check out our story on how DOOM was brought to Twitter.
Continue reading “Play DOOM Using Web Browser Checkboxes (Finally)”