For those who like to muck around in boats, there’s enough to worry about without wondering if you’re going to run aground. And there’s really no way to know that other than to work from charts that show you exactly what lies beneath. But what does one do for places where no such charts exist? Easy — make your own homebrew water depth logger.
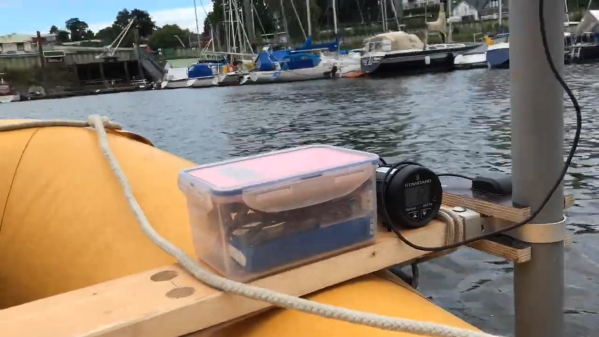
Thankfully, gone are the days when an able seaman would manually deploy the sounding line and call out the depth to the bottom. [Neumi]’s sounding rig uses an off-the-shelf sonar depth sounder, one with NMEA, or National Marine Electronic Association, output. Combined with a GPS module and an Arduino with an SD card, the rig can keep track not only of how much water is below it, but exactly where the measurement point is. The whole thing is rigged up to an inflatable dinghy which lets it slowly ply the confines of a small marina, working in and out of the nooks and crannies. A bit of Python and matplotlib stitches that data together into a bathymetric map of the harbor, with pretty fine detail. The chart also takes the tides into account, as the water level varies quite a bit over the four hours it takes to gather all the data. See it in action in the video after the hop.
There’s something cool about revealing the mysteries of the deep, even if they’re not that deep. Want to go a little deeper? We’ve seen that before too.
Continue reading “Homebrew Sounder Maps The Depths In Depth”