Despite the oldest solid state audio circuitry now qualifying for a pension and a bus pass where this is being written, the thermionic tube retains a foothold in the world of audio — cherished by enthusiasts for the warm sound it is claimed to impart. For the electronics enthusiast a tube audio amplifier makes for an interesting and unusual project, and for that reason it’s one tackled by many. [Keri Szafir] is no exception, and she’s produced a stereo tube amp with a few modern features.
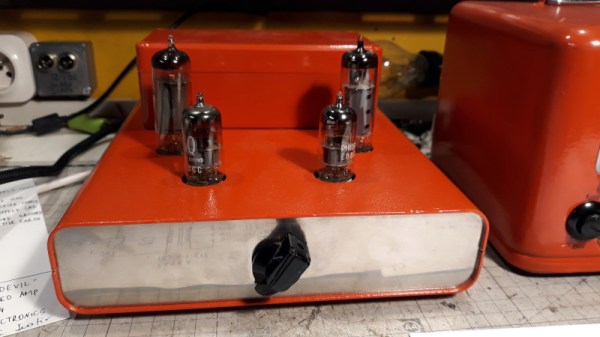
Electrically it’s a relatively conventional single-ended design using a double triode and a power pentode for each channel. It follows a so-called ultra-linear circuit, with a tap on the output transformer feeding one of the pentode’s grids. The modern features come via a switched Bluetooth input and a motorized volume control, something that would have never been found on such an amp when they were the cutting edge.
We have to admit a soft spot for this type of amp, and we particularly like this one for its very period construction style using cable lacing to keep the wiring under control. We more often see these amps using the cheaper integrated triode-pentode tubes which makes them especially easy to build, so the separate preamp is a little different. We’re not sure we’d have spent extra on the fancy E88cc tubes though. Continue reading “A Single Ended Vacuum Tube Amplifier With A Modern Twist”