Analog Clock Goes Digital, Or Vice Versa

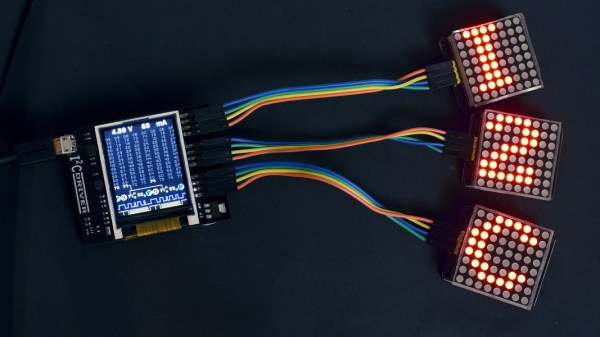
Designing a good clock takes a lot of considerations. It’s not just hands, faces, and numbers anymore; there are also word clocks, electronic clocks, marble clocks, or water clocks, and just about anything else imaginable can be used to tell time. Of course, electronic clocks are great for their versatility, and this one shows off an analog-looking clock that is (of course) digital, leveraging all of the perks of analog with all of the upsides of digital electronics.

One of the key design considerations that [Sasa] had while building this piece was that it needed to be silent. LEDs certainly fit that description, so the decision was made to go with an WS2812b ring. It runs using a STM ST32F103 Nucleo board (and a cheaper version of it in later versions of this clock) which shows a red LED for the current hour, yellow LEDs for the traditional analog clock divisions, a green LED for the current minute, and glows the rest of the LEDs up to the current minute with a rainbow pattern.

This is a really clean, simple build with good design at its core, and would be easy to replicate if you’re looking for an eye-catching clock to build. As a bonus, all of the schematics and code are available on the project site, so everything you need is there. If you’re looking for more inspiration, there are some clocks that are even more unique, like this marble clock that is a work of art — but is anything but silent.

Smooth Moves From Cheap Motors

Building an electric motor isn’t hard or technically challenging, but these motors have very little in the way of control. A stepper motor is usually employed in applications that need precision, but adding this feature to a motor adds complexity and therefore cost. There is a small $3 stepper motor available, but the downside to this motor is that it’s not exactly the Cadillac of motors, nor was it intended to be. With some coaxing, though, [T-Kuhn] was able to get a lot out of this small, cheap motor.

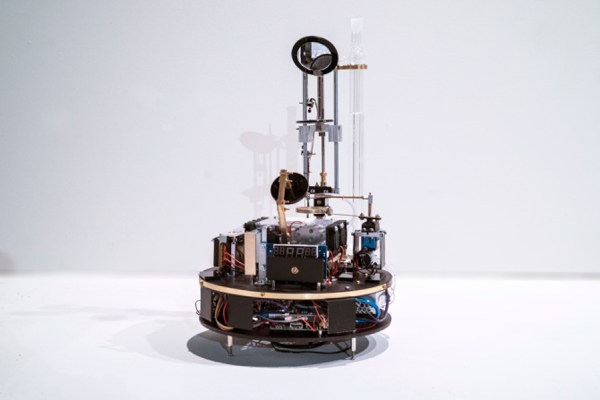
To test out the motors, [T-Kuhn] built a small robotic arm. He began by programming his own pulse generating algorithm that mimics a sine wave in order to smooth out the movement of the motor. An Arduino isn’t fast enough to do these computations, though, so he upgraded to using the ESP32. He also was able to implement the inverse kinematics on his own. The result of all this work for a specific platform and motor type is a robotic arm that has a very low cost but delivers performance of much more expensive hardware.

The robot arm was built by [T-Kuhn] too, and all of the details on that build, as well as all the schematics and code, are available on the project site if you need a low-cost robot arm or a good stepper motor controller for a low cost. There are many other ways of getting the most out of other types of low-cost motors as well.

Continue reading “Smooth Moves From Cheap Motors”

Memory Mapping Methods In The Super Nintendo

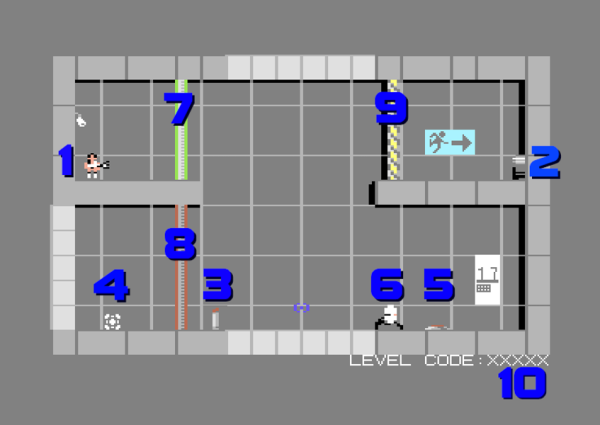
Not only is the Super Nintendo an all-around great platform, both during its prime in the 90s and now during the nostalgia craze, but its relative simplicity compared to modern systems makes it a lot more accessible from a computer science point-of-view. That means that we can get some in-depth discussion on how the Super Nintendo actually does what it does, and understand most of it, like this video from [Retro Game Mechanics Explained] which goes into an incredible amount of detail on the mechanics of the SNES’s memory system.

Two of the interesting memory systems the SNES uses are called DMA and HDMA. DMA stands for direct memory access, and is a way for the Super Nintendo to access memory independently of the CPU. The advantages to this are that it’s incredibly fast compared to more typical methods of accessing memory. This isn’t particulalry unique, but the HDMA system is. It allows the SNES to do all kinds of interesting tricks with its video output display like changing color gradients and doing all kinds of masking effects.

If you’re interested in the inner workings of classic consoles like the SNES, this video gets way down in the weeds in the system itself. It’s interesting to see how programmers were able to squeeze more capability from these limited (by modern standards) systems by manipulating memory like the DMA and HDMA systems do.  [Retro Game Mechanics Explained] is a great resource for exploring in-depth aspects of lots of classic games, like how speedrunners can execute arbitrary code in old Mario games.

Continue reading “Memory Mapping Methods In The Super Nintendo”

Arduino Gets A Command Line Interface

When using an Arduino, at least once you’ve made it past blinking LEDs, you might start making use of the serial connection to send and receive information from the microcontroller. Communicating with the board while it’s interacting with its environment is a crucial way to get information in real-time. Usually, that’s as far as it goes, but [Pieter] wanted to take it a step farther than that with his command line interpreter (CLI) for the Arduino.

The CLI allows the user to run Unix-like commands directly on the Arduino. This means control of GPIO and the rest of the features of the microcontroller via command line. The CLI communicates between the microcontroller and the ANSI/VT100 terminal emulator of your choosing on your computer, enabling a wealth of new methods of interacting with an Arduino.

The CLI requires a hex file to be loaded onto the Arduino that you can find at a separate site, also maintained by [Pieter]. Once that’s running, you can get all of that sweet command line goodness out of your Arduino. [Pieter] also has some examples on his project page, as well as the complete how-to to get this all set up and running. There’s a lot going on in the command line world, in Linux as well as windows. So there’s plenty to explore there as well.

Add Nest Functionality To Your Thermostat For $5

The Nest Thermostat revolutionized the way that people control the climate in their homes. It has features more features than even the best programmable thermostats. But, all of the premium features also come at a premium price. On the other hand, for only $5, a little coding, and the realization that thermostats are glorified switches, you can easily have your own thermostat that can do everything a Nest can do.

[Mat’s] solution uses a Sonoff WiFi switch that he ties directly into the thermostat’s control wiring. That’s really the easy part, since most thermostats have a ground or common wire, a signal wire, and a power wire. The real interesting work for this build is in setting up the WiFi interface and doing the backend programming. [Mat’s] thermostat is controlled by software written in Node-RED. It can even interface with Alexa. Thanks to the open source software, it’s easy to add any features you might want.

[Mat] goes through a lot of detail on the project site on how his implementation works, as far as interfacing all of the devices and the timing and some of the coding problems he solved. If you’ve been thinking about a Nest but are turned off by the price, this is a great way to get something similar — provided you’re willing to put in a little extra work. This might also be the perfect point to fall down the home automation rabbit hole, so be careful!

Continue reading “Add Nest Functionality To Your Thermostat For $5”

Weather Station Is A Tutorial In Low Power Design

Building your own weather station is a fun project in itself, but building it to be self-sufficient and off-grid adds another set of challenges to the mix. You’ll need a battery and a solar panel to power the station, which means adding at least a regulator and charge controller to your build. If the panel and battery are small, you’ll also need to make some power-saving tweaks to the code as well. (Google Translate from Italian) The tricks that [Danilo Larizza] uses in his build are useful for more than just weather stations though, they’ll be perfect for anyone trying to optimize their off-grid projects for battery and solar panel size.

When it comes to power conservation, the low-hanging fruit is plucked first. [Danilo] set the measurement intervals to as long as possible and put the microcontroller (a NodeMCU) to sleep in between. Removing the power from the sensors when the microcontroller was asleep was another easy step, but the device was still crashing overnight. Then he turned to a hardware solution and added a more efficient battery charger to the setup, which saved even more power. This is all the more impressive because the station communicates via WiFi which is notoriously difficult to run in low-power applications.

Besides the low power optimizations, the weather station itself is interesting for its relative simplicity. It could be built with things most of us have knocking around. Best of all, [Danilo] published the source code on his site, so most of the hard work has been done already. If you’re thinking he seems a little familiar, it’s because we’ve featured some of his projects before, like his cheap WiFi extender antenna and his homemade hybrid tube amplifier.

Cut Through The Noise, See Tiny Signals

An oscilloscope is a handy tool for measuring signals of all kinds, but it’s especially useful if you want to measure something with a periodic component. Modern oscilloscopes have all kinds of features built-in that allow you sample a wide range of signals in the hundreds of megahertz, and make finding and measuring your signal pretty easy, provided you know which buttons to push. There are some advanced oscilloscope methods that go beyond the built-in features of even the best oscilloscopes, and [AM] has a tutorial on one of them.

The method used here is called phase-senstitive detection, and allows tiny signals to be found within noise, even if the magnitude of the noise is hundreds of times greater than the signal itself. Normally this wouldn’t be possible, but by shifting the signal out of the DC range and giving it some frequency content, and then using a second channel on the oscilloscope to measure the frequency content of the source and triggering the oscilloscope on the second channel, the phase of the measured signal can be sifted out of the noise and shown clearly on the screen.

In [AM]’s example, he is measuring the intensity of a laser using a photodiode with a crude amplifier, but even with the amplifier it’s hard to see the signal in the noise. By adding a PWM-like signal to the power source of the laser and then syncing it up with the incoming signal from the photodiode, he can tease out the information he needs. It’s eally a fascinating concept, and if you fancy yourself a whiz with an oscilloscope this is really a tool you should have in your back pocket.  If you’re new to this equipment, we do have a primer on some oscilloscope basics, too.

Continue reading “Cut Through The Noise, See Tiny Signals”