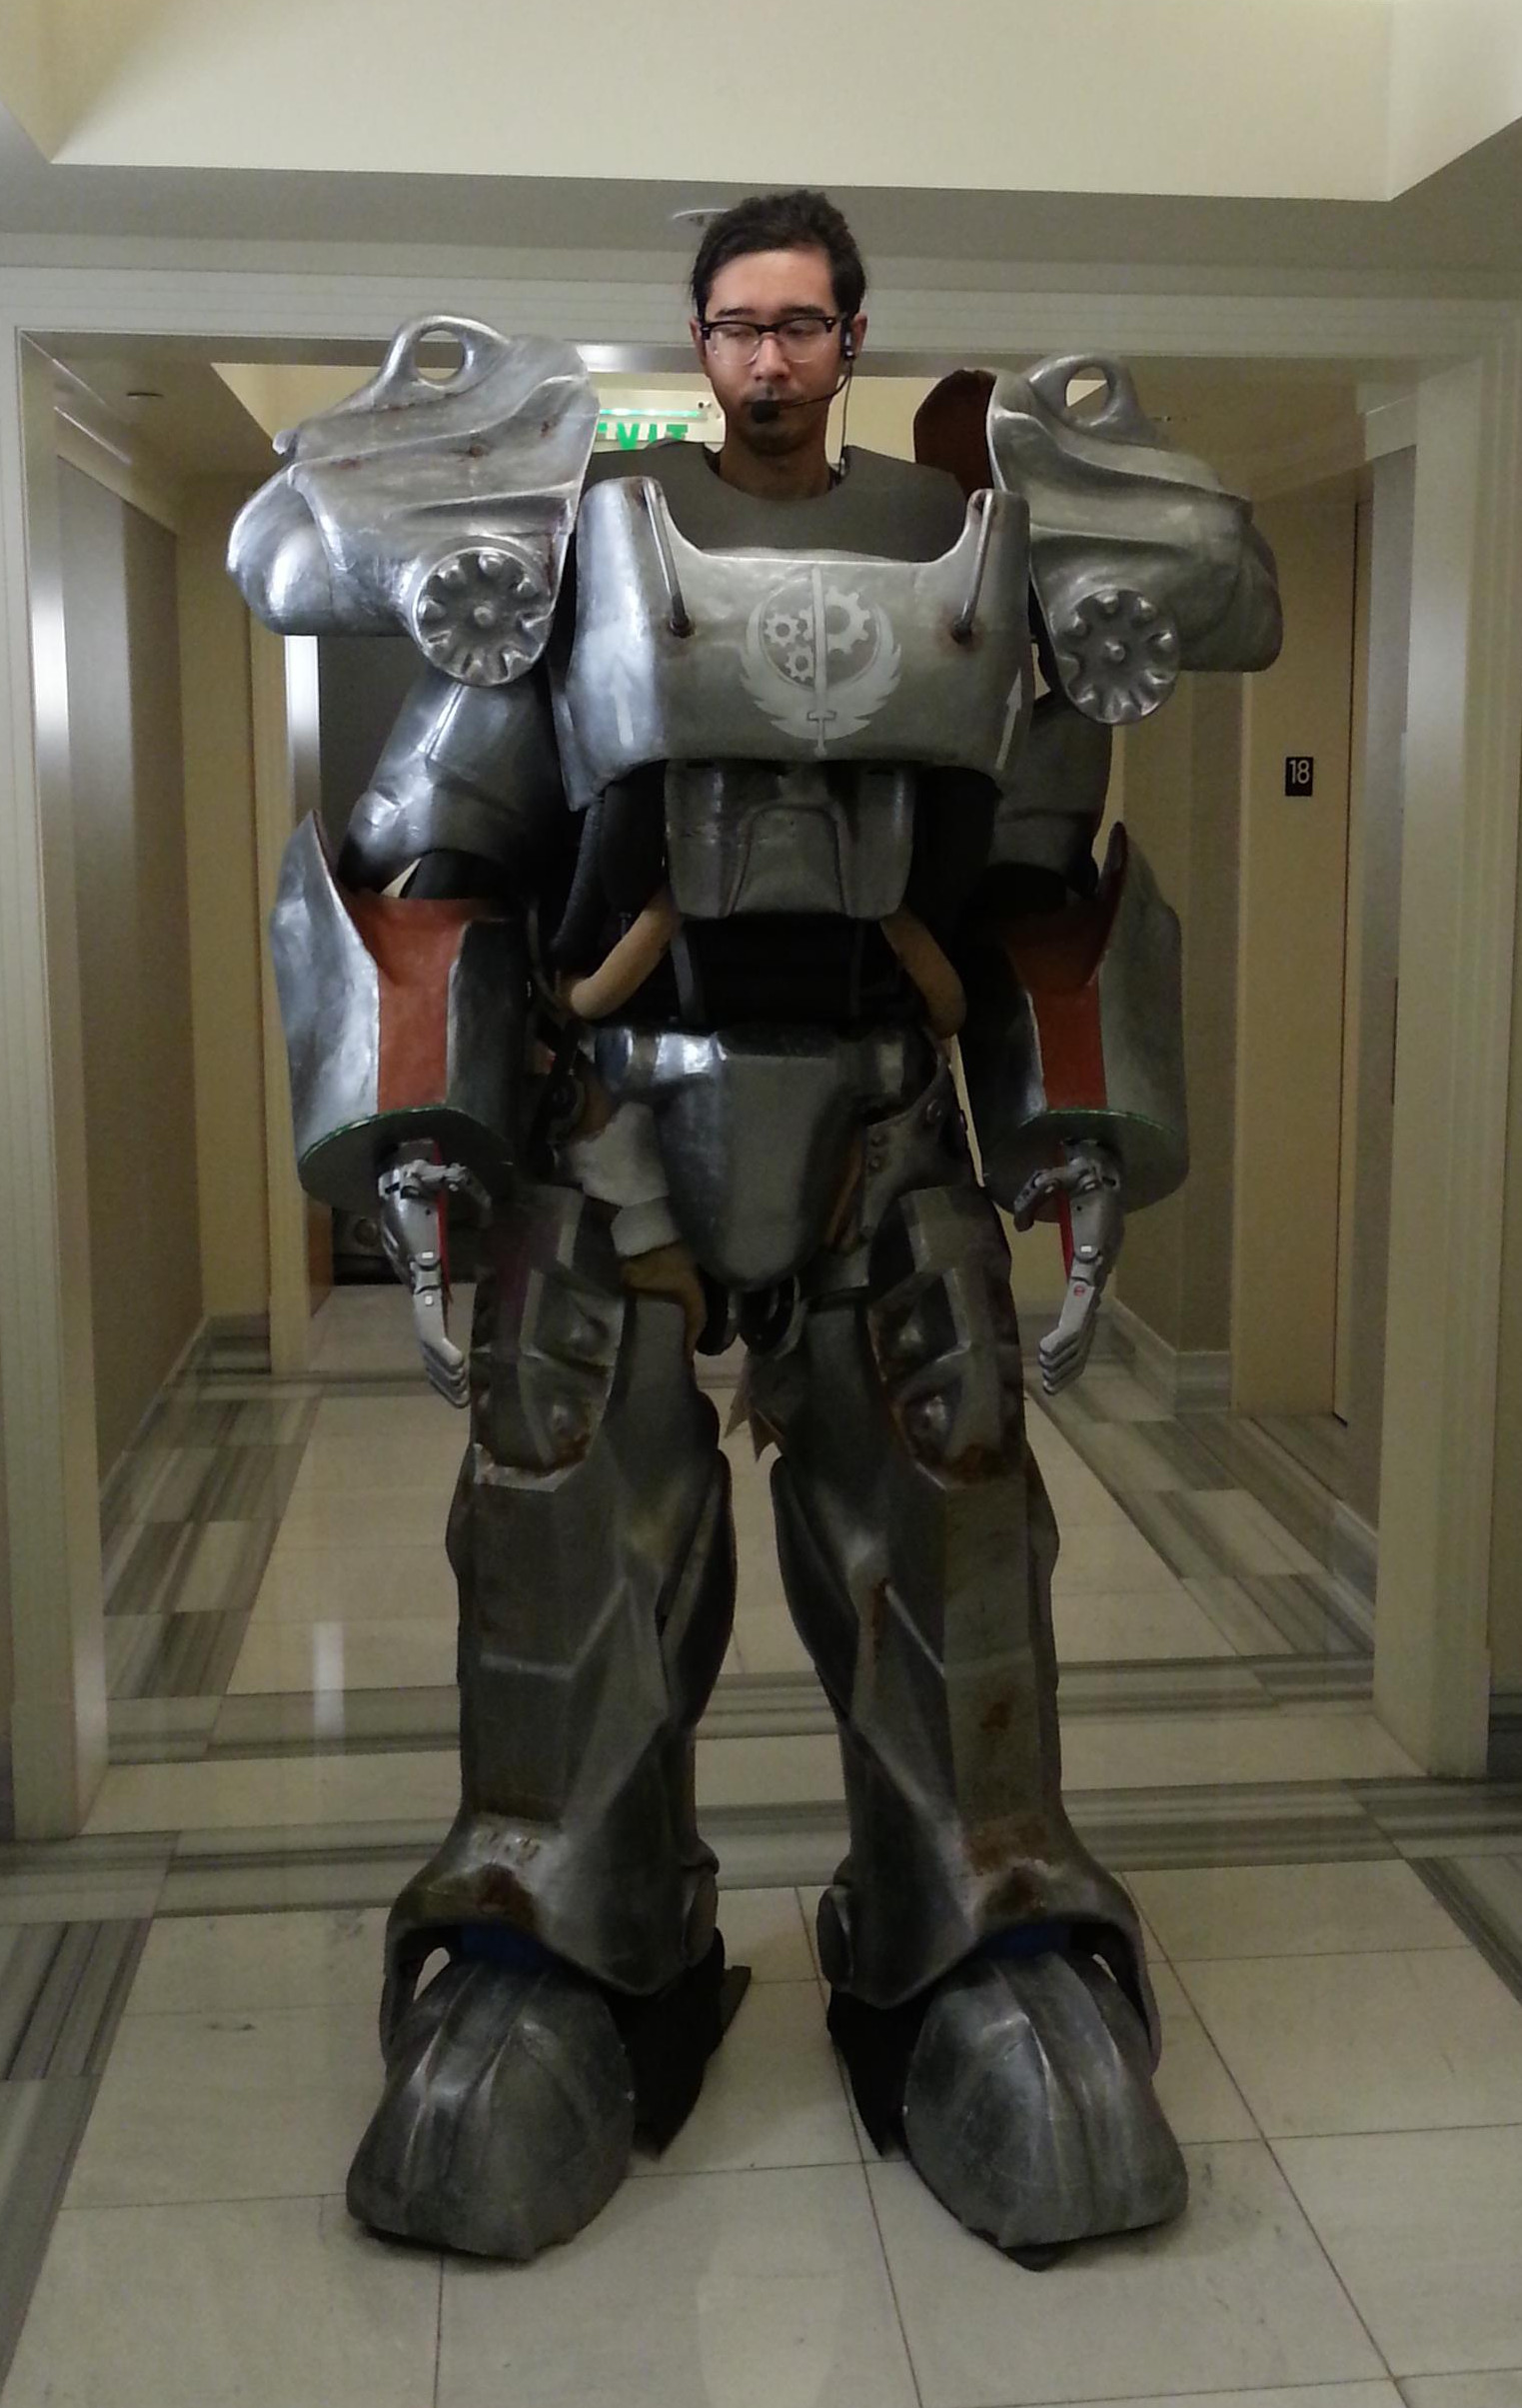
 [hirocreations] printed an entire suit of enormous Fallout power armor on his Monoprice Maker Select 3D printer, which took some 140 days and over 120 pounds of IC3D PLA filament. Happily, [hirocreations] was able to arrange a sponsorship with IC3D for the build – who would be crazy enough to use so much filament over so long for an entire 7+ foot tall suit, right? Over those 140 days, the belts on the printer needed to be replaced twice but it otherwise chugged right along.
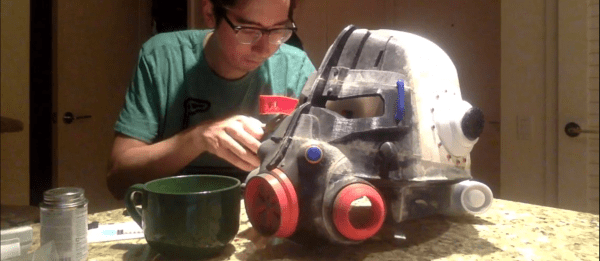
Most of the parts were printed at 0.46 mm layer height. Individual parts were welded (melted) together using what is essentially a soldering iron with a flat tip; many parts were too thin for any kind of joints or fixtures to be practical. Parts were smoothed with drywall spackle, lots of filler primer, and painted. Some of the parts – like the chest armor – are mounted on a frame made from PVC tubing. [hirocreations] may have gone through 120 pounds of filament, but the end result doesn’t weigh that much; the suit itself weighs in at 85-90 lbs, the rest of it went to support material, skirts, and print failures.
It was known from the start that weight could become a serious issue, so [hirocreations] went for a very light infill (10%) and 3-4 perimeter layers; he also extruded at a high temperature (~230C) which he said seemed to provide a very strong layer bond with the settings and filament he was using. So far, he says it’s taken some very hard knocks and nothing has broken or cracked. He has a short video series documenting the assembly, and you can see some of the raw armor parts before any finishing in one of the videos, embedded below.
Continue reading “Monstrous Suit Of Power Armor 3D Printed Over 140 Days”
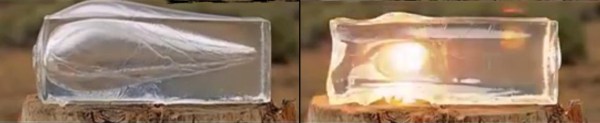
 Ballistic gel is a broad term referring to a large chunk of dense gel generally used in firearms-related testing to reliably and consistently measure things like bullet deformation, fragmentation, and impact. It’s tough, elastic, and in many ways resembles a gigantic gummi bear. Fans of Mythbusters (or