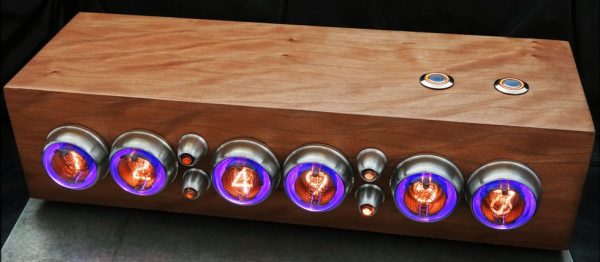
The Weatherclock is more than just a clock sporting Nixie tubes and neon lamps. There is even more to it than the wonderful workmanship and the big, beautiful pictures in the build log. [Bradley]’s Weatherclock is not only internet-connected, it automatically looks up local weather and sets the backlights of the numbers to reflect current weather conditions. For example, green for roughly room temperature, blue for cold, red for warm, flashing blue for rain, flashing white for lightning, scrolling white for fog and ice, and so on.
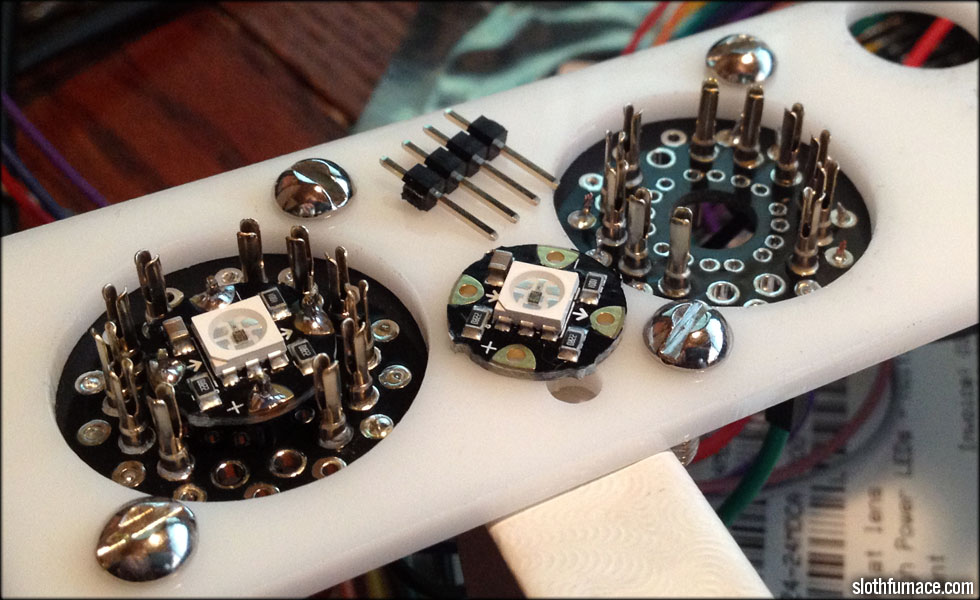 The enclosure is custom-made and the sockets for the tubes are seated in a laser-cut plastic frame. While seating the sockets, [Bradley] noticed that an Adafruit Neopixel RGB LED breakout board fit perfectly between the tube leads. By seating one Neopixel behind each Nixie indicator, each number could have a programmable backlight that just happened to look fabulous.
Wit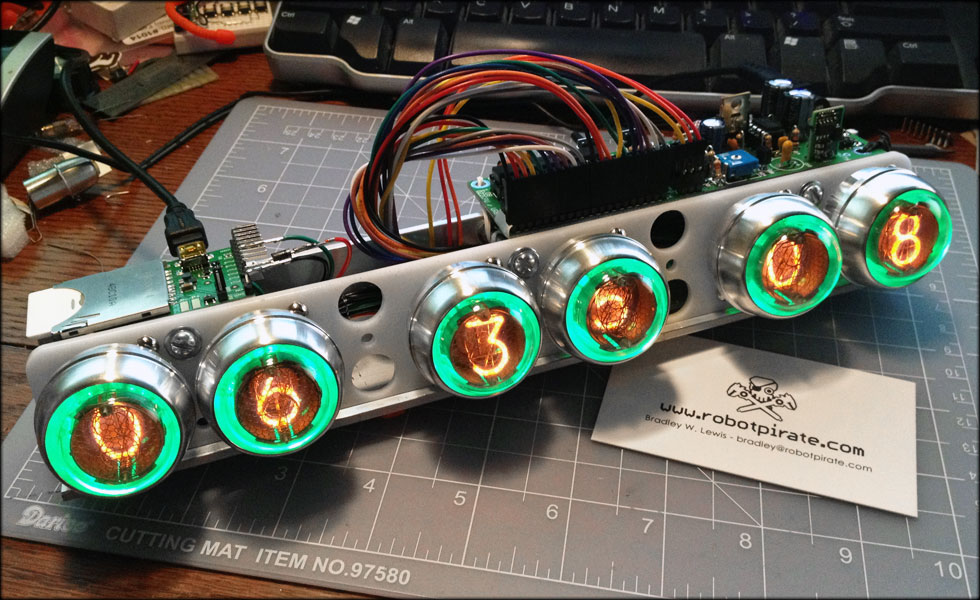 h an Electric Imp board used for WiFi the capabilities of the Weatherclock were rounded out on the inside. On the outside, a custom enclosure ties it all together. [Bradley] says his family had gotten so used to having the Weatherclock show them the outside conditions that they really missed it when it was down for maintenance or work – which shouldn’t happen much anymore as the project is pretty much complete.
It’s interesting to see new features in Nixie clocks. Nixie tubes have such enduring appeal that using them alone has its own charm, and at least one dedicated craftsman actually makes new ones from scratch.