Let’s face it — for the average person, math and formulas are not the most attractive side of physics. The fun is in the hands-on learning, the lab work, the live action demonstrations of Mother Nature’s power and prowess. And while it’s true that the student must be willing to learn, having a good teacher helps immensely.
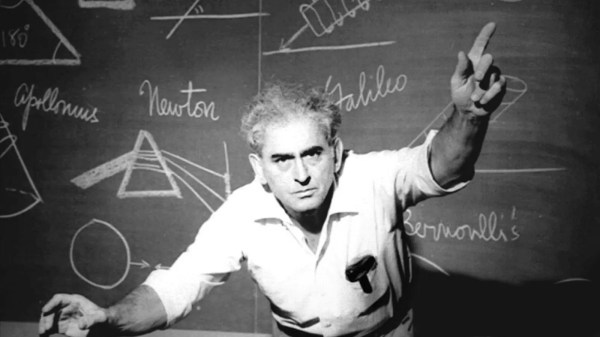
Professor Julius Sumner Miller was energetic and enthusiastic about physics to the point of contagiousness. In pictures, his stern face commands respect. But in action, he becomes lovable. His demonstrations are dramatic, delightful, and about as far away from boring old math as possible. Imagine if Cosmo Kramer were a physics professor, or if that doesn’t give you an idea, just picture Doc Brown from Back to the Future (1985) with a thick New England accent and slightly darker eyebrows. Professor Miller’s was a shouting, leaping, arm-waving, whole-bodied approach to physics demonstrations. He was completely fascinated by physics, and deeply desired to understand it as best he could so that he could share the magic with people of all ages.
Professor Miller reached thousands of students in the course of his nearly 40-year teaching career, and inspired millions more throughout North America and Australia via television programs like The Mickey Mouse Club and Miller’s own show entitled Why Is It So? His love for science is indeed infectious, as you can see in this segment about the shock value of capacitors.
Continue reading “Julius Sumner Miller Made Physics Fun For Everyone”