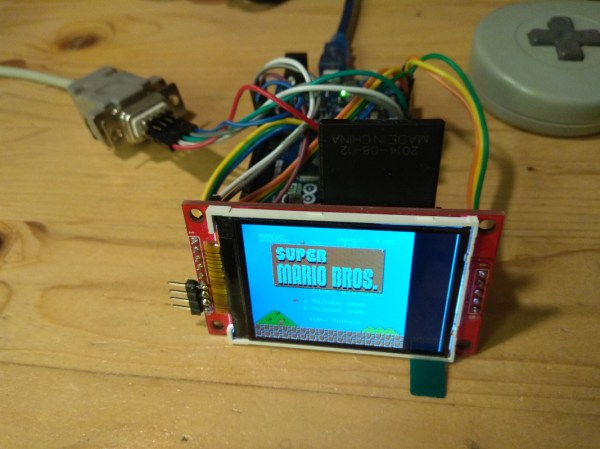
The goal of Printed It is to showcase creations that truly embrace the possibilities offered by desktop 3D printing. The most obvious examples are designs that can be printed quickly and cheaply enough that they’re a valid alternative to commercially available products. But as previous entries into the series have shown, there are also technical considerations. Is it simply a duplicate of something that could be produced via traditional means, or does the design really benefit from the unique nature of 3D printing?
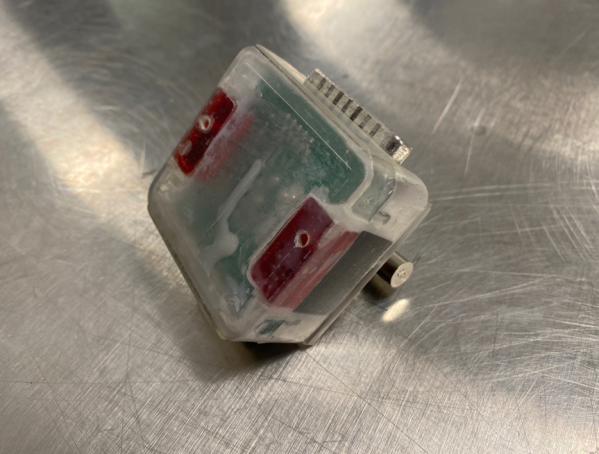
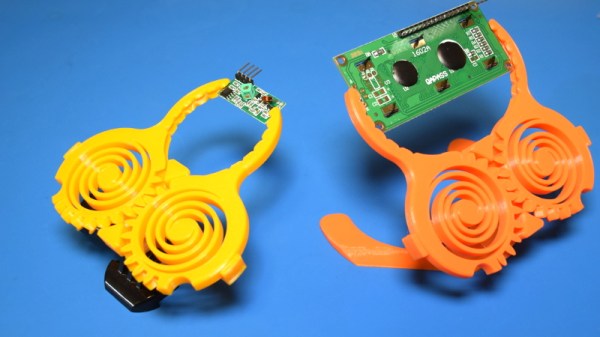
A perfect example is the Print-in-Place PCB Holder/Gripper created by SunShine. This design is able to hold onto PCBs (or really, whatever you wish) without any additional components. Just pull it off the bed, and put it to work. While having to add a rubber band or generic spring would hardly be an inconvenience, there’s always something to be said for a design that’s truly 100% printable.
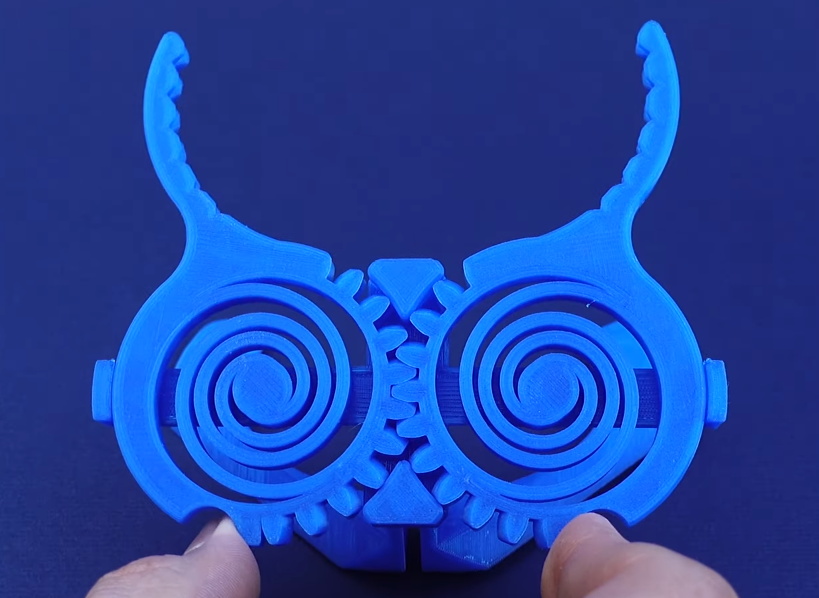 The secret is the dual flat spiral springs integrated into the device’s jaws. While most of the common thermoplastics used in desktop 3D printing are relatively stiff, the springs have been designed in such a way that they can be printed in standard PLA. The backside of the jaws have teeth that mesh together, so the energy of the springs is combined to provide a clamping force. Serrations have been added to the jaws to catch the edge of the PCB and help stabilize it.
Visually, it’s certainly striking. The design largely eschews right angles, giving it an almost biological appearance. Many have compared it to the head of a mantis, or perhaps some piece of alien technology.
There’s no question that the design leverages the strengths of 3D printing either; there’s no other way to produce its intricate interlocking components, especially without the use of any sort of fasteners. In short, this design is an ideal candidate for Printed It. But there’s still one question to answer: does it actually work?