Is it ironic when a YouTube channel named “The Current Source” needs to build a current source? Or is that not ironic and actually just coincidental?
Regardless of linguistic considerations, [Derek], proprietor of the aforementioned channel has made and disassembled a few current sources in his day. Most of those jobs were for one-off precision measurements or even to drive a string of LEDs in what he describes as a pair of migraine-inducing glasses. Thankfully, The junk box current source presented in the video below is more in service of the former than the latter, as his goal is to measure very small resistances in semiconductors using Kelvin clips.
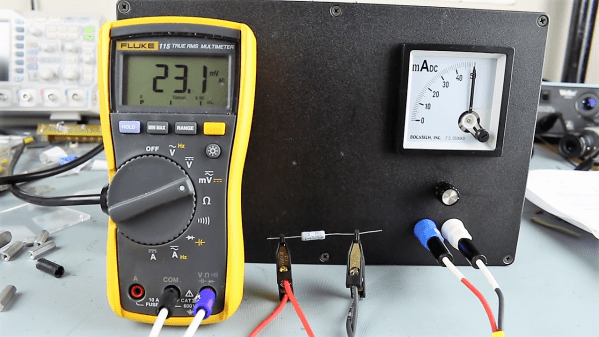
The current source uses a 24-volt switch-mode power supply and the popular LM317 adjustable voltage regulator. The ‘317 can be configured in a constant current mode by connecting the chip’s adjustment pin to the output through a series resistance. A multiturn pot provides current adjustment, although the logarithmic taper is not exactly optimal for the application. We spotted a pair of what appear to be optoisolators in the build too, but there’s no schematic and no discussion of what they do. [Derek] puts the final product to use for a Kelvin measurement of a 0.47-Ω 1% resistor at the end of the video.
We’re glad to see [Derek] in action; you may recall his earlier video about measuring his own radiation with a Geiger counter after treatment for thyroid cancer. Here’s hoping that’s behind him now.
Continue reading “Junkbox Constant Current Source Helps With Kelvin Sensing”
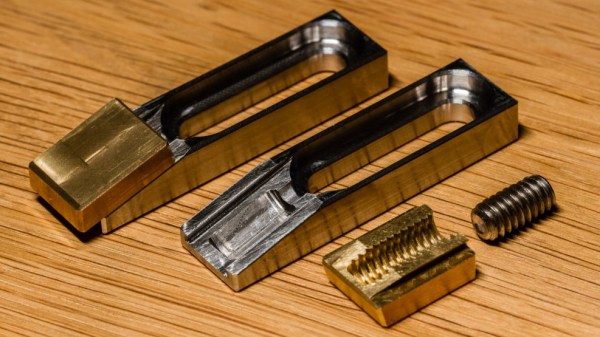
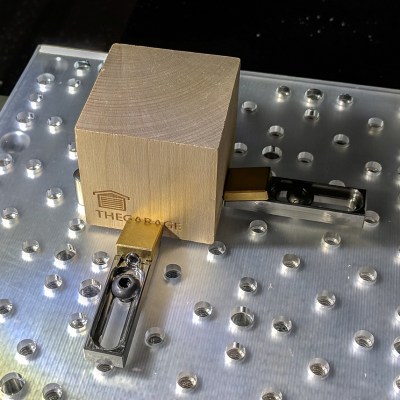 The usual way to secure a piece of stock to a fixturing table is to use top-down clamps, which hold the workpiece from the top and screw down into the table. However, this method limits how much of the stock can be accessed by the cutting tool, because the clamps are in the way. The most common way around this is to mount a vise to the table and clamp the workpiece in that. This leaves the top surface completely accessible. Unfortunately, [Kevin]’s benchtop Roland MDX-450 has a limited work area and he simply couldn’t spare the room. His solution was toe clamps, which screw down to the table and have little tabs that move inwards and downward. The tabs do the work of clamping and securing a piece of stock while maintaining a very low profile themselves.