Arcade Style Computer Hotkeys

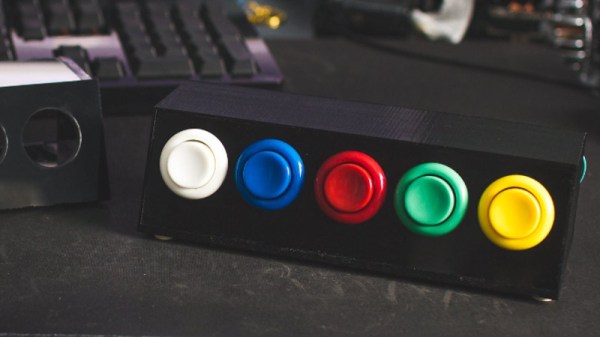
Prolific maker [Sean Hodgins] has taken the wraps off of his latest one-day build, and as usual, it takes the kind of spare parts most people reading Hackaday will have in their parts bins and turns it into something fun and useful. This time around, he takes a bunch of spare arcade-style buttons he had from a previous project and combines them with an Adafruit Trinket (SAMD21 flavor) to make a USB input device for his computer.

[Sean] uses 1/4 inch acrylic to make the case, though he does mention that it could just as easily be 3D printed. But using the acrylic is easy and gives a nice glossy look to the final hardware. With a saw and a drill press you can make some very professional cases out of acrylic, which goes to show that you don’t necessarily need to have a high end 3D printer to create great looking enclosures.

As explained in the video, the Adafruit Trinket is not strictly necessary for this build, it’s just what [Sean] had lying around. Any microcontroller that can present itself to the operating system as a USB Human Interface Device (HID) will work fine for a project like this.

Software wise, a modified Arduino demo program is used to equate the states of the digital pins to pre-defined key combinations to be sent to the computer. In this simple example the key combinations are hard-coded into the Trinket’s source code, but a future enhancement could be adding a method of setting up new key combinations with a configuration tool.

We’ve covered our fair share of non-traditional USB input devices, all operating on largely the same principle. As it turns out, hackers have quite a pension for making oddball input devices.

Continue reading “Arcade Style Computer Hotkeys”

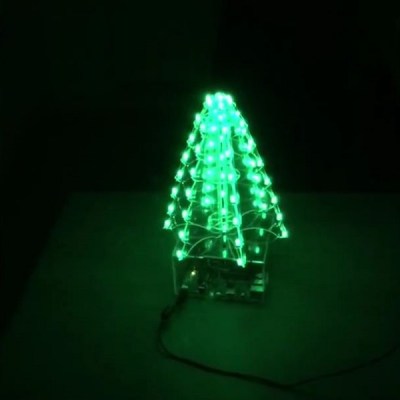
A Clear Christmas Tree Means More Lights!

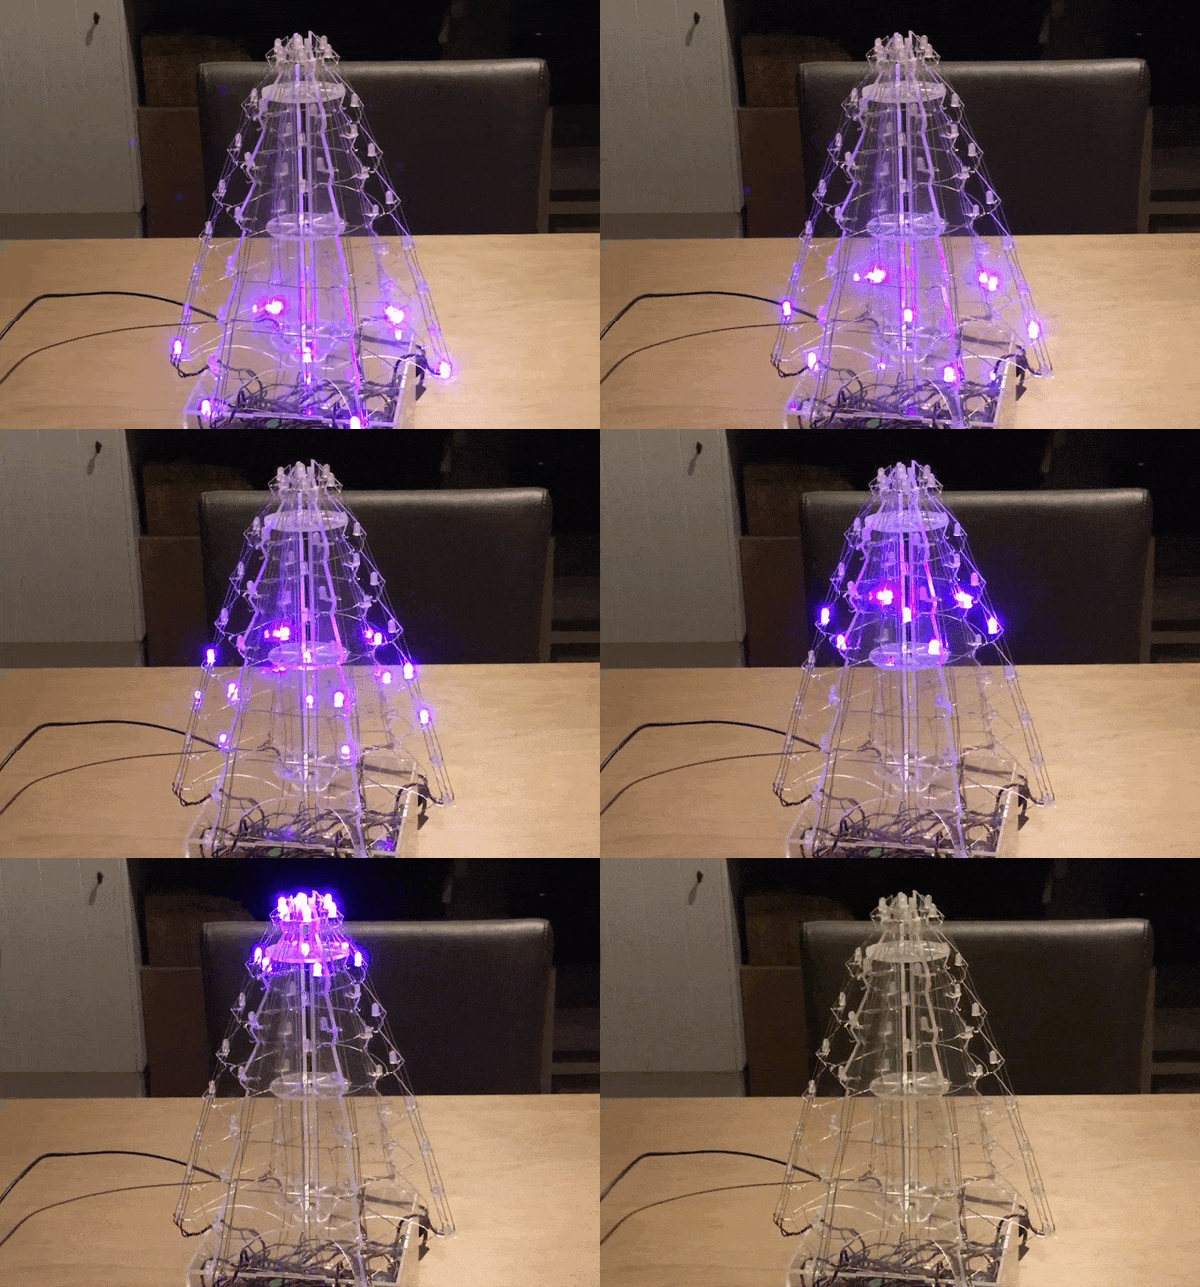
For all the hustle and bustle of the holiday season, people still find ways to make time for their passions. In the lead up to Christmas, [Edwin Mol] and a few co-workers built themselves an LED Christmas tree that adds a maker’s touch to any festive decor.

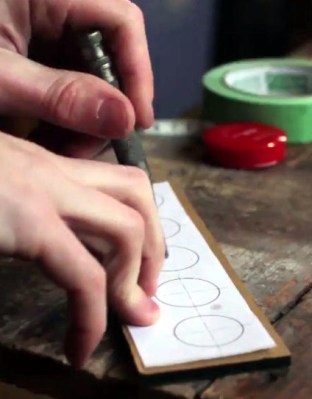
Before going too far, they cut out a cardboard mock-up of the tree. This an easy step to skip, but it can save headaches later! Once happy with the prototype, they printed off the design stencils and cut the chunks of clear acrylic using power tools — you don’t need a laser cutter to produce good stuff — and drilled dozens of holes in the plastic to mount LEDs, and run wires.
A Raspberry Pi 3 and Arduino Uno make this in league with some pretty smart Christmas trees. MAX6968 5.5V constant-current LED driver chips and MOFSETs round out the control circuit. During the build, the central LED column provided a significant challenge — how often do you build a custom jig to solder LEDs? That done, it’s time for a good ol’-fashioned assembly montage! The final product can cycle through several different lighting animations in a rainbow of colours — perfect for a festive build. Continue reading “A Clear Christmas Tree Means More Lights!”

Simple Jig Gives Plastic Homes To Orphaned Projects

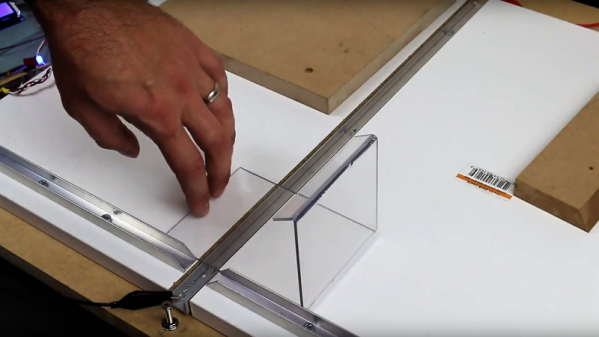
Look around your bench and chances are pretty good that there’s a PCB or scrap of perfboard or even a breadboard sitting there, wires and LEDs sprouting off it, doing something useful and interesting. Taking it to the next level with a snazzy enclosure just seems too hard sometimes, especially if you don’t have access to a 3D printer or laser cutter. But whipping up plastic enclosures can be quick and easy with this simple acrylic bending outfit.

At its heart [Derek]’s bending rig is not much different from any of the many hot-wire foam cutters we’ve featured. A nichrome wire with a tensioning spring is stretched across a slot in a flat work surface. The slot contains an aluminum channel to reflect the heat from the wire upward and to protect the MDF bed; we wonder if perhaps an angle section set in a V-groove might not be more effective, and whether more vertical adjustment range would provide the wider heating area needed for wider radius bends. It works great as is, though, and [Derek] took the time to build a simple timer to control the heating element, for which of course he promptly built a nice looking enclosure.

We can imagine the possibilities here are endless, especially if you use colored acrylic or Lexan and add in some solvent welding. We’ve covered acrylic enclosure techniques before; here’s a post that covers the basics.

Continue reading “Simple Jig Gives Plastic Homes To Orphaned Projects”

Word Clock Five Minutes At A Time

As this clock’s creator admits, it took far more than five minutes to put together, but it does display the time in five minute increments.

After acquiring five 4-character, 16 segment display modules that were too good to pass up, they were promptly deposited in the parts pile until [JF] was cajoled into building something by a friend. Given that each display’s pins were in parallel, there was a lot of soldering to connect these displays to the clock’s ATMega328P brain. On the back of the clock’s perfboard skeleton, a DS1307 real-time clock and coin cell keep things ticking along smoothly. The case is laser cut out of acrylic with an added red filter to up the contrast of the display, presenting a crisp, crimson glow.

Troubleshooting — as well as procrastination — proved to be the major stumbling block here. Each of the displays required extensive troubleshooting because — like Christmas lights of yore — one bad connection would cause all the other displays to fail. Furthermore, there isn’t any easy way to change the time, so the clock needs to be reprogrammed once in a while

We love word clocks because there are so many ways to configure them and for the oddities. That isn’t to say radial clocks are any less creative.

Continue reading “Word Clock Five Minutes At A Time”

Laser Cut Enclosures From Eagle Files

Once a project is finished, it might still need a decent enclosure. While it’s possible to throw a freshly soldered PCB in a standard enclosure, or piece of Tupperware, or cardboard box, these options don’t have the fit and finish of something custom-made. If you have a laser cutter sitting around, it’s a simple matter to cut your own enclosure, but now that process is much easier thanks to [Ray]’s latest project.

Since [Ray] was already using Eagle to design his PCBs, it seemed like a short step to using the Eagle files to design the enclosure as well. The script runs from those files and creates everything necessary to send to the laser cutter for manufacturing. Right now, [Ray] points out that the assembly time for each enclosure can be high, and this method might not be suited for large numbers of enclosures. Additionally, some of the calculations still need to be done by hand, but there are plans to automate everything in the future.

For single projects, though, this script could cut a lot of time off of designing an enclosure and building it from scratch, and could also help improve aesthetics over other options like 3D printed enclosures. Of course, if you have a quality 3D printer around but no laser cutter, there are options for custom enclosures as well.

Edge-lit Pendants Show Two Layers Are Better Than One

Engraved acrylic lights up nicely with LED lighting. Simply engrave clear acrylic with a laser engraver, then edge-light the acrylic and watch the engraving light up. This badge made by [Solarbotics] shows how they used this principle when creating some pendants for an event that performed particularly well in the dark.

The pendants they created have two engraved acrylic panels each, and that’s about it. Two LEDs and a CR2032 battery nestle into pre-cut holes, and the engraved sides are placed face-to-face, so the outer surfaces of the pendant are smooth. By using some color-cycling RGB LEDs on one panel and blue LEDs on the other panel, the effect is that of an edge-lit outer design with a central element that slowly changes color separately from the rest of the pendant.

The design stacks the LED leads and coin cells in such a way that a simple wrap of tape not only secures things physically, but also takes care of making a good electrical connection. No soldering or connectors of any kind required. [Solarbotics] found that CR2032 cells would last anywhere between a couple of days to a week, depending on the supplier.

This design is great for using a minimum of materials, but if that’s not a priority it’s possible to go much further with the concept. Multiple layers of edge-lit acrylic were used to make numeric 0-9 display modules as well as a full-color image.


Ask Hackaday: What About The Diffusers?

Blinky LED projects: we just can’t get enough of them. But anyone who’s stared a WS2812 straight in the face knows that the secret sauce that takes a good LED project and makes it great is the diffuser. Without a diffuser, colors don’t blend and LEDs are just tiny, blinding points of light. The ideal diffuser scrambles the photons around and spreads them out between LED and your eye, so that you can’t tell exactly where they originated.

We’re going to try to pay the diffuser its due, and hopefully you’ll get some inspiration for your next project from scrolling through what we found. But this is an “Ask Hacakday”, so here’s the question up front: what awesome LED diffusion tricks are we missing, what’s your favorite, and why?

Continue reading “Ask Hackaday: What About The Diffusers?”