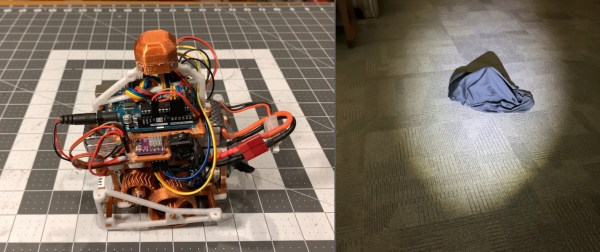
What could be more terrifying than ghosts, goblins, or clowns? How about a shapeless pile of fright on your bedroom floor that only moves when you’re not looking at it? That’s the idea behind [Sciencish]’s nightmare robot, which is lurking after the break. The Minecraft spider outfit is just a Halloween costume.
In this case, “looking at it” equates to you shining a flashlight on it, trying to figure out what’s under the pile of clothes. But here’s the thing — it never moves when light is shining on it. It quickly figures out the direction of the light source and lies in wait. After you give up and turn out the flashlight, it spins around to where the light was and starts moving in that direction.
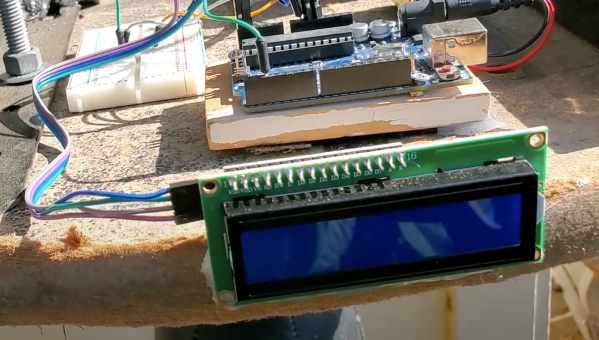
The brains of this operation is an Arduino Uno, four light-dependent resistors, and a little bit of trigonometry to find the direction of the light source. The robot itself uses two steppers and printed herringbone gears for locomotion. Its chassis has holes in it that accept filament or wire to make a cage that serves two purposes — it makes the robot into more of an amorphous blob under the clothes, and it helps keep clothes from getting twisted up in the wheels. Check out the demo and build video after the break, because this thing is freaky fast and completely creepy.
While we usually see a candy-dispensing machine or two every Halloween, this year has been more about remote delivery systems. Don’t just leave sandwich bags full of fun size candy bars all over your porch, build a candy cannon or a spooky slide instead.
Continue reading “Nightmare Robot Only Moves When You Look Away” →