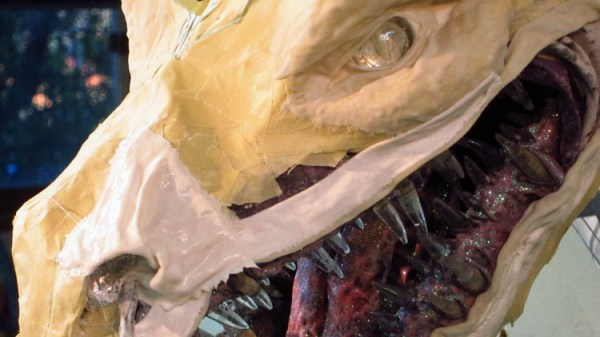
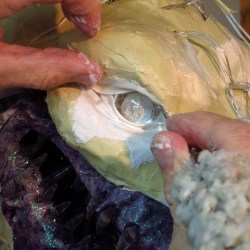
When is paper maché not paper maché? When it is cloth, of course. [Dan Reeder] has been putting his own spin on paper maché art since the 70s and demonstrates the technique of using cloth for tricky spots in his outstanding sculpture of an Ice Dragon. Thin strips of cloth are used just as paper would be, but give a much different structure and grant natural-looking folds to spots like eyelids, nostrils, and lips.
 [Dan] feels that paper maché is an under-utilized and under-rated medium, and he puts out some stunning work on his blog as well as his YouTube channel. What’s great to see are his frank descriptions and explanations of what does and doesn’t work, and he’s not afraid to try new things and explore different ways to approach problems.
Enterprising hackers may not pick paper maché as their first choice to create creating custom enclosures, but it can be done and the accessibility and ease of use of the medium are certainly undeniable. One never knows when a tool or technique may come in handy.
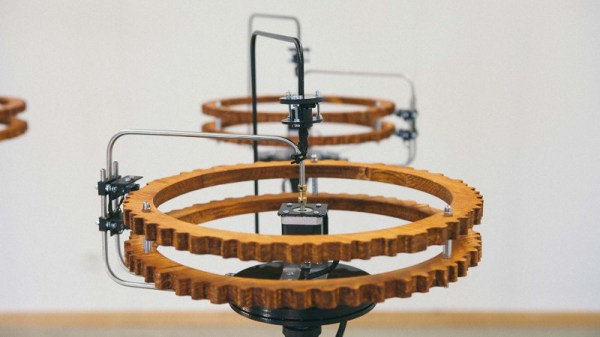
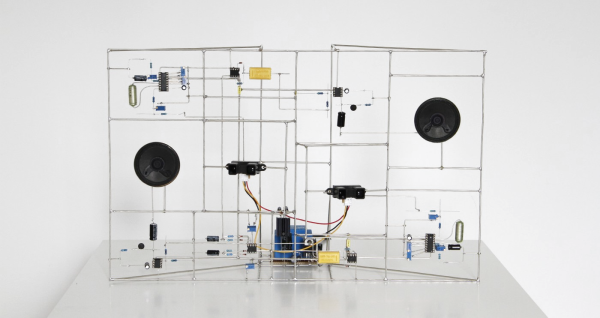
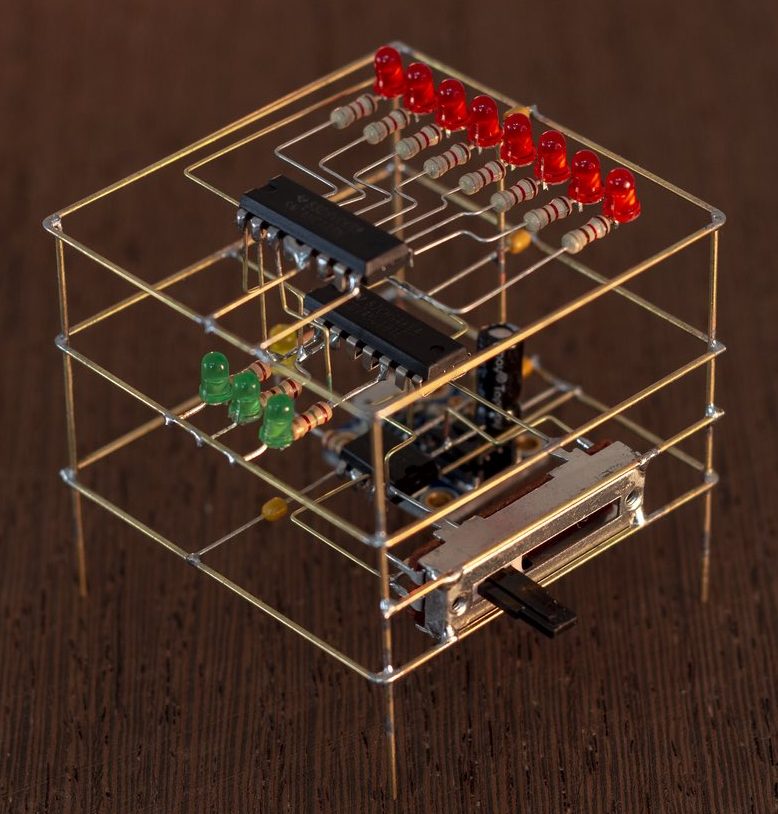
 When it rains, it pours (wonderful electronic sculpture!). The last time we posted about freeform circuit sculptures there were a few eye-catching comments mentioning other fine examples of the craft. One such artist is [Eirik Brandal], who has a large
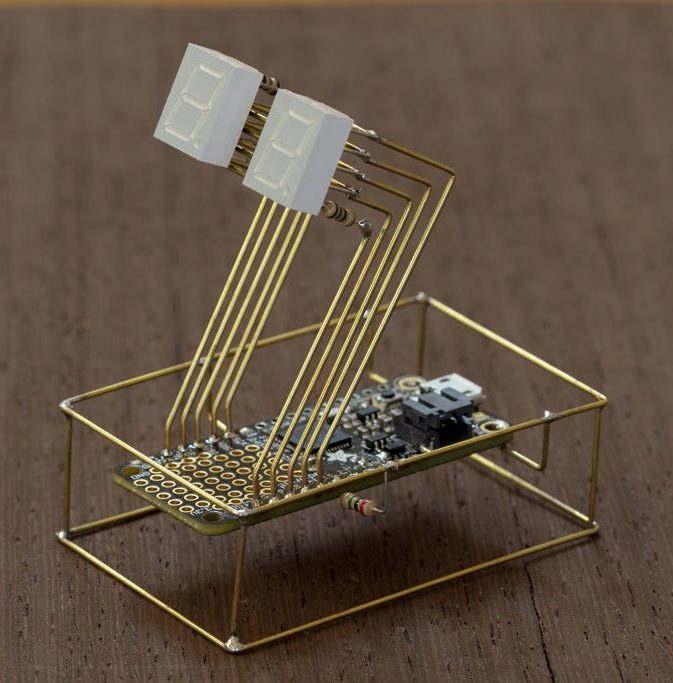
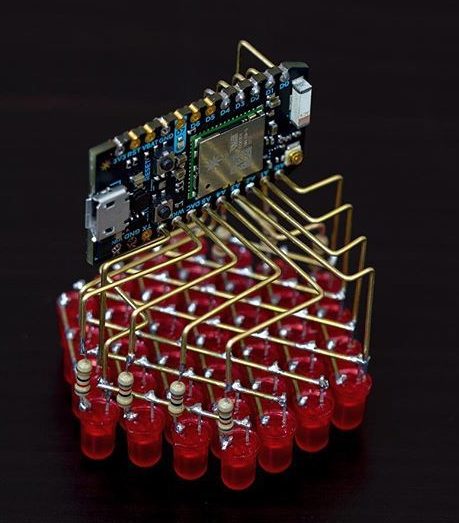
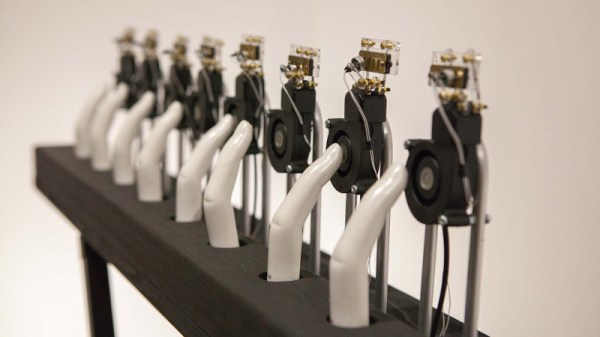
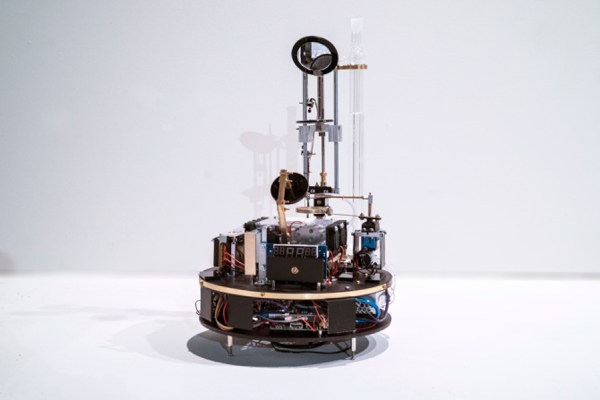
 tiny BGA components (ok, that one might be more cool than practical). Perhaps our favorite use is to create art, and [Mohit Bhoite] is an absolute genius of the form. He’s so prolific that it’s difficult to point to a particular one of his projects as an exemplar, though he has