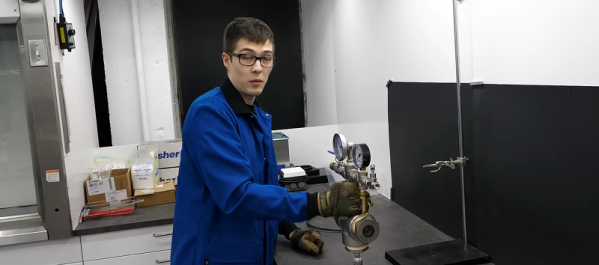
Refining precious metals is not as simple as polishing rocks that have been dug out of the ground. Often, complex chemical processes are needed to process the materials properly or in high quantities, but these processes leave behind considerable waste. Often, there are valuable metals left over in these wastes, and [NerdRage] has gathered his chemistry equipment to demonstrate how it’s possible to recover these metals.
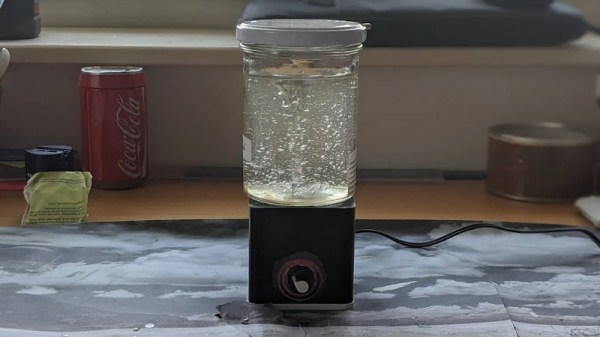
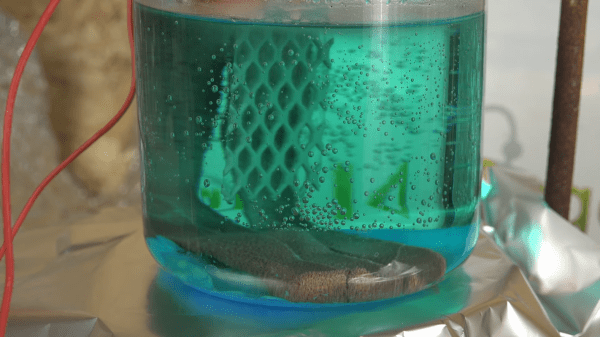
The process involved looks to recover copper and nitric acid from copper nitrate, a common waste byproduct of processing metal. While a process called thermal decomposition exists to accomplish this, it’s not particularly efficient, so this alternative looks to improve the yields you could otherwise expect. The first step is to react the copper nitrate with sulfuric acid, which results in nitric acid and copper sulfate. From there, the copper sulfate is placed in an electrolysis cell using a platinum cathode and copper anodes to pass current through it. After the process is complete, all of the copper will have deposited itself on the copper electrodes.
The other interesting thing about this process, besides the amount of copper that is recoverable, is that the sulfuric acid and the nitric acid are recoverable, and able to be used again in other processes. The process is much more efficient than thermal decomposition and also doesn’t involve any toxic gasses either. Of course, if collecting valuable metals from waste is up your alley, you can also take a look at recovering some gold as well.
Thanks to [Keith] for the tip!