[danman] has been playing around with various HDMI video streaming options, and he’s hit on a great low-cost solution. A $40 “HDMI extender” turns out to actually be an HDMI-to-RTP converter under the hood.
He’d done work previously on a similar extender that turned out to use a quirky method to send the video, which he naturally reversed and made to do his bidding. But non-standard formats are a pain. So when he was given a newer version of the same device, and started peeking into the packets with Wireshark, he was pleasantly surprised to find that the output was just MPEG-encoded video over RTP. No hacking necessary.
Until now, streaming video over an IP network from an arbitrary HDMI output has been tricky, [danman] has been more than a little obsessed with getting it working on the cheap. In addition to the previous version of this extender, he also managed to get a stream out of a rooted Android set-top box. That costs a bit more, but can also record at the same time, should you need to.
None of this solves the HDMI HDCP encryption problem, though. You’re on your own for that one.
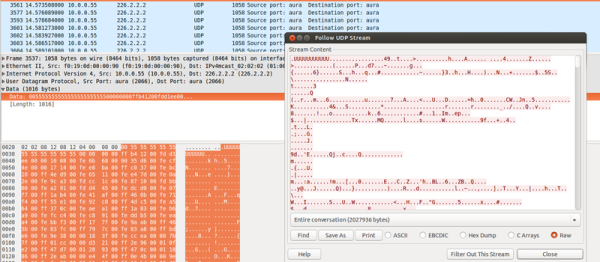
(Those of you Wireshark wizards out there will note that we just swiped the headline image from the previous version of the project. There were no good images for this one. Sorry about that.)