It’s a safe bet that most Hackaday reader’s interest in electronics started at a young age, and that their early forays into the world of hardware hacking likely involved some form of “playground” kit. As long as you didn’t lose any of the components, these kits promised the user that hundreds of possible projects were just a few jumper wires away. Extra points awarded for when you decide to toss away the manual and fly solo.
While there’s still no shortage of such products on the market, [Josh Kittle] felt the concept could do with a freshening up. His open hardware “Microcontroller Trainer” harkens back to those old multi-kits, but adds in the sort of high-tech gadgetry that makes the modern DIY world go round.
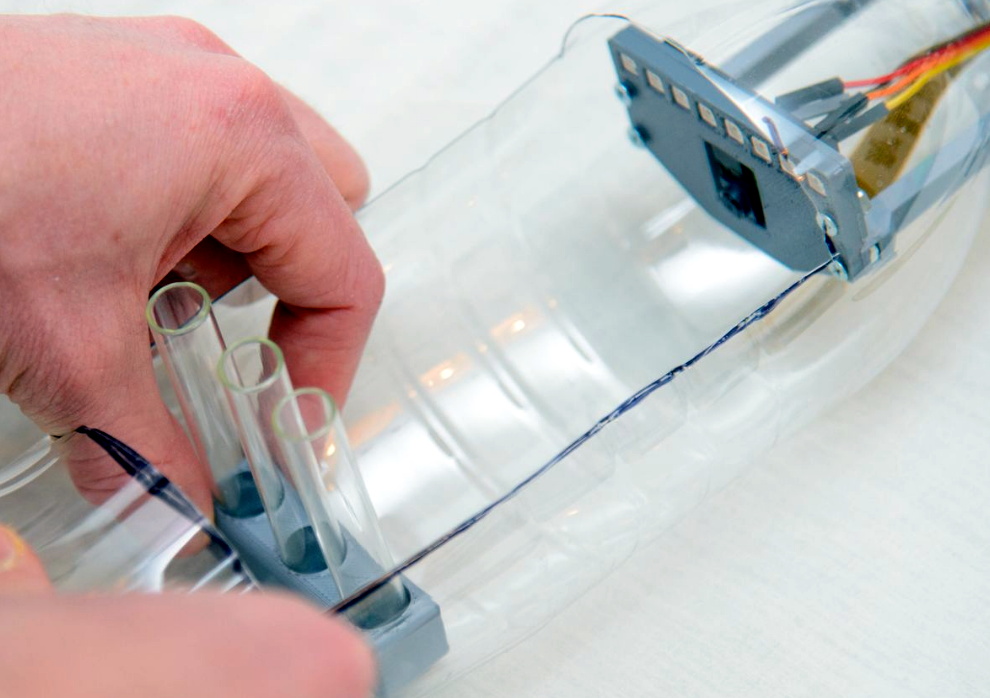
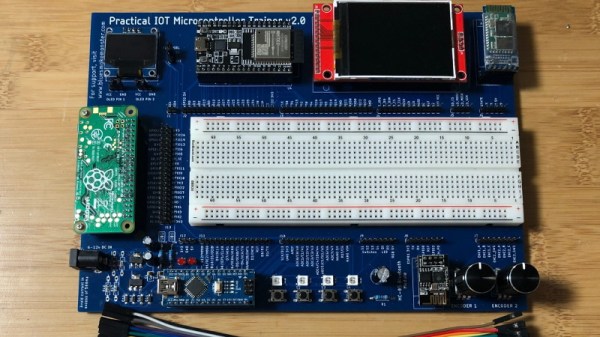
 It’s still got the traditional layout: a center mounted breadboard surrounded by an array of LEDs, a handful of buttons, and a pair of potentiometers. But there’s also sockets for the Raspberry Pi, ESP8266, ESP32, and Arduino. Plus a few of their most popular friends to keep them company: a .96″ OLED, 2.4″ Touch TFT, and a BC05 Bluetooth module.
Originally [Josh] created this design to help clean up his own workspace, figuring he could just put his most used components on a single compact board. But as you might expect, others expressed interest in the concept. Now he’s producing them as kits, and even working his way towards a third hardware revision that adds features such as an integrated 18650 battery for portable use.
While electronics kits that have you build a functional device are a great way to learn the ropes, we’re always glad to see fresh takes on the classic electronic “playground” concept.