Junk Bin Self Balancing Bot With ESP8266

As we all know, sometimes the projects we plan simply never materialize. You have an idea, maybe even buy some of the parts you need, and then…nothing. Maybe you changed your mind, or maybe the idea was never that good to begin with. In any event, time marches on, the parts pile up, and the ideas come and go. Such is the life of the hacker.

[Andrius Mikonis] writes in to tell us how his graveyard of abandoned projects ended up providing exactly what he needed to embark on a project he’s been fascinated with for years: the two-wheel self balancing robot. He started with a motor and wheel set that was originally intended to be part of a rover, added an accelerometer, and tied the whole thing together with an ESP-01 he had lying around. The final result certainly looks the part, and goes to show that projects don’t always need to be 1000 hour labors of love to accomplish their goals.

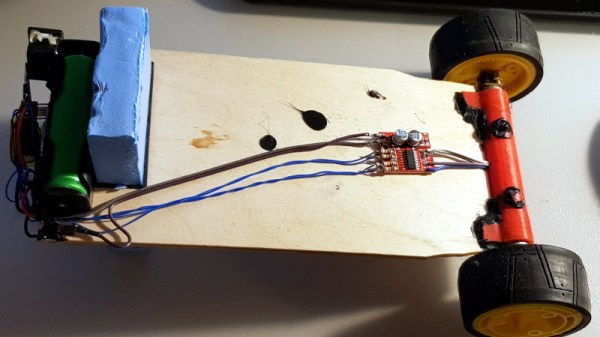
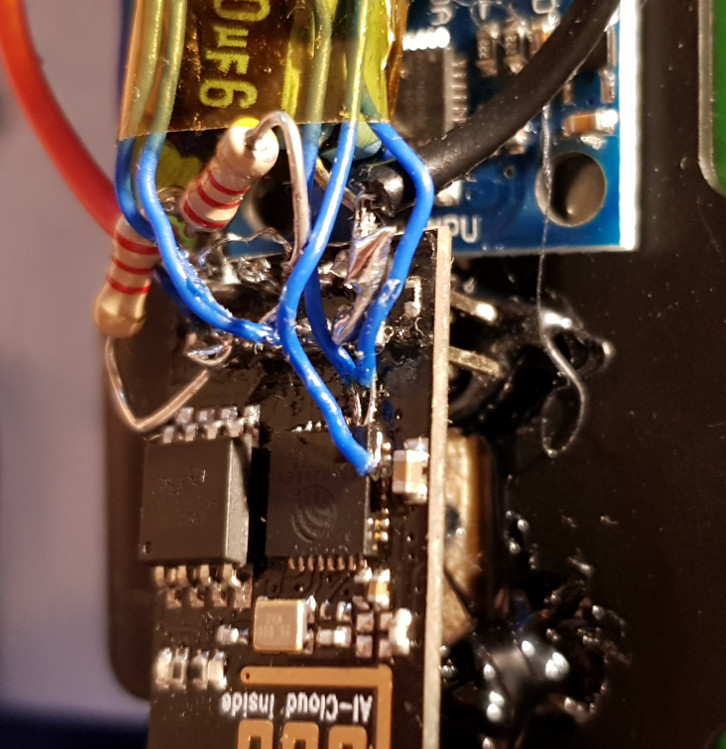
The construction of this little bot is simple in the extreme. A piece of plywood makes up the primary structure, with the wheels glued to the bottom and the electronics taking up residence in the top. It’s powered by two lithium battery cells that were salvaged out of an old laptop, with a DC-DC buck converter to provide a stable 3.3 VDC for the ESP-01 and MPU6050 accelerometer. To control the motors themselves, [Andrius] is using a cheap L293 controller that he found on eBay.

For interactive control, [Andrius] is making use of the ESP’s Wi-Fi to provide a web-based interface. This lets you control the bot from essentially any device that has a browser, rather than having to use a dedicated hardware transmitter.

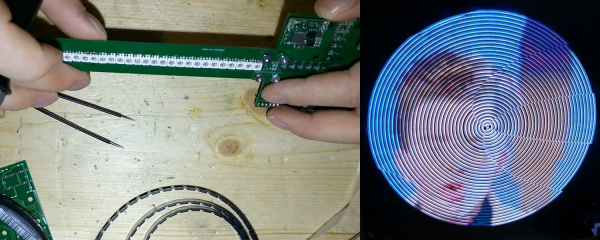
Self-balancing robots of various levels of complexity are a relatively common project in the hacker world. There’s just something magical about the way they scoot around, seeming to defy gravity.

ESP8266 Keeps Tabs On The Kid’s Tablets

Assuming you have a child and it’s no longer womb-bound, there’s a fairly high chance they’ve already had some experience with the glowing beauty that is the LCD display; babies of only a few months old are often given a tablet or smartphone to keep them occupied. But as the child gets to the age where they are capable of going outside or doing something more constructive, staring slack-jawed and wide-eyed at their tablet becomes a concern for many parents.

[Richard Garsthagen] is one such parent. He wanted a way to monitor and control how much time his children were using their iPad, so he came up with an automated system based on the ESP8266. Not only does it keep track of how long the tablet is being used, it even includes a reward system which allows the parent to add extra usage time for good behavior.

At the most basic level, the device is a sort of “holster” for the child’s tablet. When the tablet is placed in the slot, it presses a microswitch at the bottom of the cavity which stops the timer. When the switch is open, the LED display on the front of the device counts down, and the ESP8266 pushes notifications about remaining time to the child’s device via IFTTT.

Time can be added to the clock by way of RFID cards. The cards are given out as a reward for good behavior, completion of chores, etc. The child only needs to pass the card in front of the system to redeem its value. Once the card has been “spent”, the parent can reset it with their own special card.

It’s a very slick setup, making perfect use of the ESP8266. Reading the RFID cards, updating the timer, and using IFTTT’s API keeps the little board quite busy; [Richard] says it’s completely maxed out.

You might be wondering what happens when the clock reaches zero. Well, according to the video after the break…nothing. Once the time runs out, a notification simply pops up on the tablet telling them to put it away. Some might see this as a fault, but presumably it’s the part of the system where humans take over the parenting and give the ESP8266 a rest.

This isn’t the first time we’ve seen a microcontroller used to get the little hackers on schedule. At least (so far) none of them have gone full Black Mirror and started tracking when the kiddos are watching it.

Continue reading “ESP8266 Keeps Tabs On The Kid’s Tablets”

Move Aside Mercury: Measuring Temperature Accurately With An RTD

Temperature is one of the most frequently measured physical quantities, and features prominently in many of our projects, from weather stations to 3D printers. Most commonly we’ll see thermistors, thermocouples, infrared sensors, or a dedicated IC used to measure temperature. It’s even possible to use only an ordinary diode, leading to some interesting techniques.

Often we only need to know the temperature within a degree Celsius or two, and any of these tools are fine. Until fairly recently, when we needed to know the temperature precisely, reliably, and over a wide range we used mercury thermometers. The devices themselves were marvels of instrumentation, but mercury is a hazardous substance, and since 2011 NIST will no longer calibrate mercury thermometers.

A typical Pt100 RTD probe

Luckily, resistance temperature detectors (RTDs) are an excellent alternative. These usually consist of very thin wires of pure platinum, and are identified by their resistance at 0 °C. For example, a Pt100 RTD has a resistance of 100 Ω at 0 °C.

An accuracy of +/- 0.15 °C at 0 °C is typical, but accuracies down to +/- 0.03 °C are available. The functional temperature range is typically quite high, with -70 °C to 200 °C being common, with some specialized probes working well over 900 °C.

It’s not uncommon for the lead wires on these probes to be a meter or more in length, and this can be a significant source of error. To account for this, you will see that RTD probes are sold in two, three, and four wire configurations. Two-wire configurations do not account for lead wire resistance, three-wire probes account for lead resistance but assume all lead wires have the same resistance, and four-wire configurations are most effective at eliminating this error.

In this article we’ll be using a 3-wire probe as it’s a good balance between cost, space, and accuracy. I found this detailed treatment of the differences between probe types useful in making this decision.

Continue reading “Move Aside Mercury: Measuring Temperature Accurately With An RTD”

ESP8266 Home Computer Hides Unexpected Gems

With a BASIC interpreter and free run throughout their hardware, home computers like the ZX Spectrum and Commodore 64 used to be a pervasive way to light that hacker fire. With the advent of cheap single board computers like the Raspberry Pi, devices purpose built to emulate these classic systems have become fairly commonplace. [uli] built a device in this vein called the BASIC Engine which is driven by a microcontroller and a handful of hardware peripherals. Like other examples it can be attached to a keyboard, programmed in a BASIC, play video and sound, etc. But digging into the BASIC Engine reveals that it’s similarity to other devices is only skin deep.

The current version of the BASIC Engine (“rev2”) lives in a Raspberry Pi 3 case for convenience. It has RCA connectors for NTSC or PAL video output and mono audio, plus a bank of headers to tap into GPIOs, connectors for a keyboard, and more. [uli] wanted to aim for extreme low cost so a relatively beefy board like a Raspberry Pi didn’t fit the bill, and we expect it was an enjoyable challenge. Instead its interpreter runs atop an ESP8266 but with the networking stack removed. [uli] was disheartened by how bloated even a “Hello world” program was and ripped it out, discovering that hidden beneath was a very powerful and disproportionately inexpensive general purpose microcontroller. The video is driven by a VS23S010, sold as a 1 Mbit parallel SRAM with a neat trick; it also includes a composite video controller!

The real treat here is [uli]’s history writeup of how the BASIC Engine came to be. We’d recommend brewing a cup of coffee and sitting down for a full read-through. The first version was inspired by the PlayPower project, which was repurposing clones of Nintendo’s Famicom (NES to Americans) game console to make low cost home computers, complete with keyboard and gamepad input. [uli] started out by building a custom cartridge for a particular Famicom clone that ran a BASIC interpreter but after showing it to disinterested adults the project was left fallow. Years later, [uli] was encouraged to pick up the project again, leading down a twisted rabbit hole to where we are today.

If you want to build a BASIC Engine for yourself, Gerbers and build instructions are available on the pages linked above.

Thanks for the tip [antibyte]!

ESP8266 Uses LiFi To Get On WiFi

Connecting your shiny new ESP8266 to WiFi can be as simple or as complicated as you please. Most people decide to manually add it. Some people find clever ways to make the bloody thing connect itself. [Eduardo Zola] transfers his WiFi password using the flashing light of a smartphone screen.

A simple photo-resistor and a bit of tinkering allows him to easily send credentials — or any data really — to his ESP8266, through the power of LiFi. Short for Light Fidelity, LiFi transmits data using light with on and off states representing digital values. It can use visible light, or reach into either the ultraviolet or infra-red radiation if need be. For the nitty-gritty details on the subject, check out our primer on LiFi.

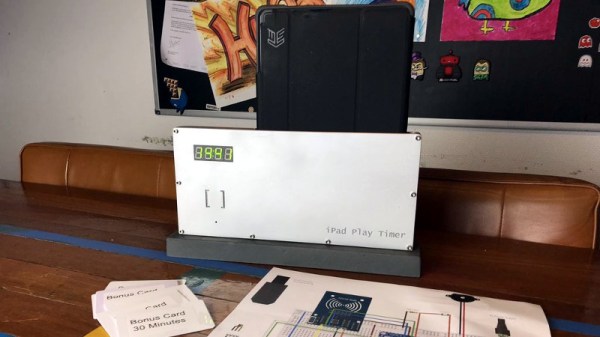
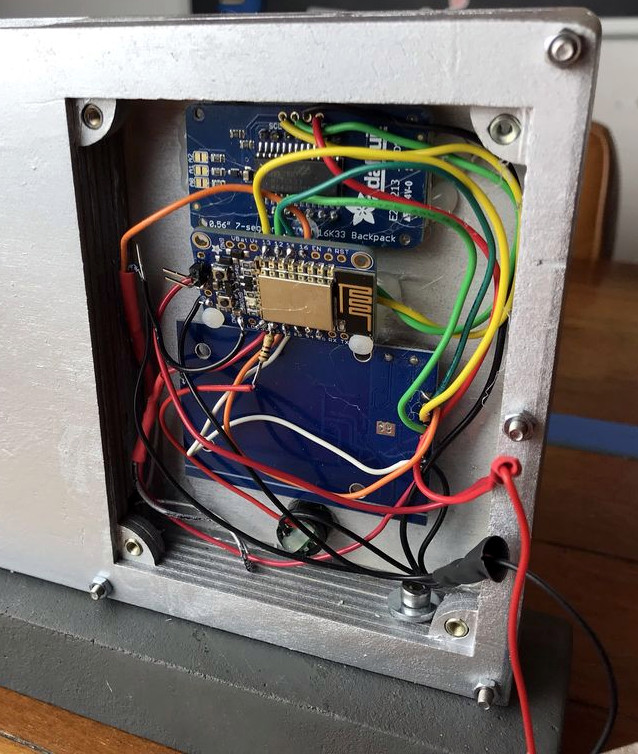
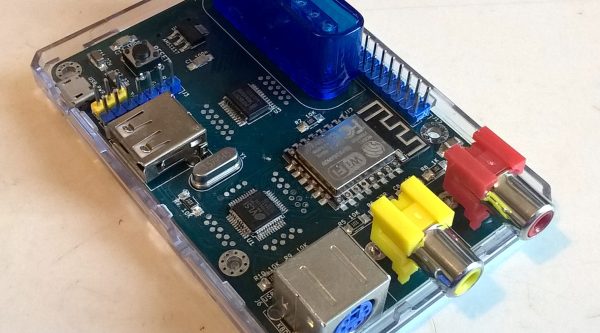
 A flashing LCD screen and a photo-resistor barely make the cut for a one-way LiFi system, but [Eduardo Zola] makes it work. The approach is to build a resitor divider and watch an input pin on the ESP for changes.

The trick is to keep ambient light out of the mix. The test sensor shown here places the LDR in a black cap, but [Eduardo] 3D-Printed a slick little enclosure for his reverse flashlight so it fits flush with the phone screen. One click and about half a minute of a flashing screen later, and the Wi-Fi credentials are transferred. This circuit could really be added onto any project, for short data transfers. With a bit more work on the sensor circuit, speed could be improved with the limiting factor being the timing on the phone screen itself.

Since the ESP8266 has its own WiFi connection, it’s likely you’ll use that for data transfer once the LiFi gets it onto the network. But any situation where you don’t have a full user input or a network connection could benefit from this. Pull out that old scrolling LED matrix project and add this as a way to push new messages to the device!
Continue reading “ESP8266 Uses LiFi To Get On WiFi”

FPGA Persistently Rick Rolls You

When [Im-pro] wants a display, he wants it to spin.  So he built a persistence of vision (POV) display capable of showing a 12-bit color image of 131 x 131 pixels at 16 frames per second. You can see a video about the project below, but don’t worry, you can view it on your normal monitor.

The project starts with a Java-based screen capture on a PC. Data goes to the display wirelessly to an ESP8266. However, the actual display drive is done by an FPGA that drives the motor, reads a hall effect index sensor, and lights the LEDs.

Continue reading “FPGA Persistently Rick Rolls You”

A Tinfoil-Free Internet Of Ceiling Fans

Putting everything on the Internet is getting easier and easier, what with the profusion of Internet-ready appliances as well as cheap and plentiful IoT modules to integrate legacy devices. Think IoT light bulbs, refrigerators and dishwashers that can be controlled from a smartphone, and the ubiquitous Sonoff modules. But once these things are on the net, what are they talking about? Are they saying things behind your back? Are they shipping data about your fridge contents off to some foreign land, to be monetized against your will?

Maybe, maybe not, but short of a tinfoil helmet the only way to protect yourself is to build your own system. This IoT control for ceiling fans is a good example, with the added benefit that most wireless ceiling fan remotes are kind of lousy. [microentropie] didn’t like the idea of going the Sonoff route, so his custom controller is based on that IoT workhorse, the ESP8266. There are two versions, one switching the light and fan loads with relays, and one with triacs. The ESP serves up its own web page for control rather than using a cloud service, and is capable of setting up the fan to turn on and off automatically at preset times or temperatures. Everything sits in an unobtrusive box on the ceiling near the fan, but we bet this could be miniaturized enough to fit right inside the fan housing.

If some of [microentropie]’s code looks familiar, it might be because he borrowed it from his IoT rice cooker project.