A Number Maze For Younger Hackers

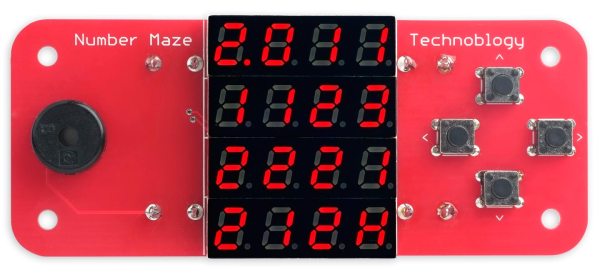
[David Johnson-Davies] has a lofty goal of building a small device to give to younger hackers on a semi-yearly basis. So this last year, he designed and created The Number Maze Game, a small handheld logic puzzle maze.

It’s based on several 4-digit seven-segment displays controlled by an AVR128DA32. Navigation is just a few push buttons and a buzzer to let you know when you’ve won. The game is simple: you jump the amount listed on the space you’re currently on, trying to get to the space labeled “H.” [David] lays out how he built it in great detail, discussing the process of designing and assembly. He also expounds on many decisions, such as using a TQFP microcontroller instead of the through-hole ATmega328P due to the I/O pin count.

The instructions and design process are so detailed we’re confident most people could easily reproduce it, especially with the code and board files. But the value of this project is not in blindly copying it. Instead, we love how something so simple can be wonderfully entertaining and valuable to younger hackers. Programming headers are included so they can add new mazes. We suspect there are many out there who would love to get something so tactile, simple, and modifiable.

Of course, we’ve seen other minimal maze games, so there’s no lack of inspiration for making some different.
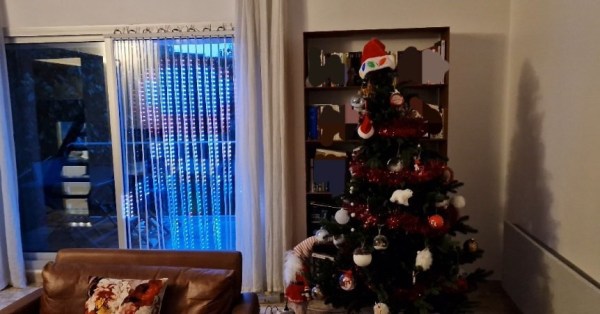
Illuminated smart curtain in front of a window, beside a Christmas tree

Smart LED Curtain Brings Sprites To Your Windows

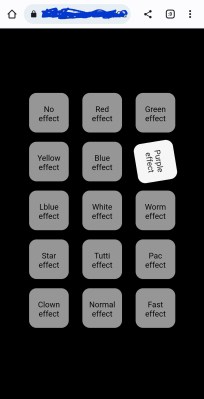
Mobile interface for LED smart curtain display
A mobile interface is a nice touch

Anybody who has ever seen a video wall (and who hasn’t?) will be familiar with the idea of making large-scale illuminated images from individual coloured lights. But how many of us have gone the extra mile and fitted such a display in our own homes? [vcch] has done just that with his Deluxe Smart Curtain that can be controlled with a phone or laptop.

The display itself is made up of a series of Neopixel strips, hung in vertical lines in front of the window.  There is a wide gap between each strip, lending a ghostly translucent look to the images and allowing the primary purpose of the window to remain intact.

The brains of the system are hosted on a low-cost M5stack atom ESP32 device. The data lines for the LEDs are wired in a zig-zag up and down pattern from left to right, which the driver software maps to the rectangular images. However, the 5V power is applied to the strips in parallel to avoid voltage drops along the chain.

If you’d like to build your own smart curtain, Arduino sketch files and PHP for the mobile interface are included on the project page. Be sure to check out the brief video of what the neighbors will enjoy at night after the break.

If video walls are your kind of thing, then how about this one that uses Ping Pong Balls as diffusers? Continue reading “Smart LED Curtain Brings Sprites To Your Windows”

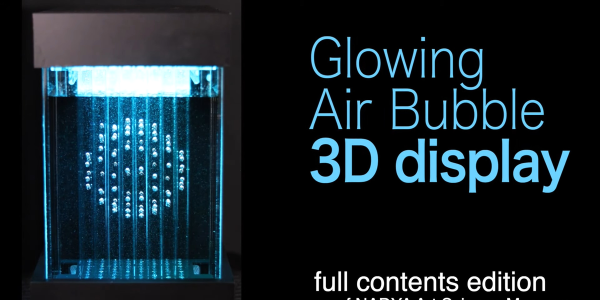
Zen And Glowing Air Bubble Displays

When you work in a medium for long enough, and you learn how it works more and more deeply, you eventually become its master. [Yukio Shinoda] is probably master of the LED bubble display.

She started out with an idea, back in 1994, of a column of water and an array of solenoids to inject air, making patterns in the bubbles. Time passed, and she began to realize these works, first in water and then switching over to glycerine for slower, more predictable, and more spherical bubbles. The latest version realizes her initial vision, after 29 years, with an 8×8 array of nozzles making 3D shapes in the slowly rising columns. Continue reading “Zen And Glowing Air Bubble Displays”

LEDCard: The Pocketable Ring Light

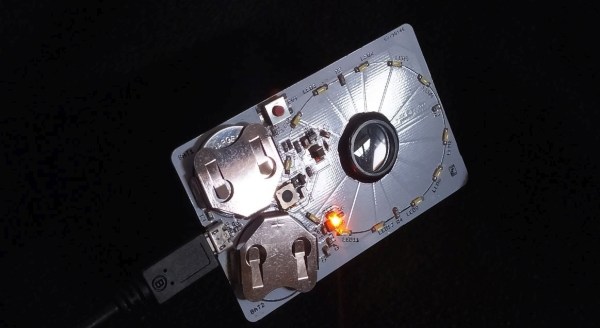
How many times have you found yourself fumbling about with lighting while trying to get a clear up-close shot of an object? Although smartphones come with pretty nice cameras these days, properly lighting an object and taking impressive macro shots isn’t exactly their strong suit. This is where [MisterHW]’s LEDCard is a very welcome companion. Not only does it provide a credit card sized ring light, it also allows for a molded acrylic lens to be inserted for high-quality macro shots.

The project in its current iteration consists out of a single PCB with rechargeable Li-ion coin cells (LIR2430) and a USB-powered charge controller. After charging the LEDCard (or inserting freshly charged Li-ion coin cells), a single button press will light up the SMD LEDs via the LM3410 LED driver IC. Press the ON button gently (half-press) for medium brightness and fully for full intensity. Finally, pressing the TEST button with the LEDs lit performs a battery level test that turns the LEDs off if the battery is ok. If they stay lit, it’s time to recharge the LEDCard.

As [MisterHW] points out, the LEDCard being compact enough to carry around with you wherever you go makes it suitable as an emergency flashlight as well. It’s also not the final iteration of the design. Future (incremental) improvements include a diffuser for the ring light and more. Even so, in its current state LEDCard is already a proven design.

3D Printed Light Pipe Turns Overly-Bright LED Into Design Harmony

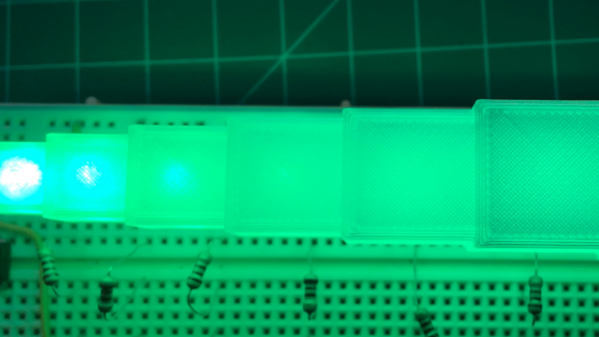
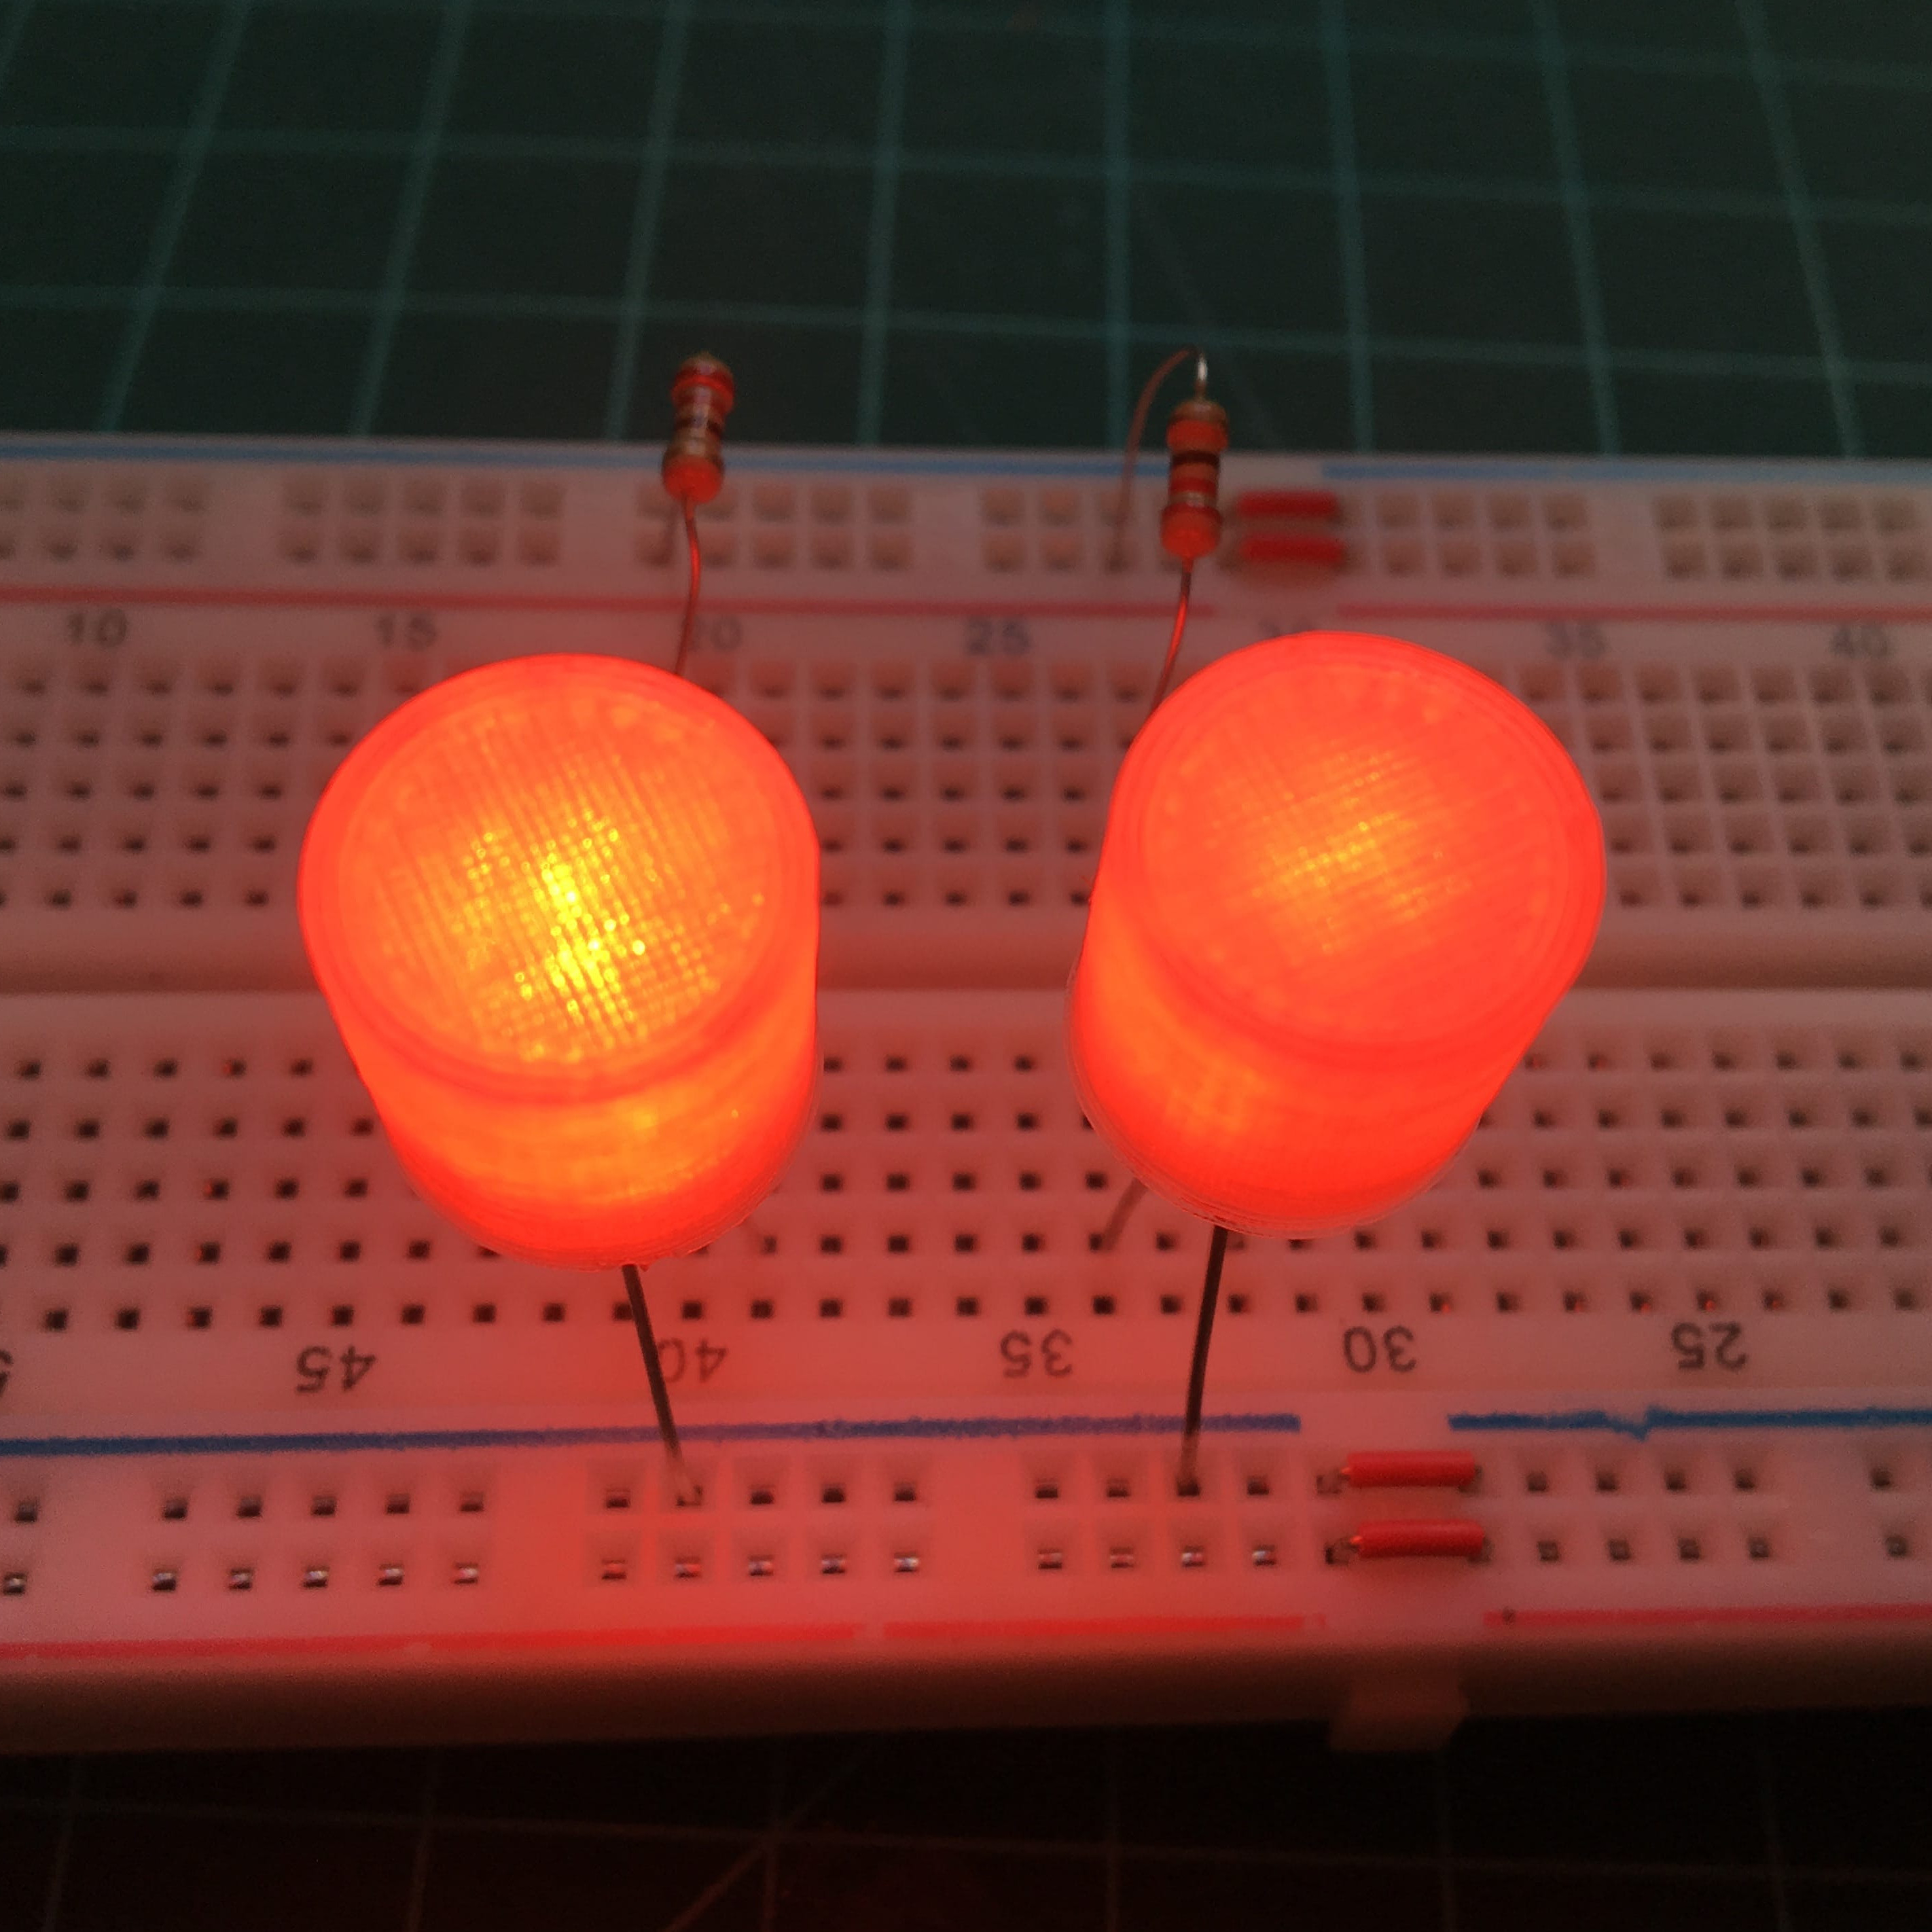
There are a number of ways to efficiently and elegantly limit an LED’s brightness, but [Tommy] found that using a light pipe or diffuser can integrate better with a device, especially when the device itself is mostly 3D printed in the first place.

Infill has an effect on appearance. 20% infill on the left, 100% infill on the right.

For some problems the Goldilocks approach is the way to go. [Tommy] designed a small array of different LED cover options, and tested each to see what yielded the best results for his printed kit. Some of the biggest takeaways include:

  • 100% infill is best for even results (although interesting shadows happen at less than 100% infill.)
  • Interesting things happen with 7 to 11 mm of top layers of clear PLA, when illuminated from below with a 5 mm high-brightness LED. An even diffusion of light starts to give way to a circular gradient as the upper layer gets thicker.
  • LEDs emit their light mainly upward in a round pattern. Corners will always be darker, even more so if the guide is not round. This effect becomes noticeably more pronounced as the light guide grows in size, putting a practical upper limit on its effective dimensions.

[Tommy] explores these kinds of issues because he designs and builds electronic synth instruments, and they are mostly 3D printed. He explores efficiency and is always happy to share his findings about what works and doesn’t work.

Of course, the usual ways to deal with an overly-bright LED are to limit its current or control its brightness by driving it with a PWM signal. The right approach depends on the application and the scale of the design, and there are actually quite a few ways to crack this nut. Luckily, our own [Inderpreet Singh] is here to tell you all about how best to control LED brightness.

LED Christmas Lights Optimized For Max Twinkleage

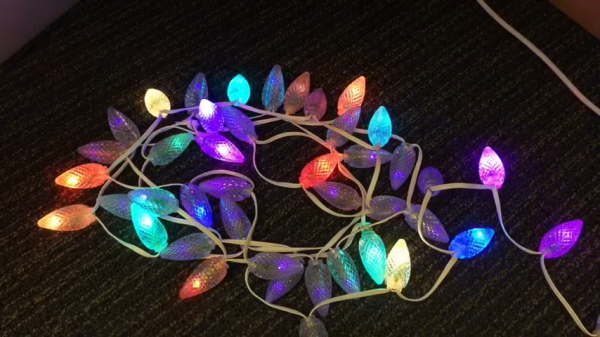
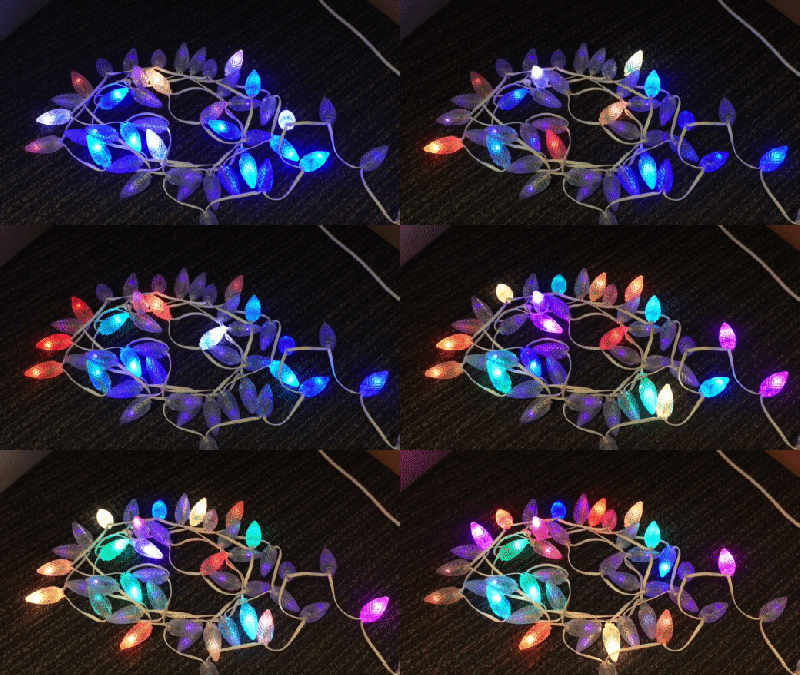
Old-school filament-based Christmas lights used to be available in twinkling form. LEDs, with their hard-on and hard-off nature, aren’t naturally predisposed to such behavior. To rectify this, some time ago, [Mark Kriegsman] built an Arduino program that makes LEDs twinkle beautifully.

The program is known as TwinkleFOX, and relies on the popular FastLED library for addressable LEDs. [Mark’s] demo setup is built around using WS2811 LEDs, put together in a string with plastic diffusers on each bulb. The Arduino is programmed to vary the brightness of each LED according to a triangle wave function. To create the twinkling effect, each LED has its own unique clock signal, so they vary in brightness at different times and at different rates.
Using an Arduino Uno or Leonardo, [Mark] reports its possible to twinkle 300 individual LEDs at a rate of over 50 updates a second. Using a faster microcontroller should net reliable performance with longer strings. Meanwhile, if you’re wondering how the older-style lights used to twinkle, we’ve covered that before too. Video after the break.

Continue reading “LED Christmas Lights Optimized For Max Twinkleage”

Bicycle Gets Turn Signals And Brake Lights For Added Safety

Traveling by bicycle can be a fun and exciting mode of transportation, and can also save a ton of money compared to driving a car. There are plenty of places around the world where a bicycle is the primary mode of transportation for a significant percentage of the population, but there are many more places that are designed entirely for cars with little thought given to anyone else. For anyone riding a bike, especially for people living in these car-dominated areas, additional safety measures like this LED array are often necessary.

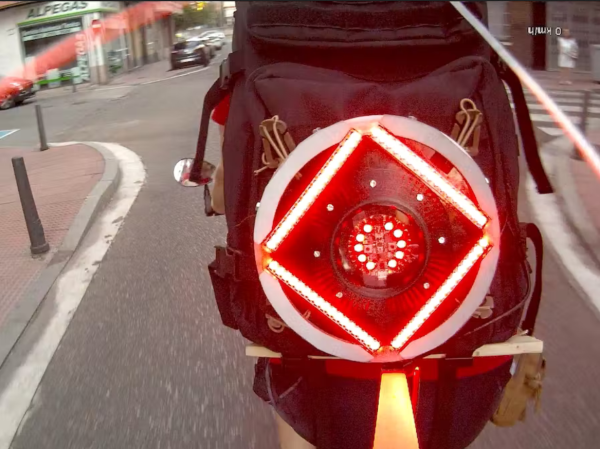
The light array was created by [Estudio Roble] for traveling around his city. The design is based on the Adafruit Circuit Playground Express, which sits directly in the middle of the light fixture. Surrounding it is a diamond-shaped strip of LEDs within an additional ring. The light uses a bright blue color for normal driving, but is programmed to turn red when the accelerometer in the dev board detects braking. There are also integrated turn signals which operate similarly to motorcycle turn signals. The signal is sent wirelessly between the handlebar switch to the lights.

The device itself clips onto any backpack, and since the controller is wireless there are no wires to connect every time a rider gets on their bike. It’s quite an improvement over the complete lack of lighting on most bikes. If you’ve read this far, you need to check out this bicycle headlight which uses a projector to display information directly in the path of travel.

Continue reading “Bicycle Gets Turn Signals And Brake Lights For Added Safety”