Asking machines to make music by themselves is kind of a strange notion. They’re machines, after all. They don’t feel happy or hurt, and as far as we know, they don’t long for the affections of other machines. Humans like to think of music as being a strictly human thing, a passionate undertaking so nuanced and emotion-based that a machine could never begin to understand the feeling that goes into the process of making music, or even the simple enjoyment of it.
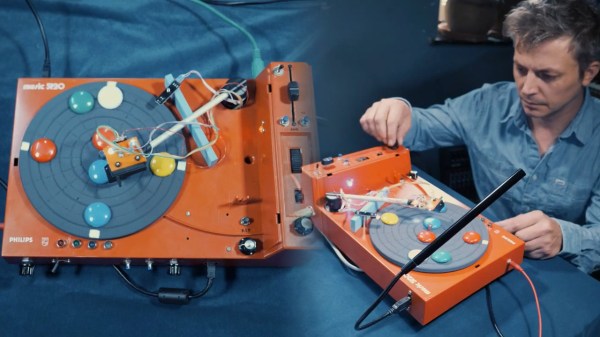
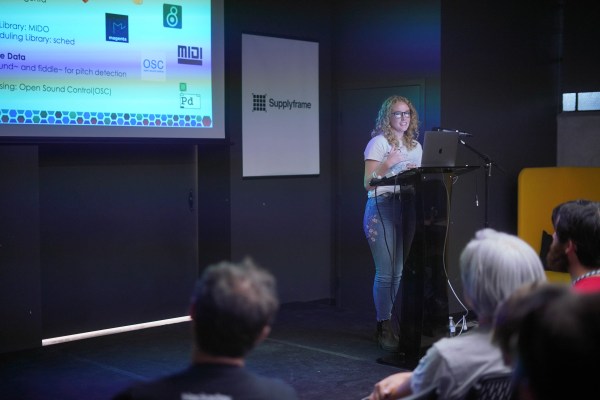
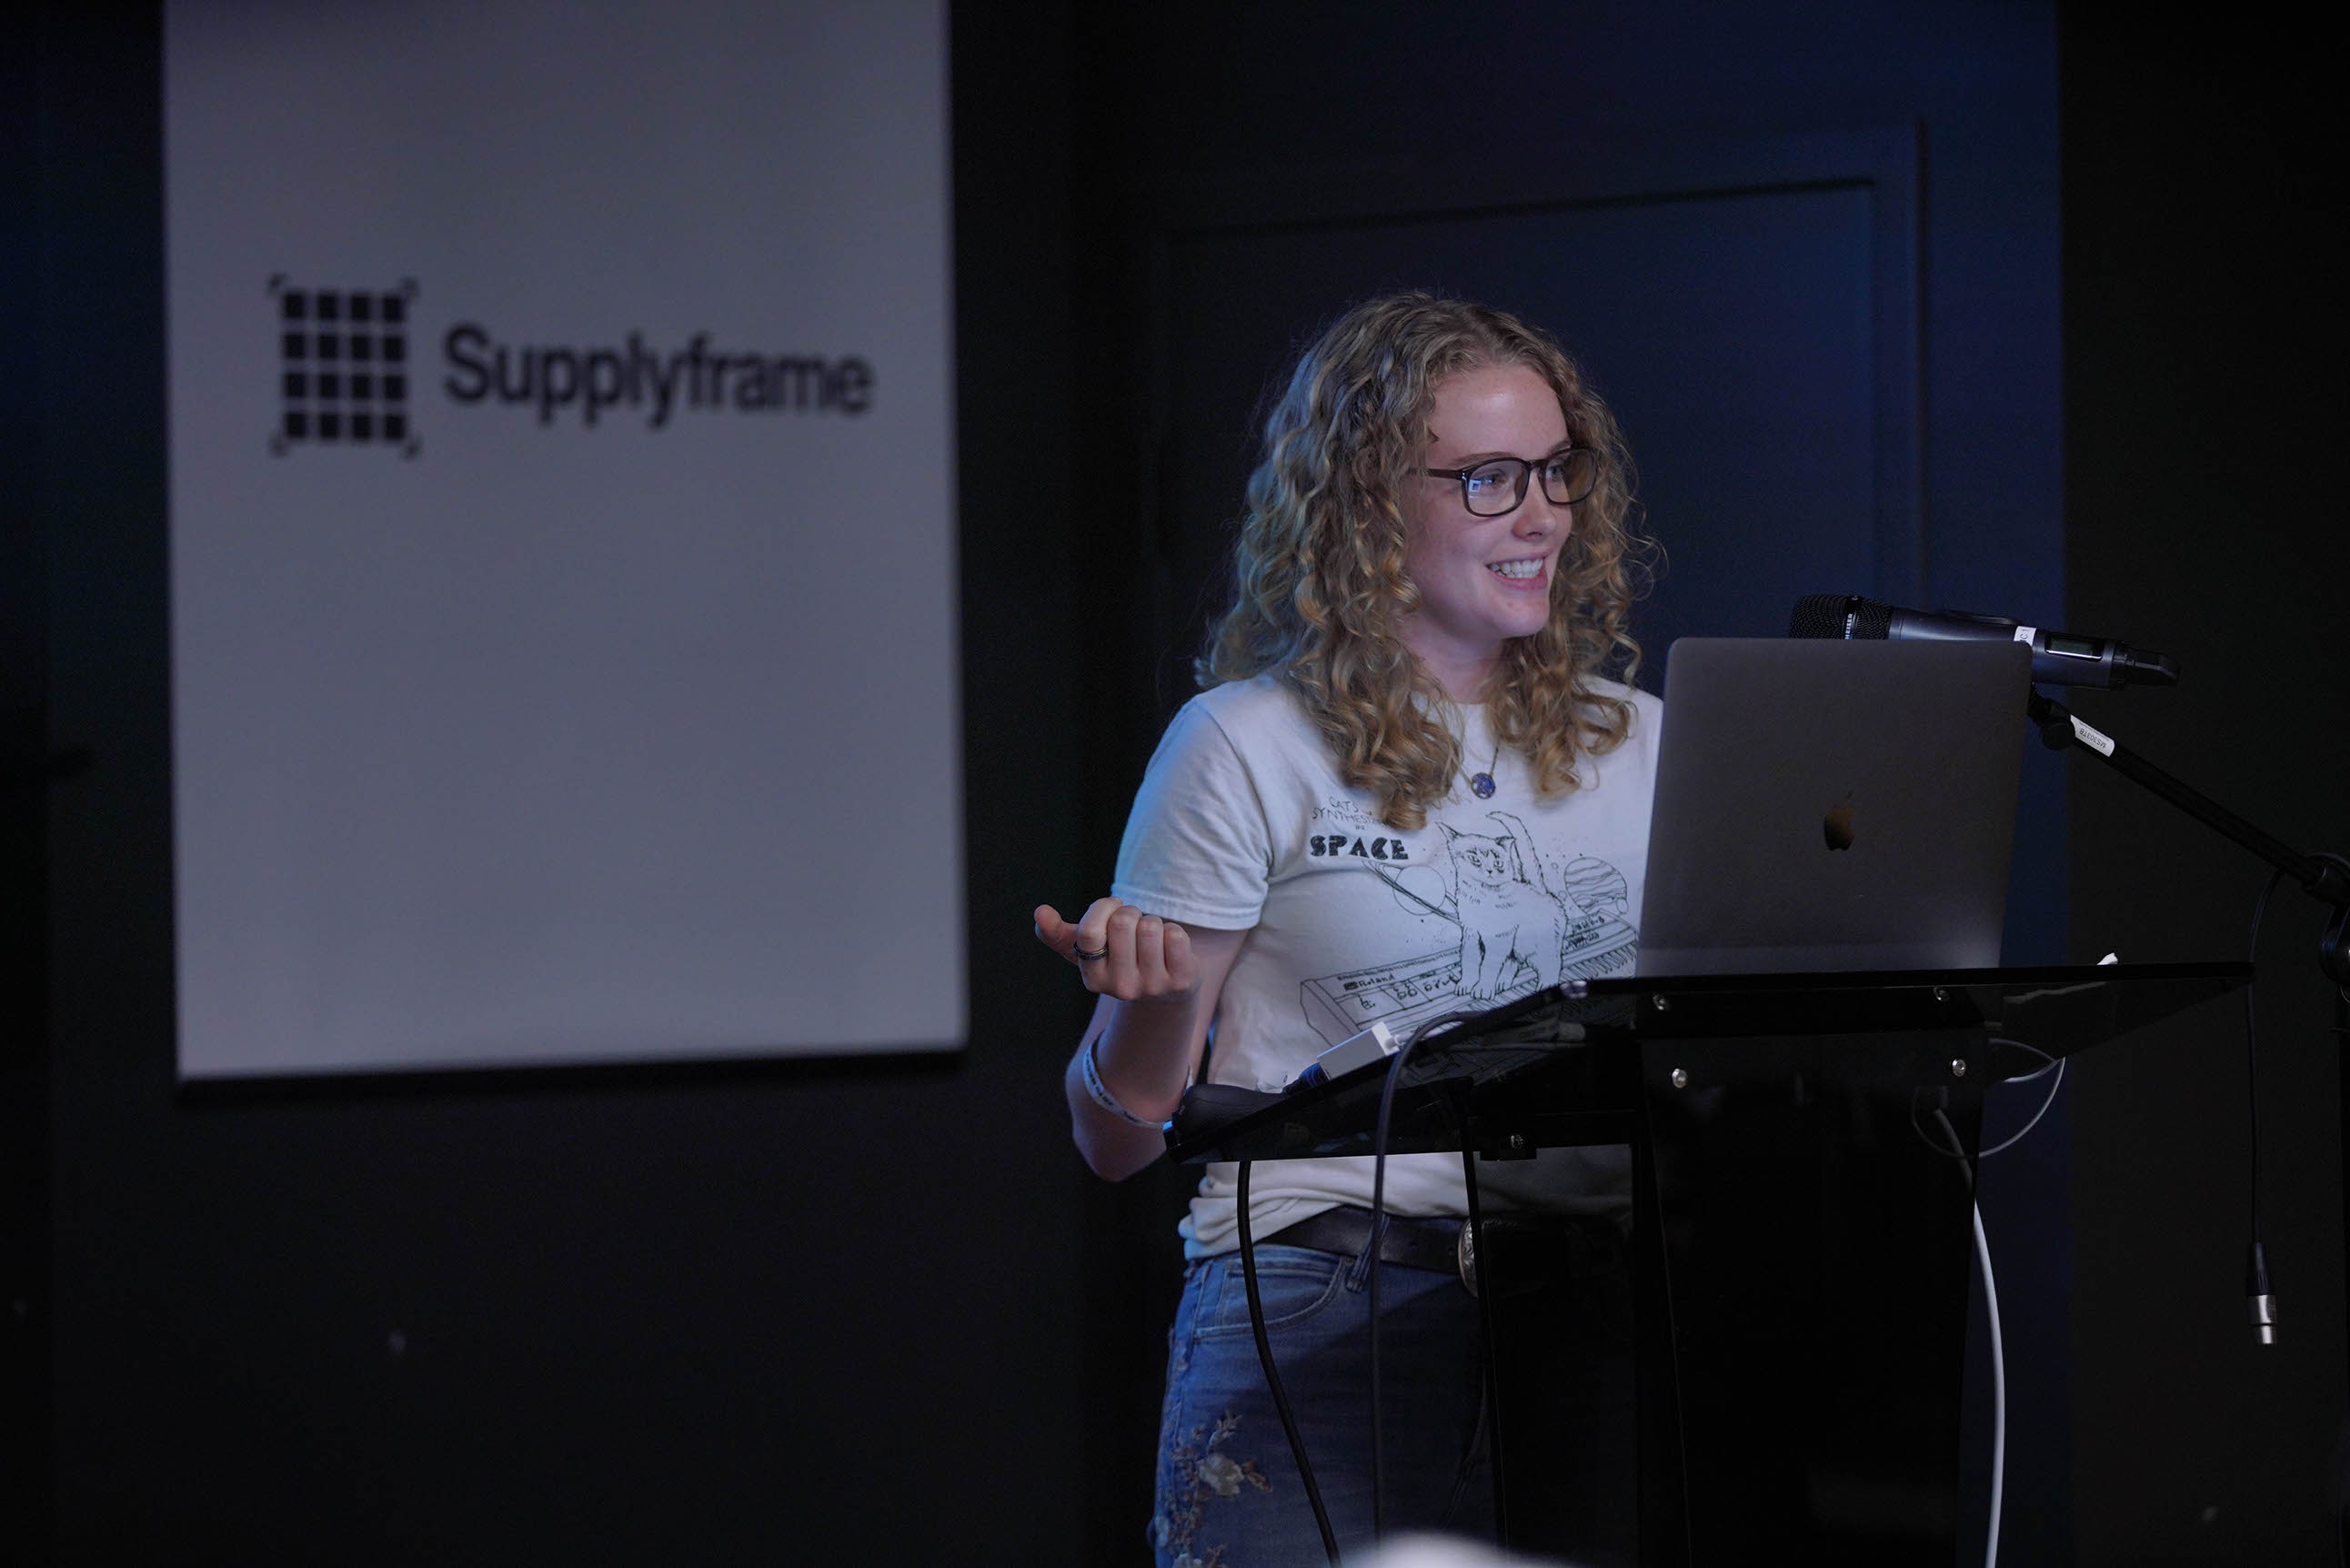 The idea of humans and machines having a jam session together is even stranger. But oddly enough, the principles of the jam session may be exactly what machines need to begin to understand musical expression. As Sara Adkins explains in her enlightening 2019 Hackaday Superconference talk, Creating with the Machine, humans and machines have a lot to learn from each other.
To a human musician, a machine’s speed and accuracy are enviable. So is its ability to make instant transitions between notes and chords. Humans are slow to learn these transitions and have to practice going back and forth repeatedly to build muscle memory. If the machine were capable, it would likely envy the human in terms of passionate performance and musical expression.