Spring is headed back toward the northern hemisphere, and we’ll soon see brilliant tulips waking up from their dirt naps to dot the thawing landscape with vibrant hues. These harbingers of spring are closely associated with the Netherlands, but they are actually native to Turkey and central Asia, and weren’t brought to Europe until the 1500s. Tulips became so immensely popular that the market reached what is considered the first speculative financial fever pitch, and crashed hard in 1637.
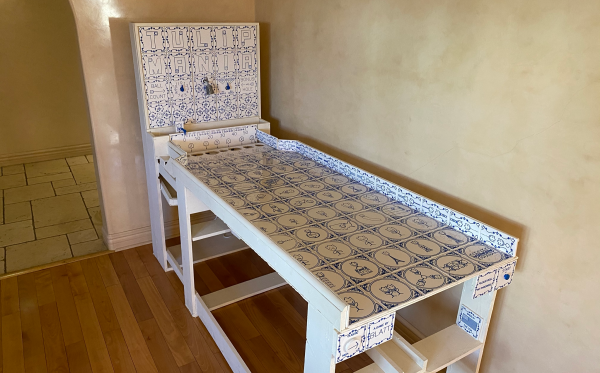
This electromechanical parlor game arranges the tulips with another artifact of the Dutch Golden Age — hand-painted Delft tiles designed to line fireplaces. [BuiltByBlatt] made all 114 of his on a CNC with a paint pen. To play the game, you roll a small ball toward a row of holes with different point values. Each hole has a break beam detector so the Raspberry Pi knows what you scored.
There’s also a rotating bonus hole that changes based on how many balls are left. As your score goes up, Titus the Tulip works his way to the right. It seems like it’d be fairly easy to hit the 5-point hole in the middle, but the tiles give it a horizontal Pachinko feel that makes it move less predictably. Slip into your clogs and check it out after the break.
We love the heavy clacks of electromechanical contraptions, especially old pinball machines. You can even tear ’em down and build them into other games.