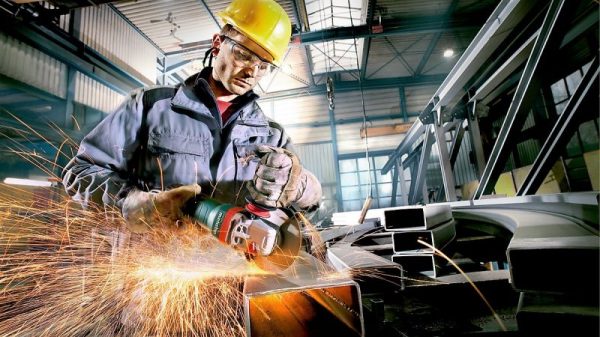
In our “Mechanisms” series, we’ve featured the fascinating bits and pieces that go into making our mechanical world work. From simple machines such as screws and levers, from springs to couplings, and even more complex mechanisms like zippers and solenoids, we’ve covered the gamut. But we haven’t talked about one of the very earliest mechanisms, captured from nature by our clever ancestors to do useful work like grinding grain and shaping materials into tools: grit, sand, abrasives.
resin135 Articles
Slipcasting Resin Prototypes
[Eric Strebel] doesn’t need an introduction anymore. If there is a picture of an elegantly designed part with a professional finish on our pages, there is a good chance he has a hand in it. This time he is sharing his method of making a part which looks like it is blow-molded but it is not. Blow-molded parts have a distinctive look, especially made with a transparent material and [Eric’s] method certainly passes for it. This could upgrade your prototyping game if you need a few custom parts that look like solidified soap bubbles.
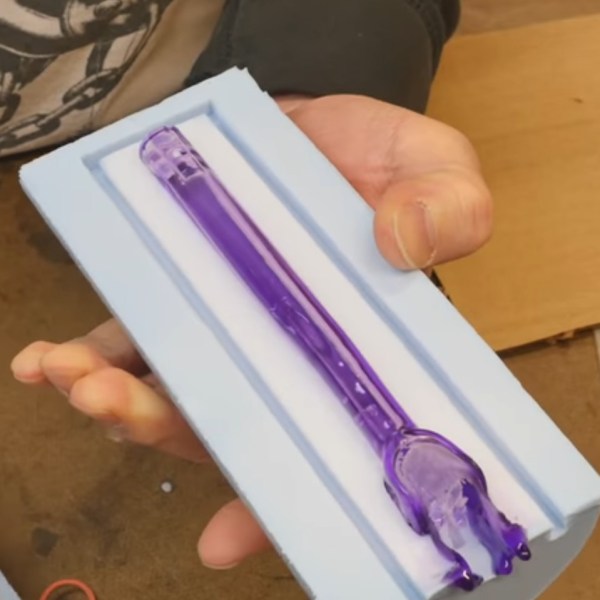
Mold making is not covered in this video, which can also be seen below the break, but we can help you out with a tip or two. For demonstration’s sake, we see the creation of a medical part which has some irregular surfaces. Resin is mixed and degassed then rolled around inside the mold. Then, the big reveal, resin is allowed to drain from the mold. Repeat to achieve the desired thickness.
This is a technique adapted from ceramics called slipcasting. For the curious, an elegant ceramic slipcasting video demonstration can be seen below as well. For an added finishing touch, watch how a laquer logo is applied to the finished part; a touch that will move the look of your build beyond that of a slapdash prototype.
More education from this prolific maker can be seen in his video on painting with a professional-looking finish and his tips for working with foam-core.
Review Of The Moai SLA 3D Printer
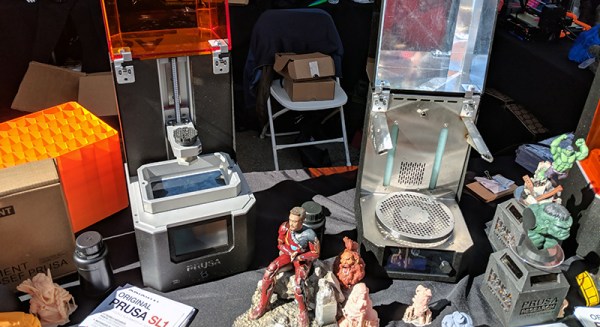
It is funny how we always seem to pay the same for a new computer. The price stays the same, but the power of the computer is better each time. It would appear 3D printers may be the same story. After all, it wasn’t long ago that sinking a thousand bucks or more on a 3D printer wouldn’t raise any eyebrows. Yet today you can better printers for a fraction of that and $1,300 will buy you an open source Moai SLA printer as a kit. [3D Printing Nerd] took a field trip to MatterHackers to check the machine out and you can see the results in the video below.
The printer uses a 150 mW laser to make parts up to 130 mm by 130 mm by 180 mm. The laser spot size is 70 micron (compare that to the typical 400 micron tip on a conventional printer). The prints require an alcohol bath after they are done followed by a UV curing step that takes a few hours.
What Would Sherlock Print, If Sherlock Printed In SLA Resin?
Resin printing — or more appropriately, stereolithography apparatus printing — is a costly but cool 3D printing process. [Evan] from [Model3D] wondered if it was possible to produce a proper magnifying glass using SLA printing and — well — take a gander at the result.
A quick modeling session in Fusion 360 with the help of his friend, [SPANNERHANDS 3D Printing] and it was off to the printer. Unfortunately, [Evan] learned a little late that his export settings could have been set to a higher poly count — the resultant print looked a little rough — but the lens would have needed to be sanded anyway. Lucky coincidence! After an eight hour print on his Peopoly Moai using clear SLA resin, [Evan] set to work sanding.
Continue reading “What Would Sherlock Print, If Sherlock Printed In SLA Resin?”
Enresoning An IPhone 8 Ring
The iPhone 8 was just released last week, and that means some people were standing in line in front of an Apple store for hours waiting to get their hands on the latest and greatest glowing rectangle. [Patrick Adair] had a better idea: he would stand in front of an Apple store for four hours, then do something productive with his new smartphone. With the help of a waterjet, some resin, a lathe, and some very fine grades of sandpaper, he created the Apple Ring.
Setting aside the whole process of actually acquiring an iPhone 8 on launch day, the process of turning an iPhone into a ring is more or less what you would expect. First, the iPhone was cut into ring-shaped pieces on a waterjet cutter. Special care was taken to avoid the battery, and in the end [Patrick] was able to get a nice chunk ‘o phone that included the camera lens.
This ring piece was then embedded in clear resin. For this, [Patrick] used Alumilite epoxy, a pressure pot, and a toaster oven to cure the resin. Once the phone parts were firmly encased for the rest of eternity, the ring blank moved over to the lathe. The center of the ring was bored out, and the process of sanding, polishing and gluing in all the tiny parts that fell out during the process commenced. The end result actually looks pretty great, and even though it’s probably a little too bulky, it is a remarkable demonstration of the craft of turning.
You can check out [Patrick]’s video below, along with a video from the Waterjet Channel showing the deconstruction of a glowing rectangle.
The Illuminated Waterways Of The United States
A recent convert to the ways of the laser cutter, redditor [i-made-a-thing] was in want of a project and — stumbling on some waterways maps on Etsy — launched into fabricating an illuminated map of all the waterways in the United States.
The map itself was laser-cut out of 1/4 inch plywood at his local makerspace. Thing is, smaller rivers and tributaries were too narrow at the scale [i-made-a-thing] wanted, so he ended up spending several hours in Photoshop preparing the image so larger rivers would be laser-cut — and not break off– while the rest would be etched onto the surface. After testing the process by making a few coasters, he was ready to get started on the real deal.
Continue reading “The Illuminated Waterways Of The United States”
Casting Metal Directly Into 3D Printed Molds
Casting metal and 3D printing go together like nuts and gum, and there are no shortage techniques that use the two together. Lost PLA casting is common, and sculptors are getting turned on to creating their works in plastic first before sending it off to the foundry. Now the folks at FormLabs have turned the whole ‘casting metal and 3D printer’ thing on its head: they’re printing sacrificial molds to cast pewter.
There are two techniques demonstrated in this tutorial, but the real winner here is printing a complete sacrificial mold for pewter miniatures. While this technique requires a little bit of work including washing, curing, and a bit of post-processing, you would have to do that anyway with anything coming out of a resin printer.
The material of choice for these molds is a high temp resin with a heat deflection temperature of 289 °C. Using a pewter alloy that melts at 260 °C, casting a metal miniature is as simple as pouring molten metal into a mold. Demolding might be a little finicky, but with a small screwdriver used as a chisel, it’s possible to get the cast newly parts out.
We’ve seen pewter casting with PLA, but the quality available from the Form resin printers is truly amazing and produces some great looking miniatures.