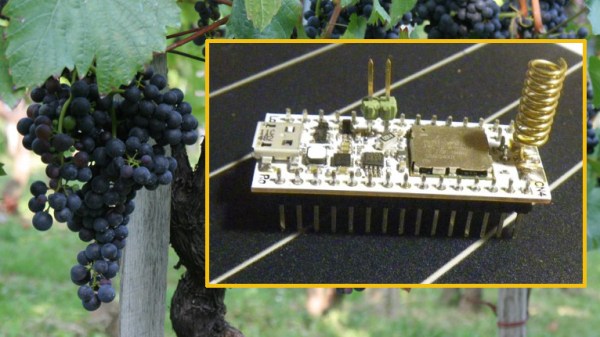
Making wine isn’t just about following a recipe, it’s a chemical process that needs to be monitored and managed for best results. The larger the batch, the more painful it is to have something go wrong. This means that the stakes are high for small vineyards such as the family one [Mare] works with, which have insufficient resources to afford high-end equipment yet have the same needs as larger winemakers. The most useful thing to monitor is the temperature profile of the fermentation process, and [Mare] created an exceptional IoT system to do that using LoRa wireless and solar power.
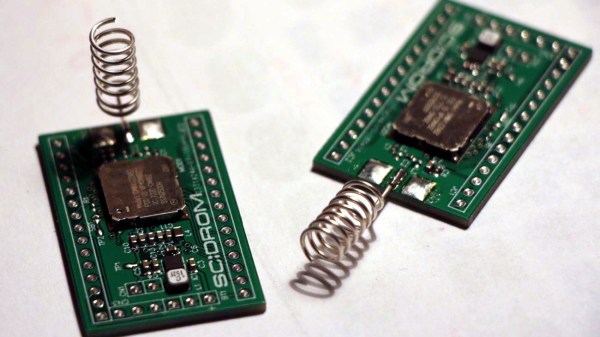
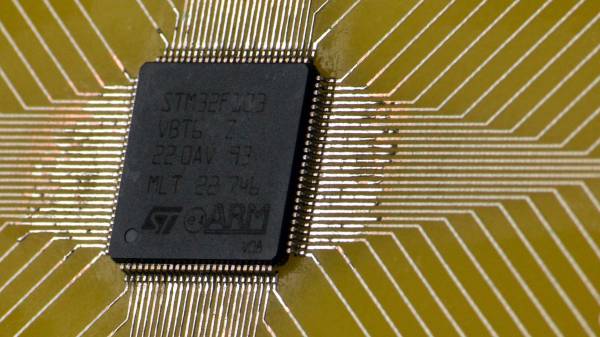
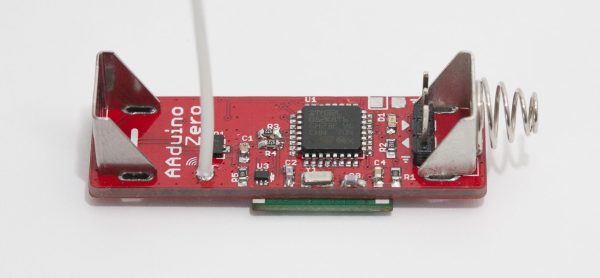
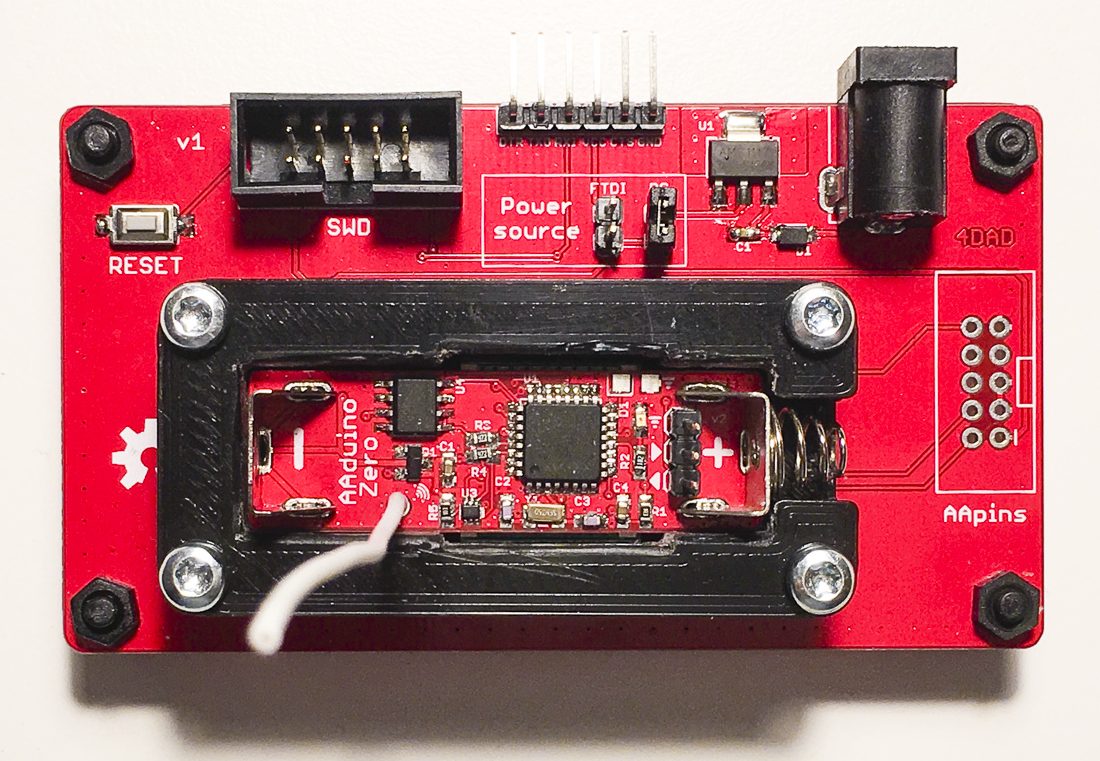
It’s not enough just to measure temperature of the fermenting liquid; viewing how the temperature changes over time is critical to understanding the process and spotting any trouble. [Mare] originally used a Raspberry Pi, I2C temperature sensor, and a Wi-Fi connection to a database to do the monitoring. This was a success, but it was also overkill. To improve the system, the Raspberry Pi was replaced with a LoRaDunchy board, an STM-based module of [Mare]’s own design which is pin-compatible with the Arduino Nano. It includes a battery charger, power management, and LoRa wireless communication. Adding a solar cell and lithium-polymer battery was all it took to figuratively cut the power cord.
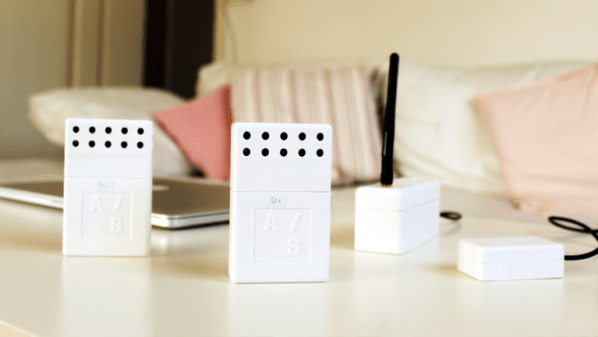
Sensing the temperature of fermentation is done by sealing the temperature sensor into a thin aluminum tube, and lowering that into the vat. There it remains, with the LoRaDunchy board periodically waking up to read the sensor and report the tempurature over LoRa before going back to sleep, all the while sipping power from the battery which in turn gets recharged with solar power.
It’s an elegant system that has already paid off. A 500 litre vat of wine generated an alarm when the temperature rose above 24 Celsius for 10 minutes. An email alert allowed the owner to begin mixing the solution and add ice water to put the brakes on the runaway reaction. The temperature dropped and slow fermentation resumed, thanks to the twin powers of gathering the right data, then doing something meaningful with it.
Vineyards and LoRa have joined forces before, for example in the Vinduino project which aims to enable water-smart farming. If you’re unfamiliar with LoRa in general, the LoRa on the ESP32 project page contains a good primer, and if the antenna on the module shown here looks familiar to you it’s because we recently featured [Mare]’s guide on making DIY LoRa antennas from salvaged wire.