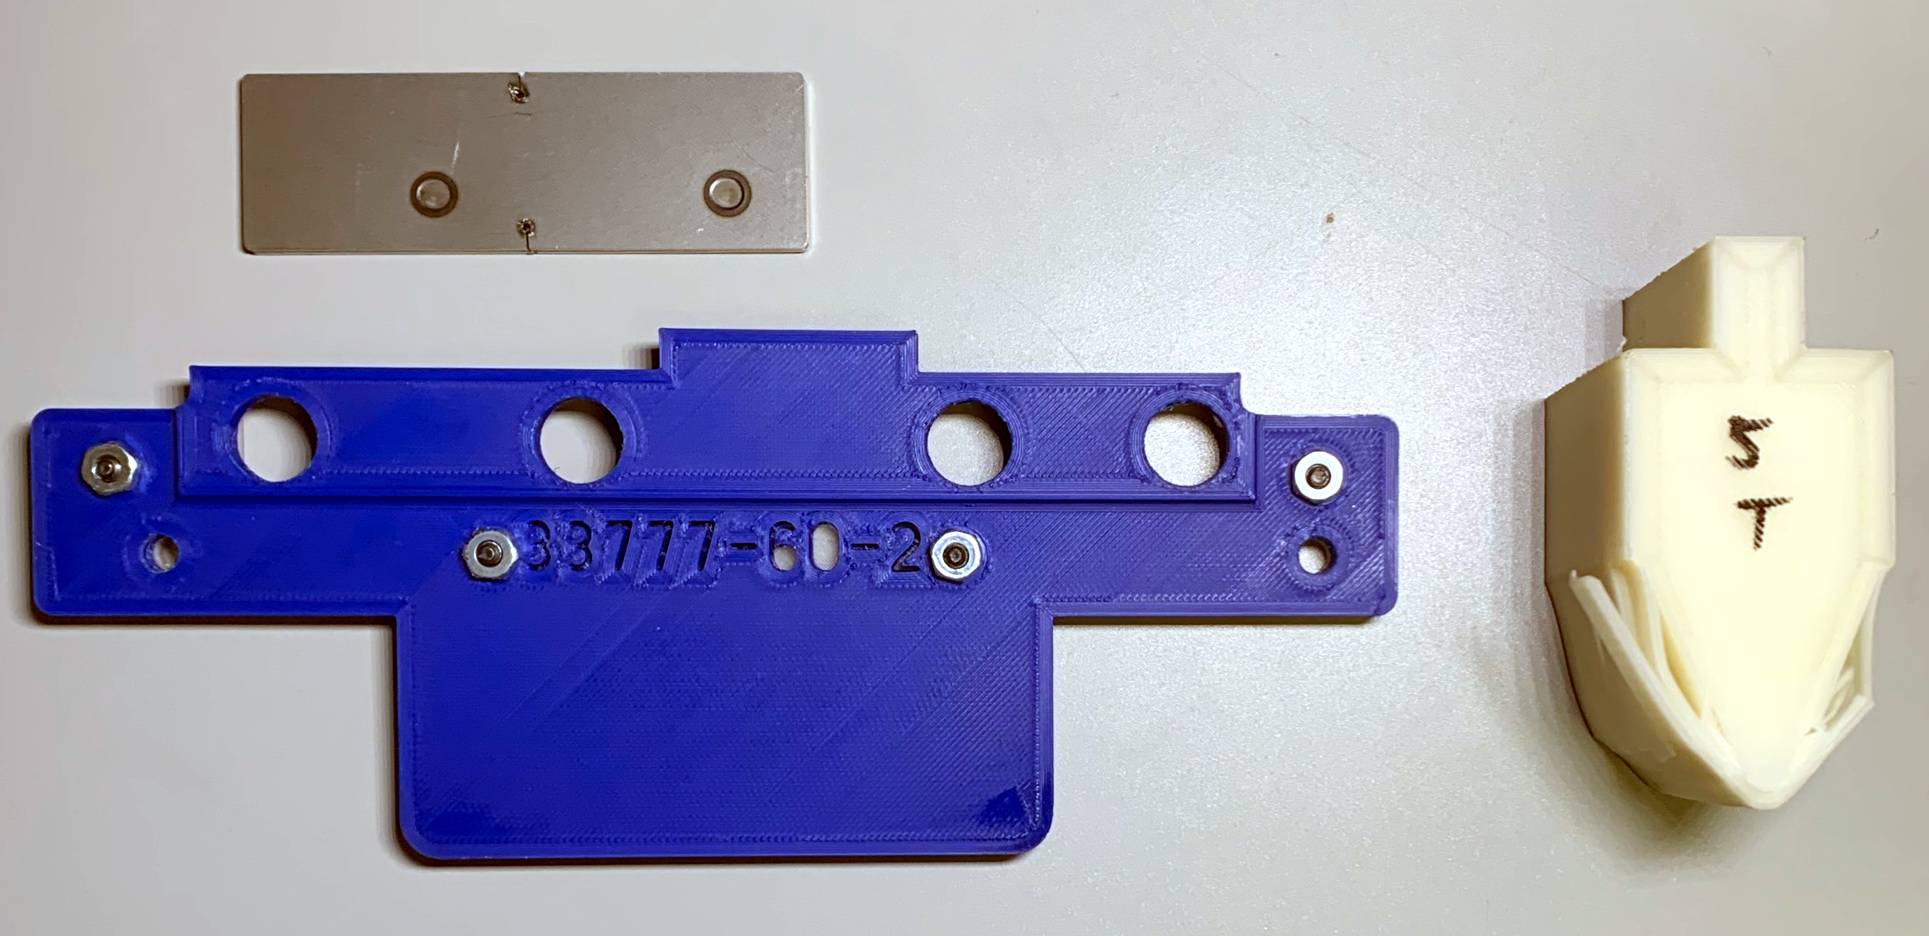
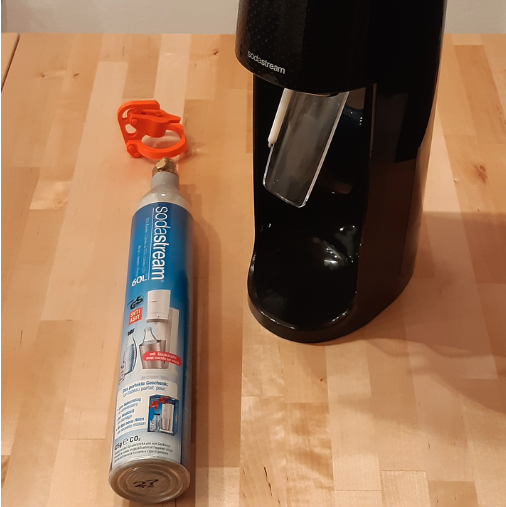
 Soda Stream machines use a cylinder of compressed CO2 to carbonate beverages, and cylinders that are “empty” for the machine’s purposes in fact still have a small amount of gas left in them. User [Graldur] shared a clever design for using up those last gasps from a cylinder by turning it into a makeshift compressed air gun, the kind that can blow crumbs or dust out of inconvenient spots like the inside of a keyboard. It’s 3D printed in PETG with a single seal printed in Ninjaflex.
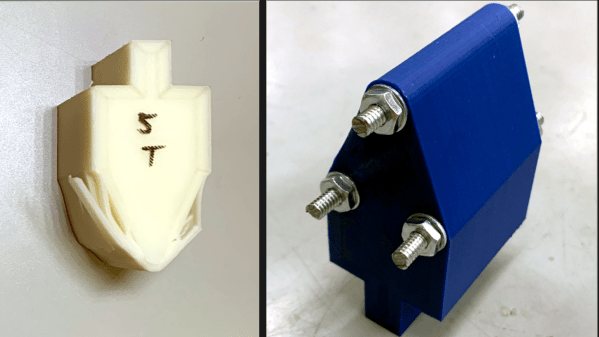
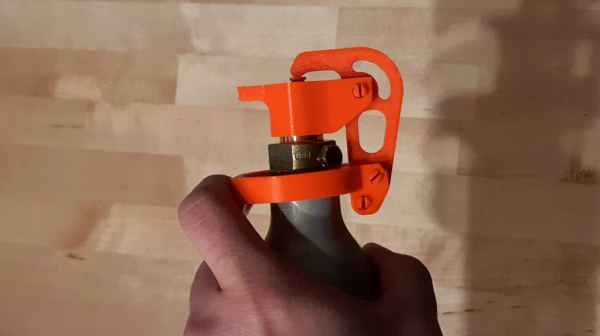
[Graldur]’s 3D printed assembly screws onto the top of an “empty” cylinder and when the bottom ring is depressed like a trigger, the valve is opened slightly and the escaping gas is diverted through a narrow hole in the front. As a result, it can be used just as you would a can of compressed air. The gas outlet even accommodates the narrow plastic tubes from WD-40 cans (or disposable compressed air cans, for that matter) if more precision is required.
The design is intended for use with nearly-empty cylinders, but even so, [Graldur] also points out that it has been designed such that it can never fully actuate the cylinder’s release valve no matter how hard one presses, so don’t modify things carelessly. We also notice the design keeps the user’s hand and fingers well away from the business end of things.
This device also reminds of somewhat of a past experiment which used 3D printing to create serviceable (albeit low pressure) 3D printed compressed air tanks in custom shapes.