Scrappy: Drag Racing Bush Plane

We like to feature hacks that are affordable and accessible to the average person, but from time to time it’s fun to dream about the projects we’ll tackle when we’re all grown up and stinking rich. [Mike Patey] appears to fall rather comfortably in the latter category, but thankfully he hasn’t lost his “excited kid with big plans” spirit. A talented and experienced experimental aircraft builder, he’s currently working on Scrappy, a small bush plane built to be a short take-off and landing drag racer.

Scrappy started life as a Carbon Cub, a modernized kit version of the venerable Piper Super Cub. The only thing left of the original plane is a part of the fuselage frame, with almost everything else being custom. The engine is a 780 cubic inch (13 liter) horizontally opposed 8-cylinder, scavenged from one of [Mike]’s racing planes, and fitting it required extensive structural changes to the fuselage. The paddle-like propeller was intended for an airboat, and is designed for high thrust at low speeds. The skin of the aircraft is all carbon fiber, and the suspension almost looks like it’s borrowed from an off-road racing truck. [Mike] also added (and test fired) a ballistic recovery parachute. The cockpit instruments are also over-the-top for an aircraft like this, with seven Garmin multi-function displays.

Scrappy is still missing its wings, which will also be heavily modified. From the oil-cooling system to the door latch and gust-lock for the stick, everything was designed and made by [Mike]. We’re enjoying the in-depth build videos that show how he tackles all the little challenges that pop-up in such an ambitious project.

[Mike] made a name for himself with his previous monster bush plane Draco, which was sadly destroyed during an ill-considered take-off last year. Fortunately nobody was harmed in the incident, and Draco became a part donor for Scrappy. If budget planes are more your style, check out [Peter Sripol]’s latest electric microlight.
Continue reading “Scrappy: Drag Racing Bush Plane”

A Heat Reclaimer For Your Woodstove; The One Thing It’s Not Is Cool

It’s the middle of winter for those of us who live in the Northern Hemisphere, which naturally turns minds towards heating, or sometimes the lack of it. It’s particularly difficult for those who rely on a wood stove to escape the feeling that perhaps most of that hard-won heat may be whistling up the chimney rather than keeping them warm. It’s a problem [Lou] has addressed with his DIY chimney heat reclaimer.

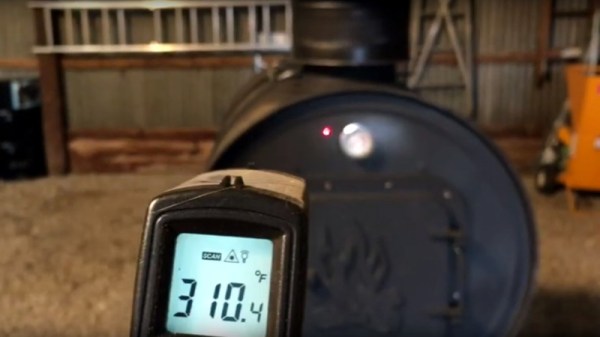
As can be seen from the video below the break, his stove appears to be in a workshop, and has a long single-wall metal stove pipe. Over the outside of this he’s placed a pair of T pieces joined by a longer length of pipe all of a larger bore, and a mains-powered fan forces air through this air jacket. The result is a continuous flow of hot air that he claims delivers a 45% heat reclamation. We’re curious though whether the reduction in flue temperature might cause extra tar condensation and thus the build-up of flammable material further up the chimney. The stove itself is a double barrel affair with access for smoking, and the video describing it is worth a look in itself.

Whatever the stove, be sure to ensure a constant supply of fuel!

Continue reading “A Heat Reclaimer For Your Woodstove; The One Thing It’s Not Is Cool”

Nissan Gives Up Root Shell Thanks To Hacked USB Drive

For the impatient Nissan owners who may be joining us from Google, a hacker by the name of [ea] has figured out how to get a root shell on the Bosch LCN2kai head unit of their 2015 Xterra, and it looks like the process should be the same for other vehicles in the Nissan family such as the Rogue, Sentra, Altima, and Frontier. If you want to play along at home, all you have to do is write the provided image to a USB flash drive and insert it.

Now for those of us who are a more interested in how this whole process works, [ea] was kind of enough to provide a very detailed account of how the exploit was discovered. Starting with getting a spare Linux-powered head unit out of a crashed Xterra to experiment with, the write-up takes the reader through each discovery and privilege escalation that ultimately leads to the development of a non-invasive hack that doesn’t require the user to pull their whole dashboard apart to run.

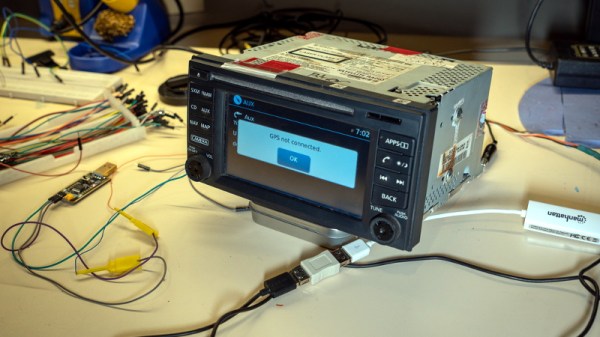
The early stages of the process will look familiar to anyone who’s messed with embedded Linux hacking. The first step was to locate the board’s serial port and connect it to the computer. From there, [ea] was able to change the kernel parameters in the bootloader to spawn an interactive shell. To make things a little easier, the boot scripts were then modified so the system would start up an SSH server accessible over a USB Ethernet adapter. With full access to the system, the search for exploits could begin.

A simple script on the flash drive enables the SSH server.

After some poking, [ea] discovered the script designed to mount USB storage devices had a potential flaw in it. The script was written in such a way that the filesystem label of the device would be used to create the mount point, but there were no checks in place to prevent a directory traversal attack. By crafting a label that read ../../usr/bin/ and placing a Bash script on the drive, it’s possible to run arbitrary commands on the head unit. The provided script permanently adds SSHd to the startup process, so when the system reboots, you’ll be able to log in and explore.

So what does [ea] want to do with this new-found exploit? It looks like the goal is to eventually come up with some custom programs that extend the functionality of the in-dash Linux system. As it seems like these “infotainment” systems are now an inescapable feature of modern automobiles, we’re certainly excited to see projects that aim to keep them under the consumer’s control.

Run The Math, Or Try It Out?

I was reading Sonya Vasquez’s marvelous piece on the capstan equation this week. It’s a short, practical introduction to a single equation that, unless you’re doing something very strange, covers everything you need to know about friction when designing something with a rope or a cable that has to turn a corner or navigate a wiggle. Think of a bike cable or, in Sonya’s case, a moveable dragon-head Chomper. Turns out, there’s math for that! Continue reading “Run The Math, Or Try It Out?”

An Op-Amp From The Ground Up

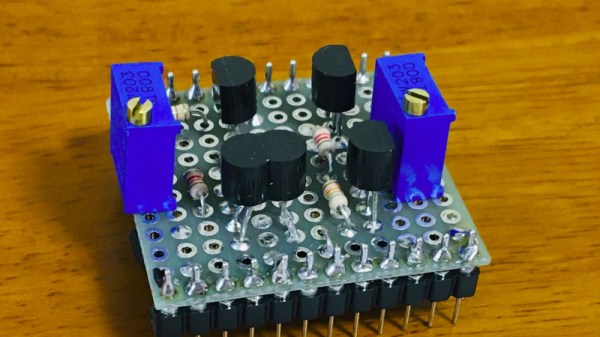
If we had to pick one part to crown as the universal component in the world of analogue electronics, it would have to be the operational amplifier. The humble op-amp can be configured into so many circuit building blocks that it has become an indispensable tool for designers. It’s tempting to treat an op-amp as a triangular black box in a circuit diagram, but understanding its operation gives an insight into analogue electronics that’s worth having. [Mitsuru Yamada]’s homemade op-amp using discrete components is thus a project of interest, implementing as it does a complete simple op-amp with five transistors.

Looking at the circuit diagram it follows the classic op-amp with a long-tailed pair of NPN transistors driving a PNP gain stage and finally a complimentary emitter follower as an output buffer. It incorporates the feedback capacitor that would have been an external component on early op-amp chips, and it has a couple of variable resistors to adjust the bias. Keen eyed readers will notice its flaws such as inevitably mismatched transistors and the lack of a current mirror in the long-tailed pair, but using those to find fault in a circuit built for learning is beside the point. He demonstrated it in use, and even goes as far as to show it running an audio power amplifier driving a small speaker.

For the dedicated student of op-amps, may we suggest further reading as we examine the first integrated circuit op-amp?

USB-C Charging On Your ThinkPad, One Step At A Time

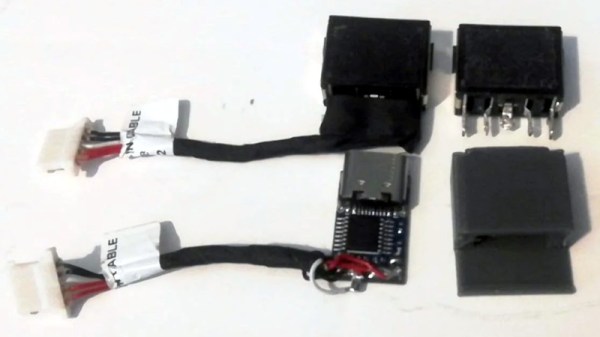
Hackers love their ThinkPads. They’re easy to work on, well documented, and offer plenty of potential for upgrades. For the more daring, there’s also a wide array of community-developed modifications available. For example, [Berry Berry Sneaky] has recently put together a step-by-step guide on swapping the common ThinkPad rectangular charging port (also used on ThinkBooks and other Lenovo machines) for USB-C Power Delivery.

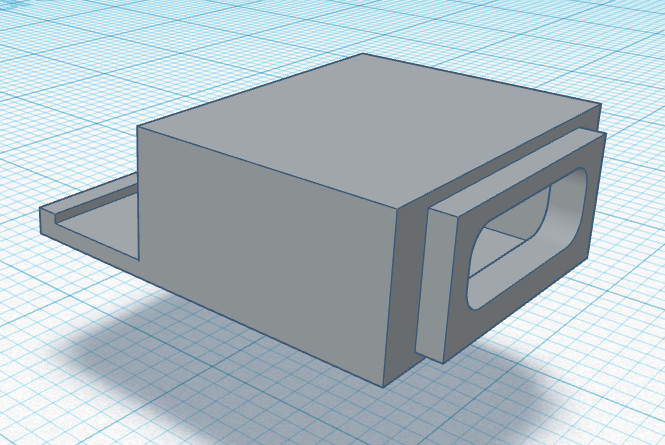
Now to be clear, this is not a new concept. But between freely sharing the STL for the 3D printed adapter, providing a full parts list, and providing clear instructions on how to put it all together, [Berry Berry Sneaky] has done a fantastic job of making this particular modification as approachable as possible. For the cost of a common PDC004 Power Delivery “trigger” module and a bit of PETG filament, you can add yet another device to the list of things that work with your shiny new USB-C charger.

While not strictly necessary, [Berry Berry Sneaky] recommends getting yourself a replacement DC input cable for your particular machine before you crack open the case. That will let you assemble everything ahead of time, making the installation a lot quicker. It will also let you keep the original rectangular power jack intact so you can swap it back in if something goes wrong or you decide this whole unified charging thing isn’t quite what you hoped for.

Not a member of the ThinkPad Army? No worries. We’ve seen a lot of interest in using these configurable USB-C trigger modules to upgrade all manner of devices to the new Power Delivery standard or sometimes put together custom battery chargers for their older mobile gadgets.

Giant DIY Mouse Sets The Ball Free

Make the move to a split keyboard and the first thing you’ll notice is that you have all this real estate between the two halves. (Well, as long as you’re doing it right). This is the perfect place to keep your cat, your coffee cup, or in [Jacek]’s case, your fantastic DIY trackball mouse.

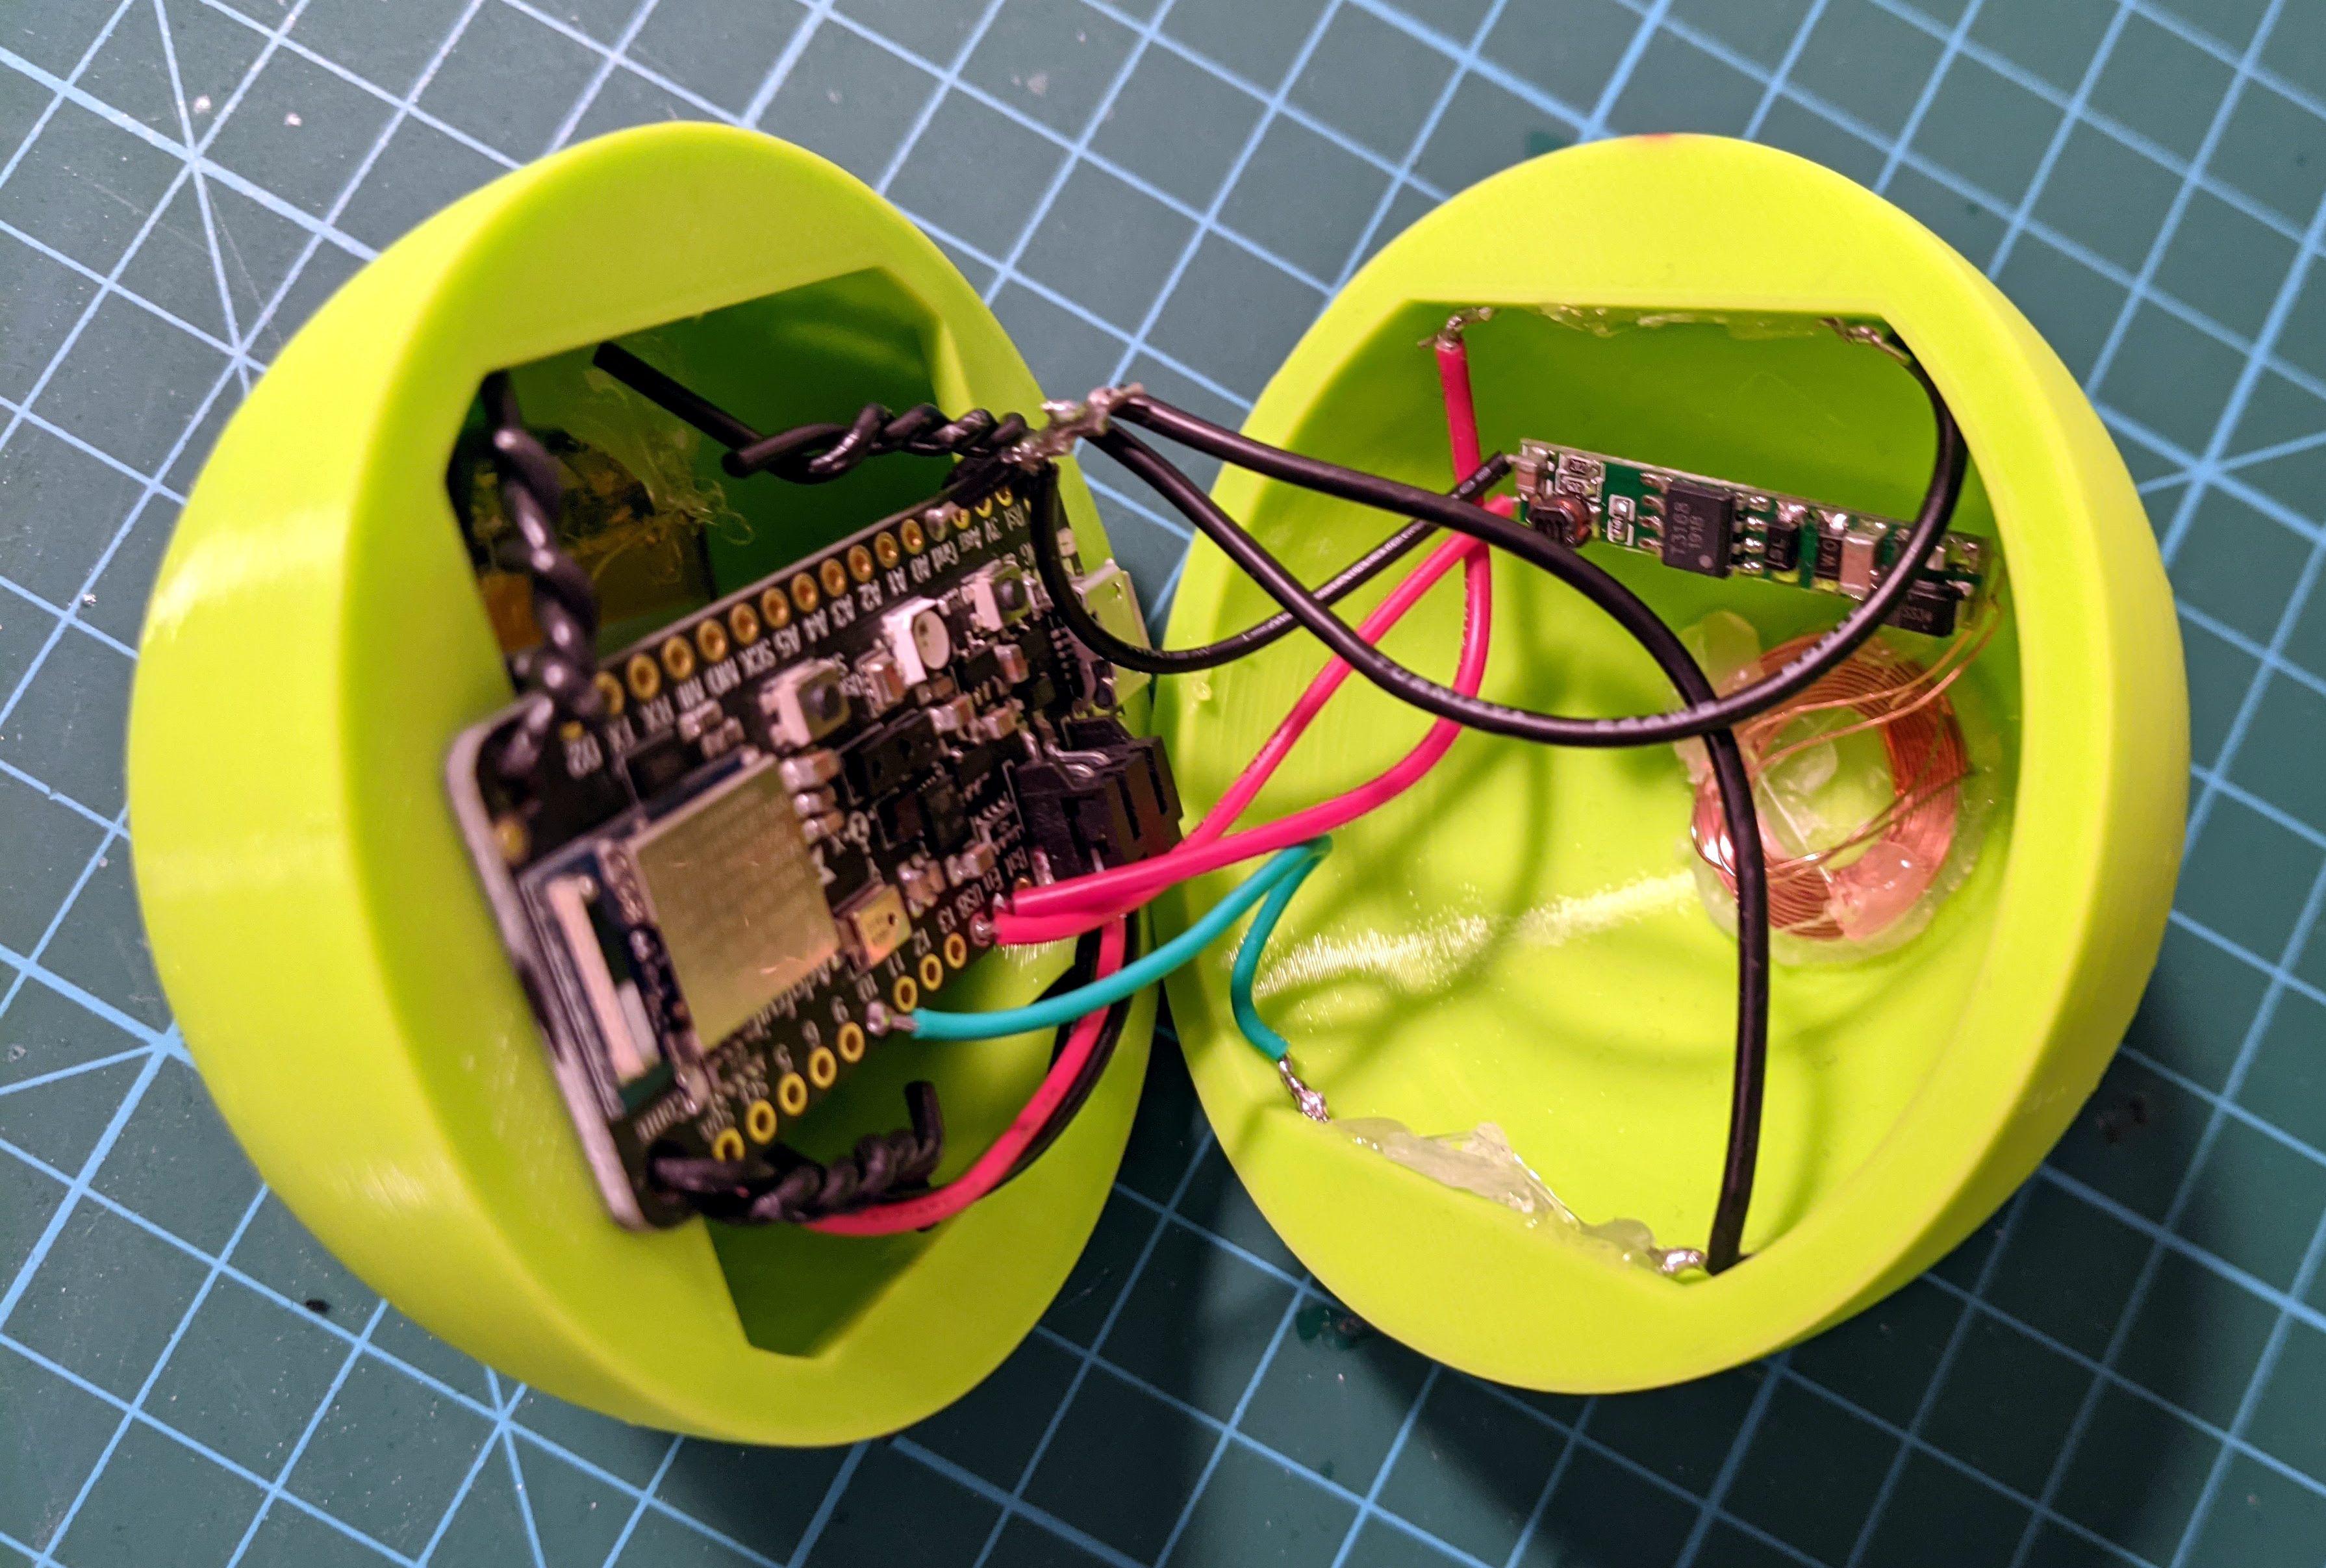
Don’t be fooled by the orange plastic base — all the electronics are rolled up inside that big sexy ball, which [Jacek] printed in two halves and glued together. Inside the ball there’s an Adafruit Feather nRF52840 Sense, which has an onboard accelerometer, gyroscope, and magnetometer. As you’ll see in the video after the break, the Feather takes readings from these and applies a sensor-fusing algorithm to determine the ball’s orientation in 3D space before sending its position to the computer. To send the click events, [Jacek] baked some mouse buttons into the keyboard’s firmware. Among the other Feather sensors is a PDM MEMS microphone, so detecting taps on the ball and translating them to clicks is not out of the question for a future version.

Here comes the really clever part: there are two reed switches inside the ball. One is used as a power switch, and the other is for setting the ‘up’ direction of the trackball. The ball charges wirelessly in a 3D printed base, which also has a small neodymium magnet for activating the reed switches. Check out the demo after the break, which shows [Jacek] putting the trackball through its paces on a mouse accuracy testing program.

If you prefer your DIY trackballs to be more standard looking, click on over to the Ploopy project.

Continue reading “Giant DIY Mouse Sets The Ball Free”