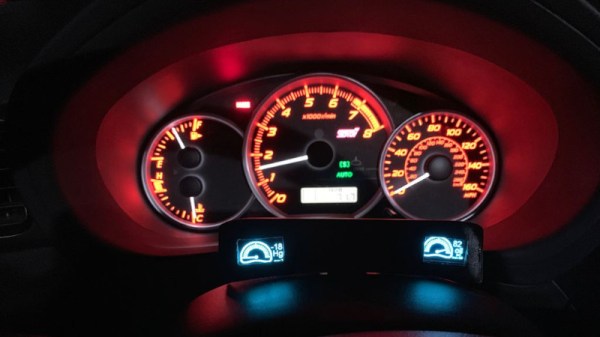
For the average motorist, the speedometer and the fuel indicator are the primary gauges of interest. Owners of performance or modified cars tend to like having more information on the way the car is running. [JustinN1] is firmly in that camp, and built some WiFi-enabled gauges for his Subaru WRX STi.
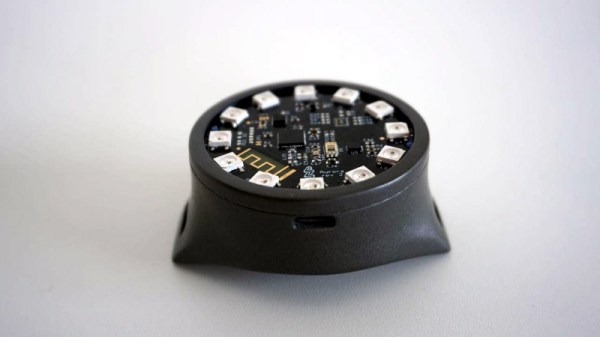
The gauges run on the ESP32 platform, chosen for its WiFi hardware and its ease of use with the Arduino platform. This makes programming a snap, and interfacing to a smartphone easy. OLED displays were chosen for their good visibility in both day and night conditions, which is important for automotive applications.
[JustinN1] developed both a boost/vacuum gauge and an oil pressure gauge, both useful for keeping an eye on what the engine is doing. Measuring boost is as simple as using an off-the-shelf analog air pressure sensor. The oil pressure sensor is a resistive part, and must is hooked up through a resistor divider to create an analog voltage for the ESP32 to read.
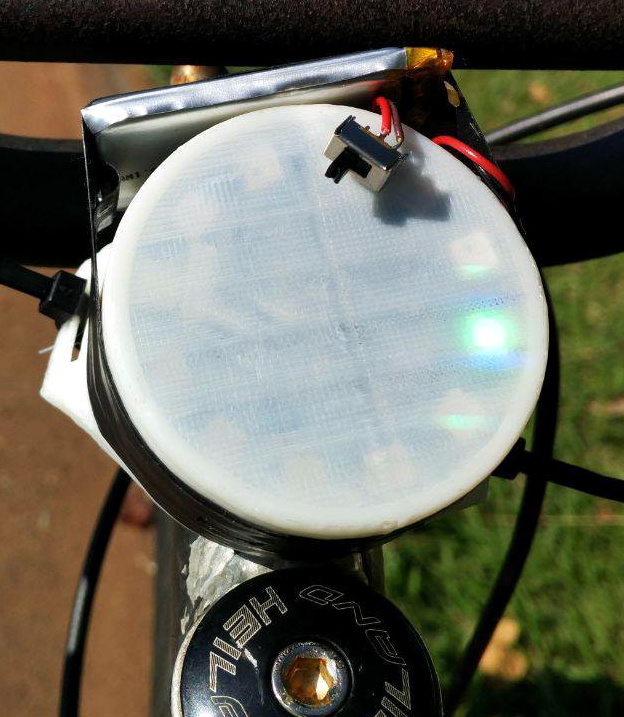
Code is on Github, and there’s even a version that displays a grinning face when you get into higher boost levels. There are also a series of housings to suit various mounting choices, to help give the gauges a more finished look. We’ve seen other gauge builds too, like this gear indicator for a Suzuki motorcycle. Video after the break.

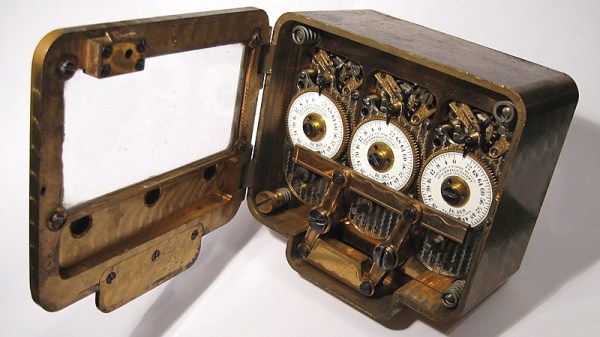
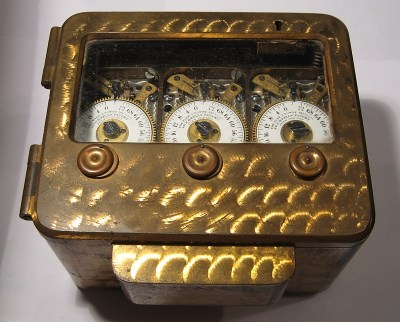 The concept of a time lock is an old one, and here you can see an example of