Linux! Such a wonderful, rich, capable operating system has blessed us, and all for the low, low cost of absolutely free. It’s under the hood of countless servers, computers, phones, and embedded devices, and is the go-to solution for when you want to get the job done right. Why, then, does it curse me so?
Prologue

My experience with the almighty penguin stretches back to the late 90s. Facebook hadn’t been invented yet, so most weekends were spent installing whatever came on the front of the latest computer mags. I wish I was kidding, but I’m really not.
Way back when, us kids would load the latest Red Hat or Fedora distribution onto our hand-me-down Pentium IIs, trying not to accidentally wipe our hard drive in the process. Limited to dial-up internet and very few help resources, it was pretty common that you’d spend hours watching progress bars tick over, only to wind up with no working mouse, or an X server that simply refused to start for man or God. Did I mention we did all this for fun?
Trying To Get Some Work Done
Of course, after growing up, real life and real responsibilities take over. Now, if I’m using Linux, it’s because I’ve got a job to do, not just because there’s nothing good to watch on Cartoon Network this weekend. I consider myself to be a fairly intermediate user. I’ve compiled a few things successfully, understood how to work with a variety of package managers, and once, just once, even managed to connect to a wireless network from the command line. There’s not a whole lot that phases me in this realm anymore.
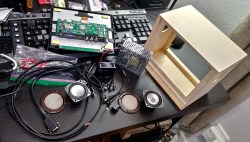
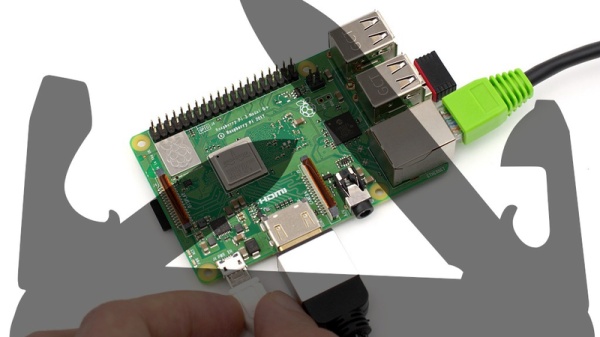
For the past few years, I’ve been slowly working on a little rover by the name of TKIRV, powered by a Raspberry Pi. It was overdue for a camera upgrade, as I’d been using an old Microsoft webcam for far too long. I ordered a nice 1080p Raspberry Pi camera, and naturally the parts marinated in their boxes for a good couple of years. Finally, after much procrastination, I was eager to get my wheely boi back out on the road.
This was but the beginning my weekend slaying embedded Linux dragons.
Continue reading “Building A Raspberry Pi Rover: My Big Fat Linux Weekend”