It’s that time of year again, and students around the world are scrambling (or have already scrambled) to finish their final projects for the semester. And, while studying for finals prevents many from sleeping an adequate amount, [Julia] and [Nick] are seeking to maximize “what little sleep the [Electrical and Computer Engineering] major allows” them by using their final project to measure sleep quality.
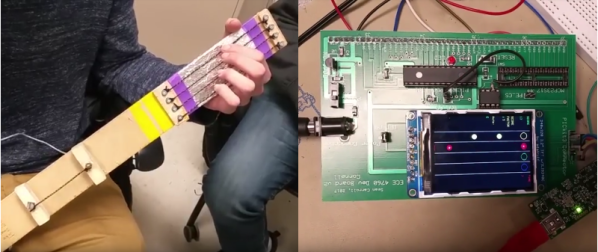
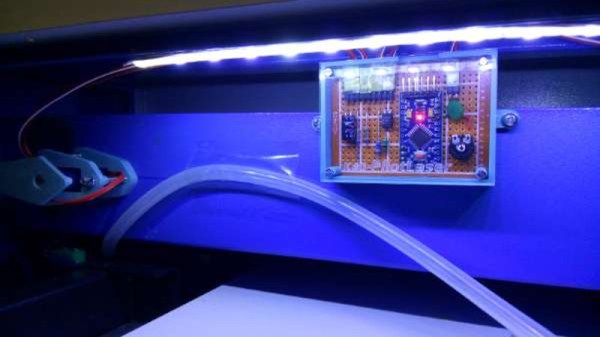
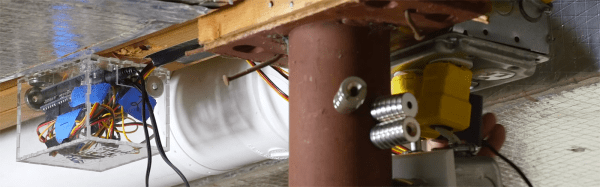
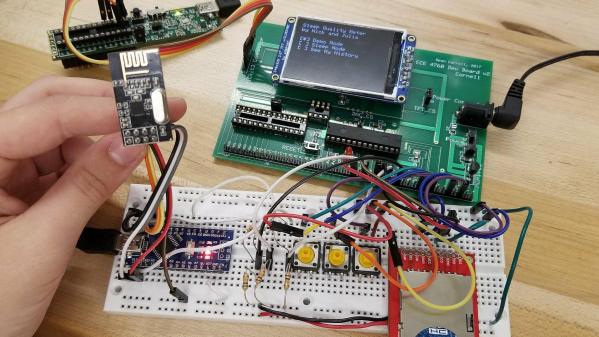
To produce a metric for sleep quality, [Julia] and [Nick] set out to measure various sleep-related activities, specifically heart rate, motion and breath frequency. During the night, an Arduino Nano mounted to a glove collects data from the various sensors mounted to the user, all the while beaming the data to a stationary PIC for analysis and storage. When the user awakes, they can view their sleep report on a TFT display at the PIC base station. Ideally, users would use this data to test different habits in order to get the best nights sleep possible.
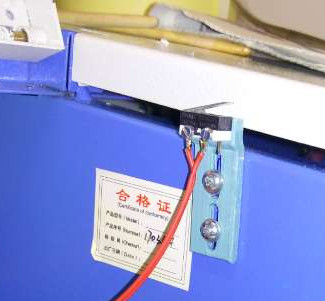
Interestingly, the group chose to implement their own heart rate sensor. With an IR transmitter, IR phototransistor and an OP amp, the group illuminates user’s fingers and measure reflection to detect heartbeats. This works because the amount of IR reflected from the user’s finger changes with blood pressure and blood oxygen level, which also happen to change when the heart is beating. There were some bumps along the road when it came to the heartbeat sensor (the need to use a finger instead of the wrist forced them to use a glove instead of a wristband), but we think it’s super cool and totally worth it. In addition to heart rate, motion is measured by an accelerometer and breath is measured by a flex sensor wrapped around the user’s chest.
With all of their data beamed back by a pair of nRF24L01s, the PIC computes the sleep “chaos” which is exactly what it sounds like: it describes just how chaotic the user slept by looking for acyclic and sudden movement. Using this metric, combined with information from breathing and heart rate, the PIC computes a percentage for good sleep where 100% is a great night and 0% means you might have been just as well off pulling an all-nighter. And, to top it all off, the PIC saves your data to an SD card for easy after-the-fact review.
The commented code that powers the project can be found here along with a parts list in their project write-up.
This device assumes that sleeping is the issue, but if waking up if your problem, we’ve already got you covered, aggressive alarm clock style. For those already on top of their sleep, you might want some help with lucid dreaming.
Video of the project explained by [Julia] and [Nick] after the break.