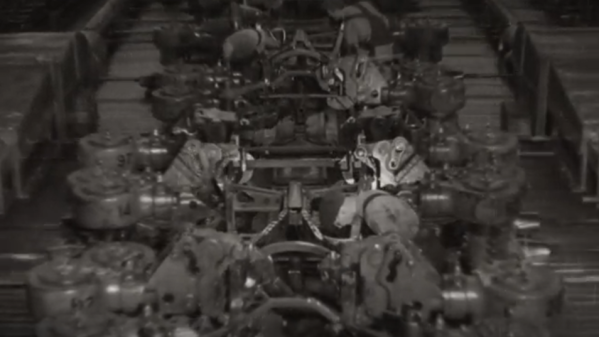
When motion pictures came along as a major medium in the 1920s or so, it didn’t take long for corporations to recognize their power and start producing promotional pieces. A lot of them are of the “march of progress” genre, featuring swarms of workers happy in their labors and creating the future with their bare hands. If we’re being honest, a lot of it is hard to watch, but “Master Hands,” which shows the creation of cars in the 1930s, is somehow more palatable, mostly because it’s mercifully free of the flowery narration that usually accompanies such flicks.
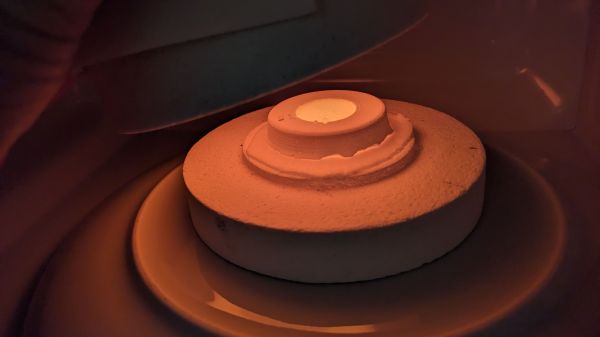
“Master Hands” was produced in 1936 and focuses on the incredibly labor-intensive process of turning out cars, which appear to be the Chevrolet Master Deluxe, likely the 1937 model year thanks to its independent front suspension. The film is set at General Motors’ Flint Assembly plant in Flint, Michigan, and shows the entire manufacturing process from start to finish. And by start, we mean start; the film begins with the meticulous work of master toolmakers creating the dies and molds needed for forging and casting every part of the car. The mold makers and foundrymen come next, lighting their massive furnaces and packing the countless sand molds needed for casting parts. Gigantic presses stamp out everything from wheels to frame rails to body panels, before everything comes together at the end of the line in a delicate ballet of steel and men.
Continue reading “Retrotechtacular: The Master Hands Of The Early Automotive Industry”


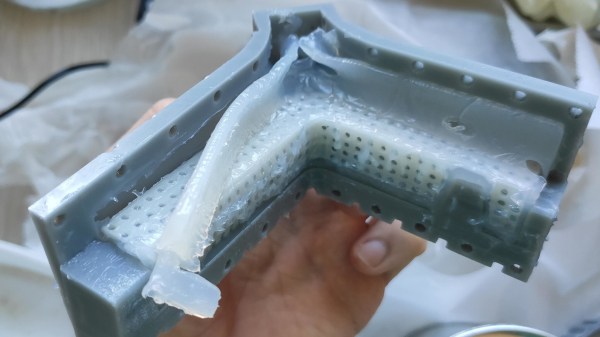
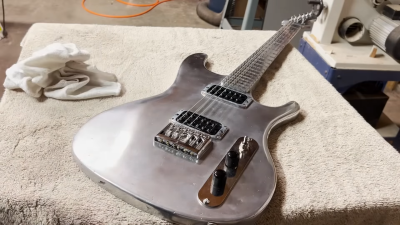 Both the body and neck of the electric guitar are made out of aluminium. It’s an impressive effort, as manufacturing a usable neck requires care to end up with something actually playable when you’re done with it.