[GlytchTech] decided to implement his own Digital Data Link (DDL) for his drone experiments, and by using a Raspberry Pi Zero and some open-source software, he succeeded in creating a mostly self-contained system that delivers HD video and telemetry using an Android phone as a display.
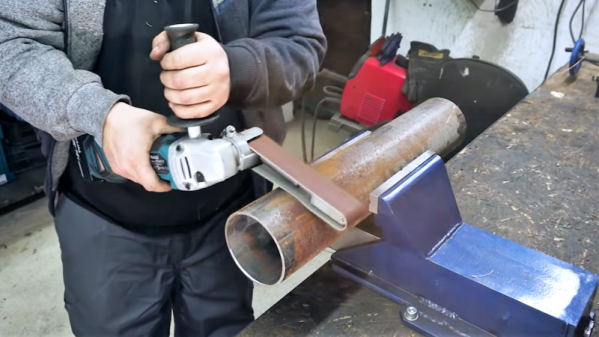
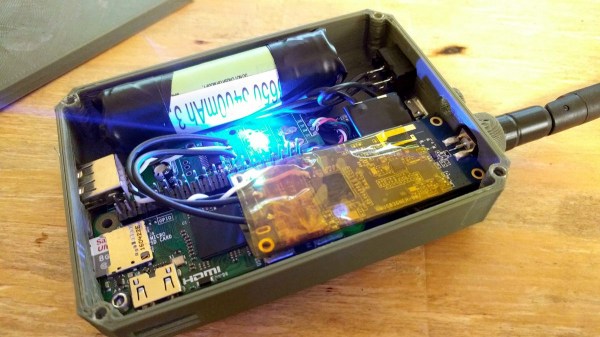
The link uses standard WiFi hardware in a slightly unusual way to create a digital data link that acts more like an analog system, with a preference for delivering low latency video and a graceful drop-off when signal quality gets poor. A Raspberry Pi Zero, Alfa NEH WiFi card, external antenna, battery, and a 3D printed enclosure result in a self-contained unit. Two are needed: one for each end of the link. One unit goes on the drone and interfaces to the flight controller, and the other is for the ground station.
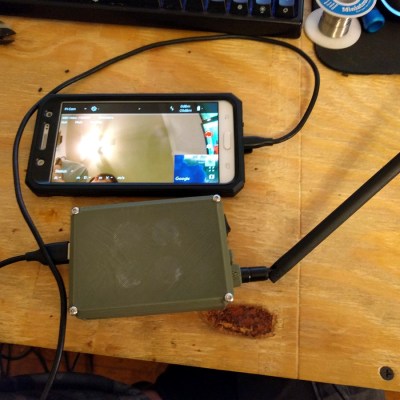
A companion android app allows for just about any old Android phone to serve as video feed, on-screen display of telemetry data, and touchscreen interface.
The software is DroneBridge (GitHub repository) and it implements Wifibroadcast which uses WiFi radios, but without the usual WiFi functionality. A Raspberry Pi is the usual platform, but there’s also an ESP32 port. The software is capable of even more, but so far suits [GlytchTech]’s needs just fine, and he was able to refine his original Watch_Dogs-inspired hacking drone with it.