Every once in a while, we come across a project that adds a ridiculously good twist on an existing design. This is exactly what [Xiao Xiao] and the team at LAM research group at the Institut d’Alembert in Paris have done. Their project T-VOKS is a singing and Speaking Theremin that is sure to drive everyone in the office crazy. (YouTube link, embedded below for your viewing pleasure.)
For the uninitiated, the Theremin is an electronic music instrument that does not require physical contact. Instead, it uses two antennas to sense the distance of the operators hands and uses that to modulate the pitch and volume of the output audio. From music concerts to movie background music to even scaring the neighbours, this instrument can do it all.
T-VOKS is a different take on the instrument, and it interfaces with a voice synthesizer to sing. There is an additional sensor that is used for the syllable sequencing, and the video below shows the gadget in operation. The icing on the cake is the instrument playing, or should that be singing in an actual concert. There is also a research paper detailing the operation on Dropbox[PDF] if you need the nitty-gritty.
We wonder how a TTS engine would work with this idea and hope to see some more projects like it in the future. Fore those looking to get started, have a look at the build guide for a DIY theremin.


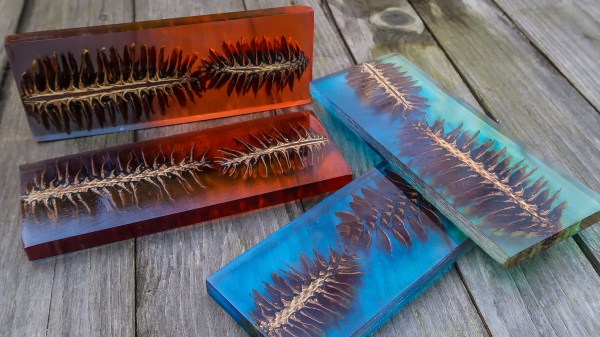
 Briefly, the process is to first bake the pine cones to remove any moisture. Then they get coated in a heat-activated resin for stabilizing, which is a process that infuses and pre-seals the pine cones for better casting results. The prepped pine cones go into molds, clear resin is mixed with coloring and poured in. The resin cures inside a pressure chamber, which helps ensure that it gets into every nook and cranny while also causing any small air bubbles introduced during mixing and pouring to shrink so small that they can’t really be seen. After that is cutting, then sanding and polishing. It’s an excellent overview of the entire process.