If we’ve learned anything, it’s that 3D printers are exceptionally well suited to printing little boats. According to the Internet, 3D printers are at their best when pumping out cute PLA boats in all the colors of the rainbow; perfect for collecting dust on a shelf somewhere. Ask not what your Benchy can do for you, ask what you can do your Benchy.
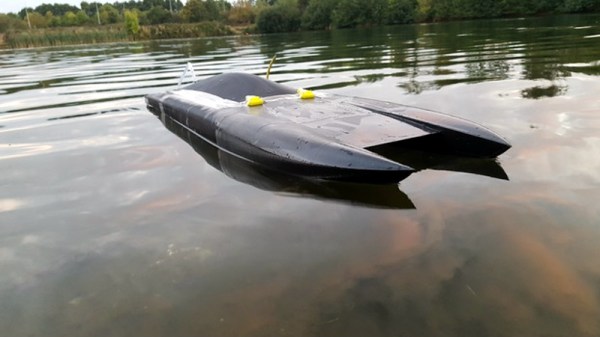
 But this 3D printed boat isn’t so cute and cuddly. In fact, it’s an absolute beast. Built by [Wayne Andrews], this nearly meter long 3D printed racing catamaran looks more Batman than Popeye. In the video after the break you can see a recent run of the boat on the lake, and we think you’ll agree it definitely has the performance to back up its fierce looks.
Impressively, the hull isn’t printed out of some expensive high-tech filament. It’s the cheapest PLA [Wayne] could get his hands on, and glued together with nothing more exotic than Loctite Super Glue Gel. The secret is the internal “West System” fiberglass cloth and resin work, which is the same stuff used on real boat hulls. It took about 5 days of continuous printing to produce all the pieces needed to assemble the hull, which is a scaled up version of a design by [Thomas Simon].
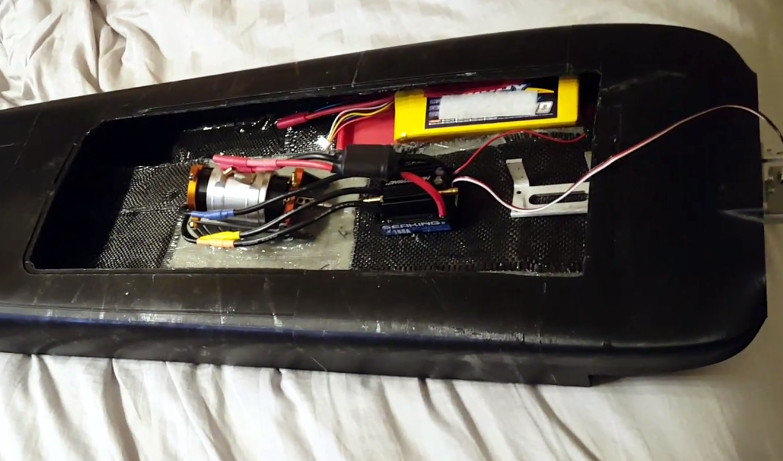
The internal layout is about what you’d expect in a fast RC boat. It’s running on a 1900 Kv motor powered by dual 6S batteries and a water cooled 180 A Seaking ESC which provides 5 BHP to the Octura x452 propeller. On the business end of his boat, [Wayne] used a commercial aluminum strut and rudder unit. Running gear printed out of something strong like nylon would be an interesting experiment, but perhaps a tall order for this particular motor.
We recently covered a 3D printed jet boat that’s no slouch either, but if you’re looking for a more relaxed ride you could always 3D print a FPV lifeboat.