Like many of you, I have a hard time getting rid of stuff. I’ve got boxes and boxes of weirdo bits and bobs, and piles of devices that I’ll eventually get around to stripping down into even more bits and bobs. Despite regular purges — I try to bring a car-load of crap treasure to local hackerspaces and meetups at least a couple times a year — the pile only continues to grow.
But the problem isn’t limited to hardware components. There’s all sorts of things that the logical part of me understands I’ll almost certainly never need, and yet I can’t bring myself to dispose of. One of those things just so happens to be documents. Anything printed is fair game. Could be the notes from my last appointment with the doctor, or fliers for events I attended years ago. Doesn’t matter, the stacks keep building up until I end up cramming it all into a box and start the whole process starts over again.
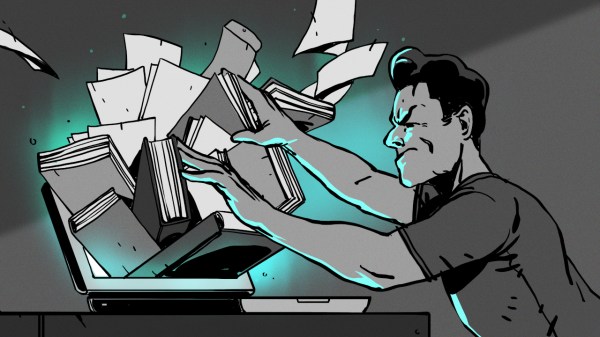
I’ve largely convinced myself that the perennial accumulation of electronic bric-à-brac is an occupational hazard, and have come to terms with it. But I think there’s a good chance of moving the needle on the document situation, and if that involves a bit of high-tech overengineering, even better. As such, I’ve spent the last couple of weeks investigating digitizing the documents that have information worth retaining so that the originals can be sent along to Valhalla in my fire pit.
The following represents some of my observations thus far, in the hopes that others going down a similar path may find them useful. But what I’m really interested in is hearing from the Hackaday community. Surely I’m not the only one trying to save some storage space by turn piles of papers into ones and zeros.
Continue reading “Ask Hackaday: How Do You Digitize Your Documents?”