We’ve seen plenty of plywood 3D printers before; after all, many early hobbyist machines were made from laser-cut plywood. But this plywood 3D-printer isn’t made from plywood – it prints plywood. Well, sort of.
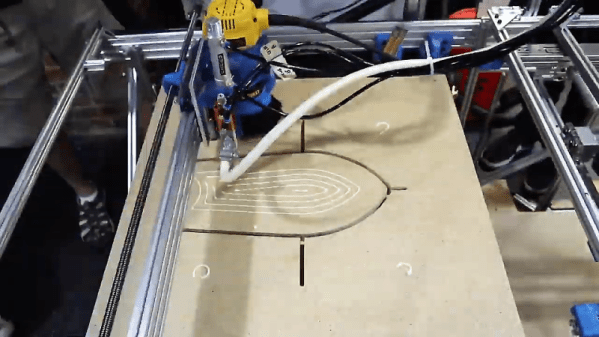
Yes, we know – that’s not plywood the printer is using, but rather particleboard, the same material that fills the flatpack warehouse of every IKEA store. And calling it a printer is a bit of a stretch, too. This creation, by [Shane Whigton] and his Formlabs Hackathon team, is more of a hybrid additive-subtractive CNC machine. A gantry-mounted router carves each layer of the print from a fresh square of material – which could just as easily be plywood as particleboard. Once a layer is cut, the gantry applies glue to it, puts a fresh sheet of material on top, and clamps it down tight. The router then carves the next layer, and so on up the stack. The layer height is limited to the thickness of the material – a nominal 3/4″ (19 mm) in this case – and there’s a remarkable amount of waste, but that’s not really the point. Check out the printer in action and the resulting giant Benchy in the video below.
Seeing all that particleboard dust and glue got us thinking: what about a 3D-printer that extrudes a paste of sawdust mixed with glue? We imagine that would be a bit like those giant printers that extrude concrete to build houses.
Continue reading “3D Printer Meets CNC Router To Make Wood Prints”