Maglev trains have long been touted as the new dawn for train technology. Despite keen and eager interest in the mid-20th century, development has been slow, and only limited commercial operations have ever seen service. One of the most well-known examples is the Shanghai Maglev Train which connects the airport to the greater city area. The system was purchased as a turnkey installation from Germany, operates over a distance of just 30.5 km, and according to Civil Engineering magazine cost $1.2 billion to build in 2001. Ever since, it’s served as a shining example of maglev technology — and a reminder of difficult and expensive maglev can be.
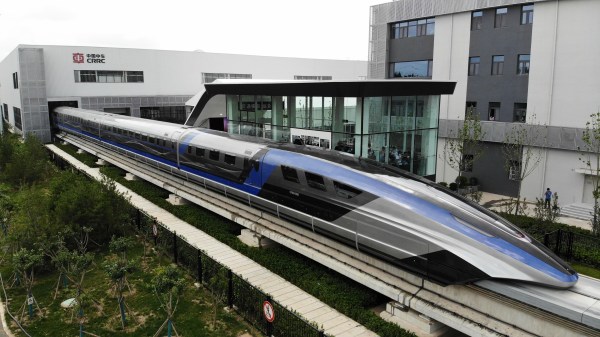
However, China has fallen in love with high-speed rail transport in the last few decades and has invested heavily. With an aggressive regime of pursuing technology transfers from foreign firms while building out the world’s largest high-speed rail network, the country has made great progress. Now, Chinese rail transit manufacturer, CRRC Corporation, have demonstrated their newest maglev train, which hopes to be the fastest in the world.
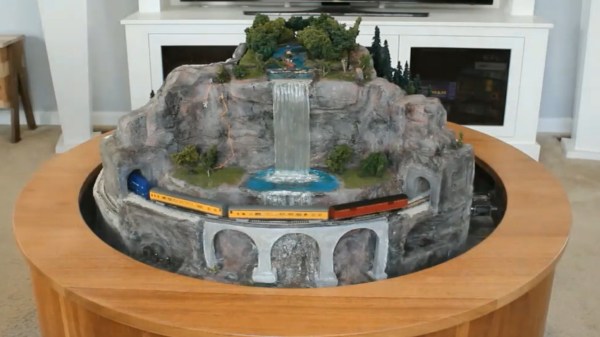
The livingroom coffee table has long been a favorite realm of the model railroad. But what to do when you actually want to have coffee? [Peter Waldraff] has come up with a most eloquent answer to the problem by designing a coffee table model railroad capable of turning the world upside down.
This isn’t [Peter’s] first rodeo. In his demo video below he shows off a coffee table train he built 20 years ago using a rectangular layout under glass. This time the circular design means a spherical volume can rotate around two skateboard bearing pivot points, revealing the mountainous scene on one side and the boring old wood table on the other. But what happens to the N-scale train itself when gravity is reversed? There’s a brilliant solution to that!
The frame of the coffee table includes an outer loop for train storage. Before flipping the model upside-down, the train itself is sent to this siding for safe keeping. In an earlier build video we can glimpse the latching mechanism that uses a solenoid and is actuated by a magnet in the center of the table. A clever use of toggle bolts (sometimes known as butterfly anchors for securing things on drywall) has them transfer power to the outer ring of storage track when their spring-loaded arms come in contact with some screw heads on the other side of the gap. The source of the electricity is a rechargeable Makita power tool battery in a hidden chamber within the mountain.
Of course we’ve seen other hideaway coffee table trains like this lovely hand-carved version. But you have to admire how [Peter] managed to incorporate everything into a self contained unit here, without the needing to store a removable cover. If you are someone who wants to always show off your handy work, that’s where a perspex box coffee table design comes into play.
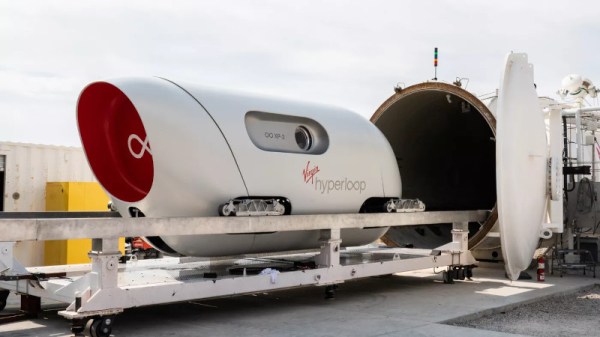
When it comes to travelling long distances, Americans tend to rely on planes, while the Chinese and Europeans love their high speed rail. However, a new technology promises greater speed with lower fares, with fancy pods travelling in large tubes held at near-vacuum pressures. It goes by the name of Hyperloop.
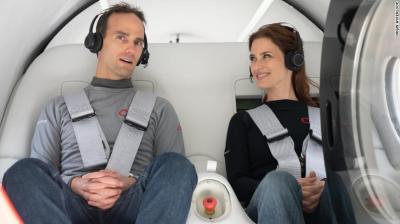
Virgin Hyperloop recently ran the first-ever passenger test of a Hyperloop vehicle, reaching 100 mph on a short test track.
Spawned from an “alpha paper” put together by Elon Musk in 2013, the technology is similar to other vactrain systems proposed in the past. Claiming potential top speeds of up to 760 mph, Hyperloop has been touted as a new high-speed solution for inter city travel, beating planes and high speed rail for travel time. Various groups have sprung up around the world to propose potential routes and develop the technology. Virgin Hyperloop are one of the companies at the forefront, being the first to run a pod on their test track with live human passengers, reaching speeds of 100 mph over a short 500 meter run.
It’s an exciting technology with a futuristic bent, but to hit the big time, it needs to beat out all comers on price and practicality. Let’s take a look at how it breaks down.
Trains are one of the oldest and most reliable ways we have of transporting things and people over long distances. But how often do you think about trains? Where I live, they can clearly be heard every hour or so. I should be used to the sound of them by now, but I like it enough to stop what I’m doing and listen to the whistles almost every time. In the early morning quiet, I can even hear the dull roar as it rumbles down the track.
I recently got a front row seat at a railroad crossing, and as the train chugged through the intersection, I found myself wondering for the hundredth time what all the cars had in them. And then, as I have for the last twenty or thirty years, I wondered why I never see a caboose anymore. I figured it was high time to answer both questions.
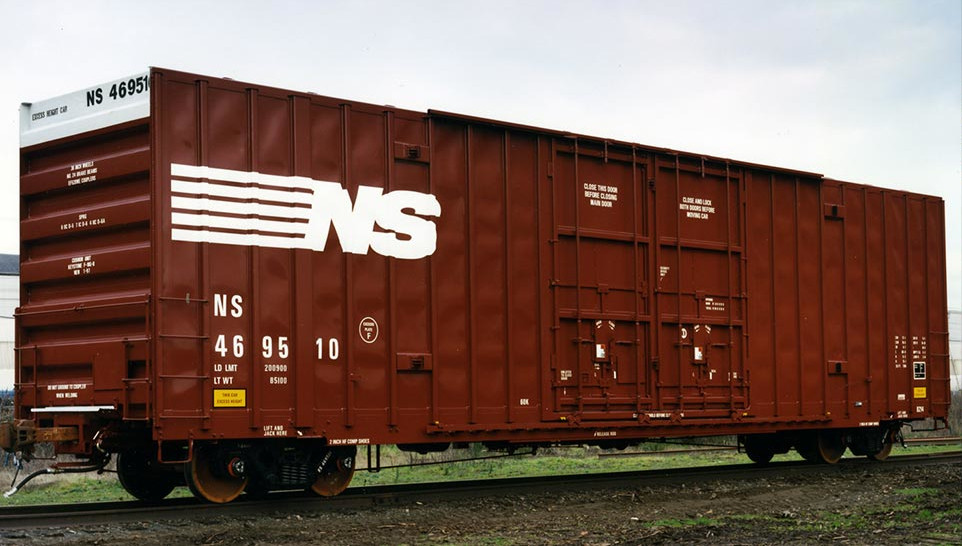
Boxcars are probably the most easily identifiable after the engine and the caboose.
Boxcars carry crated and palletized freight like paper, lumber, packaged goods, and even boxes. Refrigerated box cars carry everything from produce to frozen foods.
Boxcars (and barns for that matter) are traditionally a rusty red color because there were few paint options in the late 1800s, and iron-rich dirt-based paint was dirt cheap.
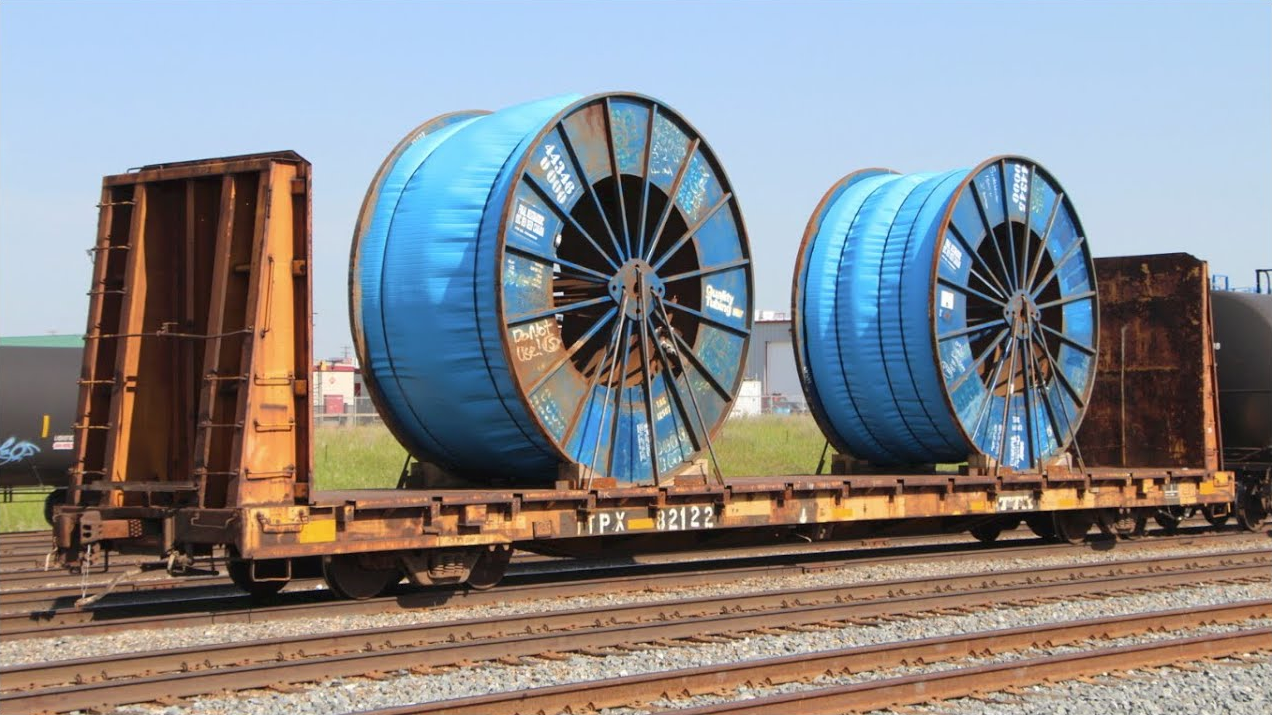
Standard, no-frills flat cars are the oldest types of rail cars. These are just big, flat platform cars that can carry anything from pipe, rail, and steel beams to tractors and military vehicles.
Flat cars come in different lengths and are also made with and without bulkheads that help keep the cargo in place. Some flat cars have a depression in the middle for really tall or heavy loads, like electrical transformers.
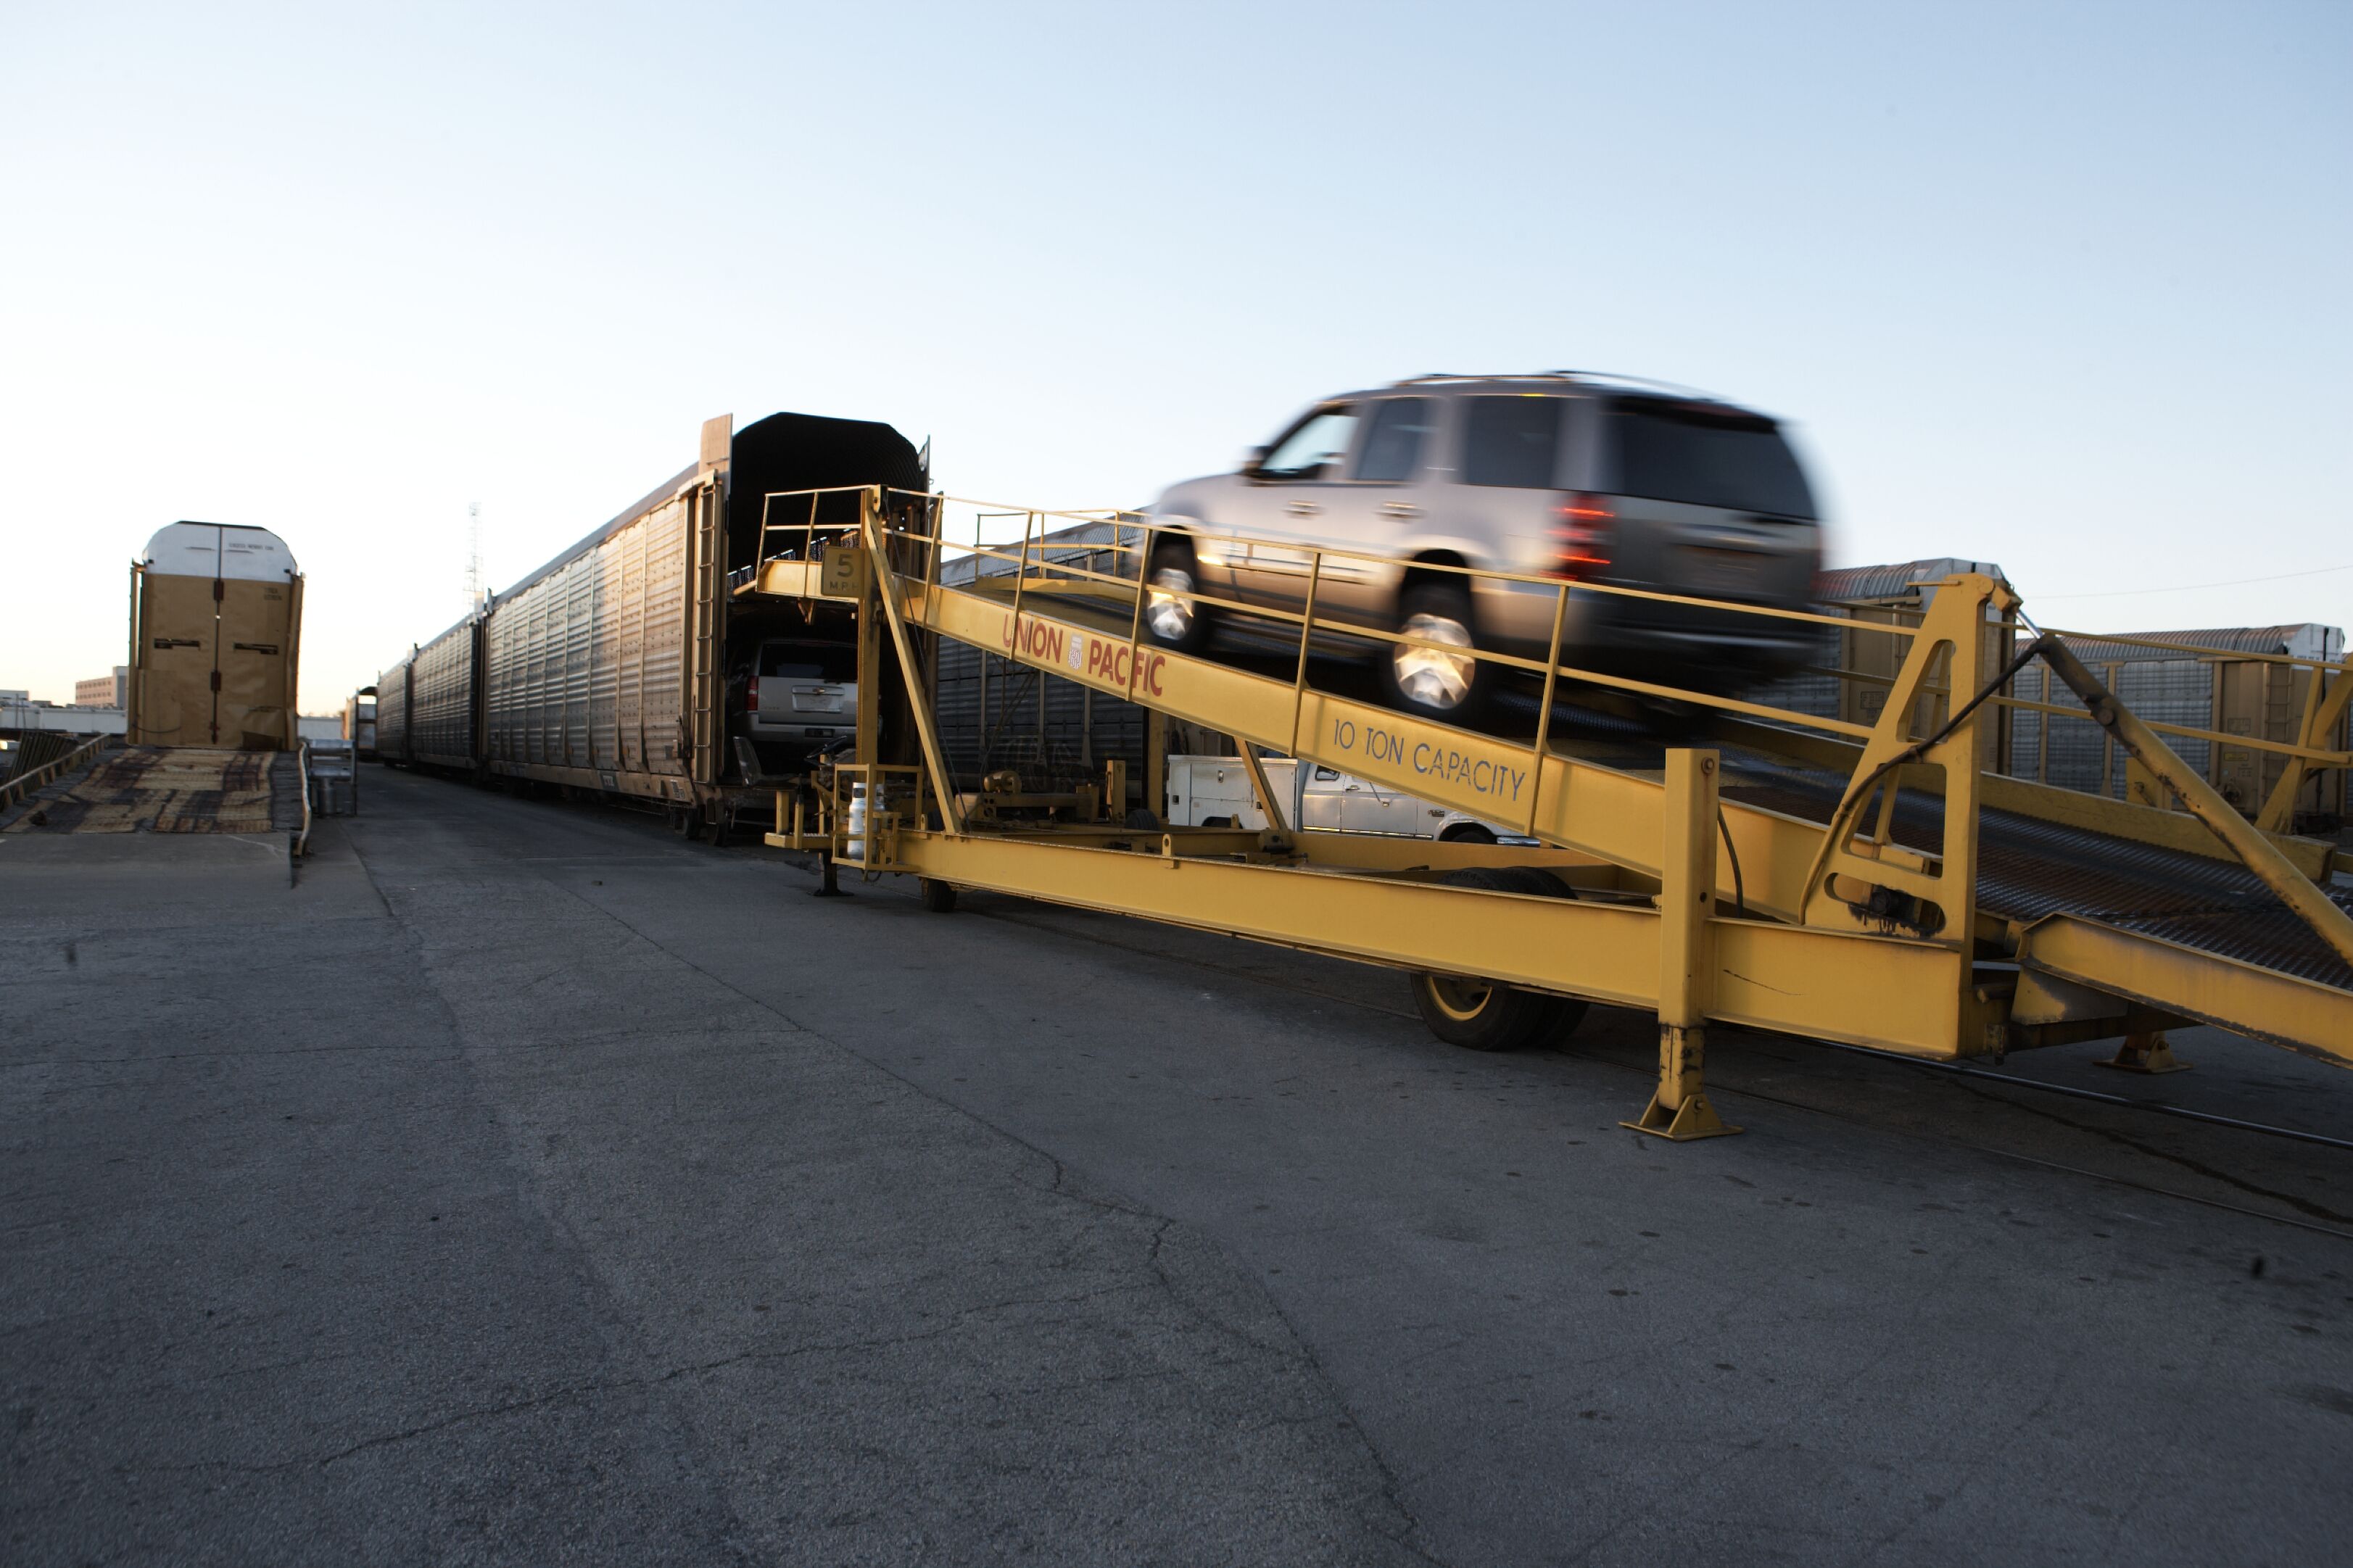
As the name implies, auto racks carry passenger cars, trucks, and SUV from factories to distributors. They come in two- and three-level models, although there have been specialized auto racks over the years.
Perhaps the strangest auto rack of them all was the Vert-a-Pac. When Chevrolet came up with the Vega in the gas-conscious 1970s, they wanted to be able to move them as cheaply as possible, so they shipped the cars on end. If you’re wondering about all the fluids in the car when they were upended, a special baffle kept oil from leaking out, the batteries were capped, and the windshield washer fluid bottle was positioned at an angle.
Before there were demolition derbies, there were train totalings. That’s right, somebody had the idea to take a couple of worn-out train engines that were ready for the scrap heap, point them at each other, and drive them full steam ahead. And their boss said capital idea, let’s do it. This was the late 1890s.
Maybe it wasn’t the safest way to spend an evening, but a staged train wreck was surely an awesome spectacle to behold. Imagine being one of the brave engineers who had no choice but to get the train going as fast as possible and then jump out at the last second. A demolition derby seems like child’s play by comparison.
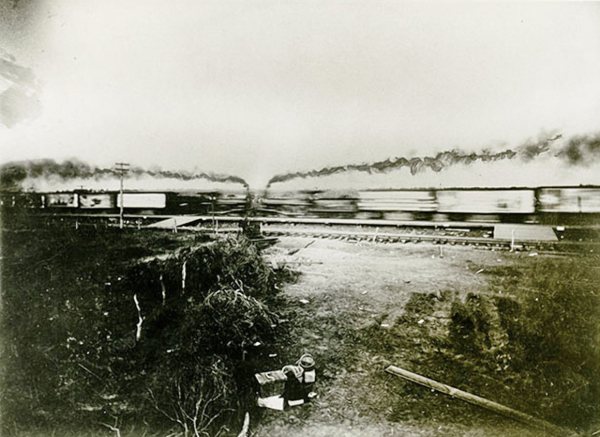
The largest and most widely-publicized wreck was put on by a man named William George Crush who was trying to find new ways to promote the Missouri-Kansas-Texas passenger railway. Once he got the okay, Crush found a large field surrounded by three hills that made for excellent viewing. He stood up a temporary town complete with a circus tent restaurant, a wooden jail cell, and 200 rent-a-constables.
On September 15th, 1896, forty thousand people gathered to watch two trains collide along a section of purpose-built track. They hit each other going 50 mph (80 km/h) and both engines exploded, sending hot iron projectiles every which way. Several people were injured, a few died, and a hired photographer lost an eye to shrapnel. Train totalings nevertheless continued until the Great Depression of the 1930s, when the practice was discarded as wasteful.
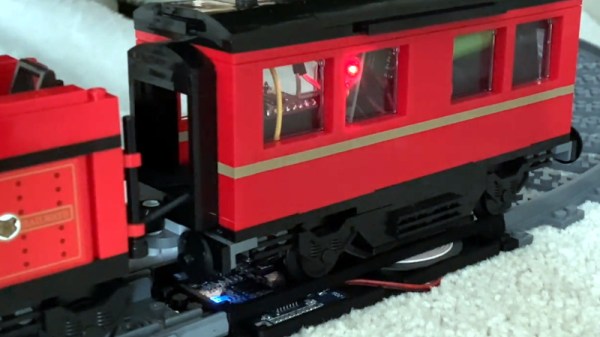
This project started, as many do, with a simple idea. [Ben Hoad] just wanted to take a static LEGO Hogwarts Express train kit and make it motorized. It was compatible with standard LEGO track pieces, so all he should have to do was figure out how to shoehorn a motor in there and be done with it. Right?
Well, you already know how things like this go. It started with adding the motor, which ended up being relatively straightforward once [Ben] used some community LEGO CAD tools to figure out which kits had the specific parts he needed to redesign the train in such a way that he’d have enough space inside for the motor without ruining the way it looked. But then the feature creep kicked in, and he found himself falling down that familiar rabbit hole.
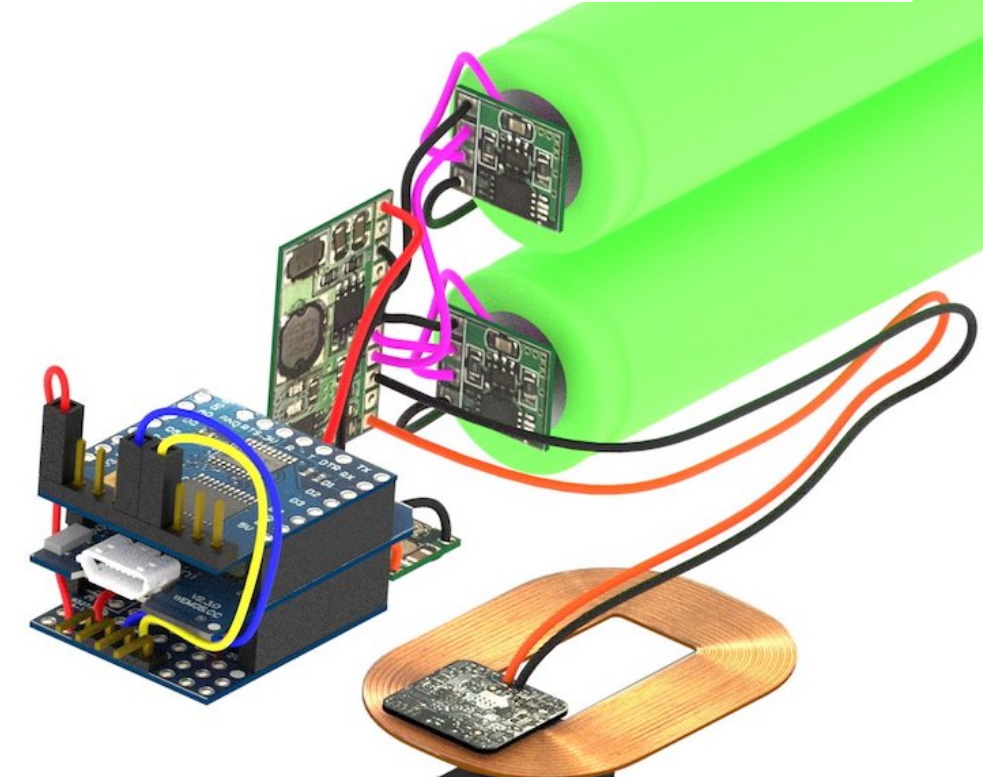
A 3D representation of the train’s internal components.
The first problem was how to reliably power the train. It turns out the rear car was more or less empty already, so that became home for two 18650 batteries (the project details say “16850” but we believe that is merely a typo). [Ben] didn’t want to have to take the thing apart every time it ran down, so he wondered if it would be possible to add wireless charging.
A Qi coil in the bottom of the train car and one in a specially designed section of track got the power flowing, but getting them lined up proved a bit finicky. So he added a Hall effect sensor to the car and a strong magnet to the track, so the train would know when the coils were lined up and automatically pump the brakes.
So now he had a motorized train that could recharge itself, but how should he turn it on and off? Well, with an ESP8266 along for the ride, he figured it would be easy to add WiFi control. With a bit of code and the Homebridge project, he was able to get the train to appear as a smart switch to Apple’s HomeKit. That allows him to start and stop the train from his smartphone, complete with a routine that returns the train to the charging station once it’s finished making the rounds. [Ben] says the next steps are to put some sanity checks in, such as shutting the motors down if the train hasn’t passed the charging station in a few minutes; a sure sign that it’s not actually moving.
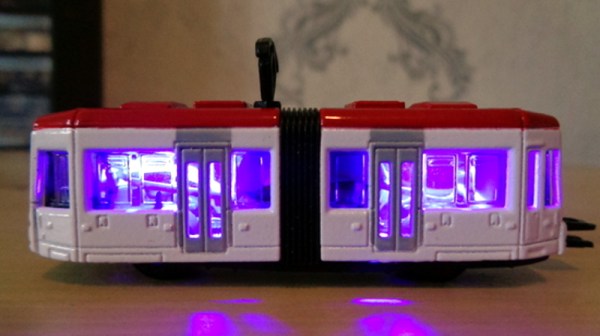
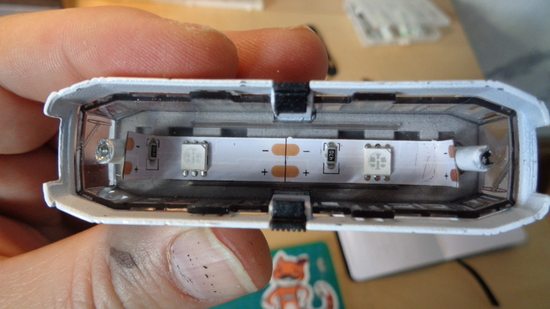
A tiny toy train that [voidnill] illuminated with a small LED strip fragment demonstrates several challenges that come with both modifying existing products, and working with small things in general. One is that it is hard in general to work around existing design choices and materials when modifying something. The second is that problems are magnified with everything is so small.
[voidnill]’s plentiful photos illustrate everything from drilling out small rivets and tapping the holes for screws to installing a tiny switch, LED strip, and button cells as a power supply. When things are so small, some of the usual solutions don’t apply. For example, cyanoacrylate glue may seem like a good idea for mounting small plastic parts, but CA glue easily wicks into components like the tiny power switch and gums up the insides, rendering it useless.
[voidnill] uses lots of careful cutting and patience to get everything done, and demonstrates the importance of quality tools. The LED strip fragment is driven by three small button cells, and while tape does a serviceable job as a battery holder, [voidnill] believes a 3D printed custom frame for the cells would really do the trick.
 This isn’t [Peter’s] first rodeo. In his demo video below he shows off a coffee table train he built 20 years ago using a rectangular layout under glass. This time the circular design means a spherical volume can rotate around two skateboard bearing pivot points, revealing the mountainous scene on one side and the boring old wood table on the other. But what happens to the N-scale train itself when gravity is reversed? There’s a brilliant solution to that!