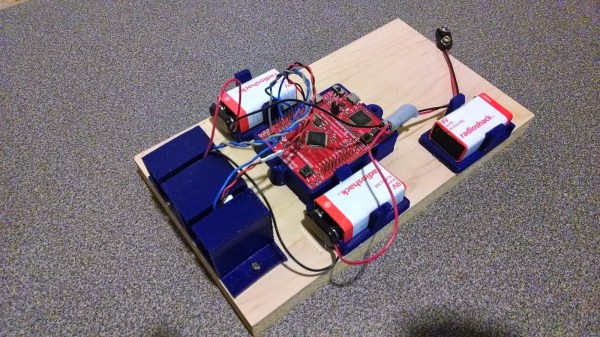
[Nikhil] has been experimenting with human interface devices (HID) in relation to security. We’ve seen in the past how HID can be exploited using inexpensive equipment. [Nikhil] has built his own simple device to drop malicious files onto target computers using HID technology.
The system runs on a Teensy 3.0. The Teensy is like a very small version of Arduino that has built-in functionality for emulating human interface devices, such as keyboards. This means that you can trick a computer into believing the Teensy is a keyboard. The computer will treat it as such, and the Teensy can enter keystrokes into the computer as though it were a human typing them. You can see how this might be a security problem.
[Nikhil’s] device uses a very simple trick to install files on a target machine. It simply opens up Powershell and runs a one-liner command. Generally, this commend will create a file based on input received from a web site controlled by the attacker. The script might download a trojan virus, or it might create a shortcut on the user’s desktop which will run a malicious script. The device can also create hot keys that will run a specific script every time the user presses that key.
Protecting from this type off attack can be difficult. Your primary option would be to strictly control USB devices, but this can be difficult to manage, especially in large organizations. Web filtering would also help in this specific case, since the attack relies on downloading files from the web. Your best bet might be to train users to not plug in any old USB device they find lying around. Regardless of the methodology, it’s important to know that this stuff is out there in the wild.
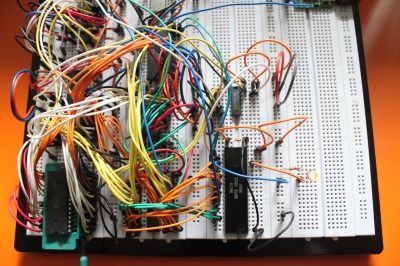 [Dirk] has some great documentation to go with his computer. He started with a classic MOS 6502 processor. He surrounded the processor with a number of support chips correct for the early 80’s period. RAM is easy-to -use static RAM, while ROM is handled by UV erasable EPROM. A pair of MOS 6522 Versatile Interface Adapter (VIA) chips connect the keyboard, LCD, and any other peripherals to the CPU. Sound is of course provided by the 6581 SID chip. All this made for a heck of a lot of wires when built up on a breadboard. The only thing missing from this build is a way to store software written on the machine. [Dirk] already is looking into ways to add an SD card interface to the machine.
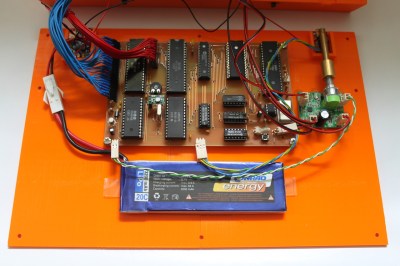 The home building didn’t stop there though. [Dirk] designed and etched his own printed circuit board (PCB) for his computer. DIY PCBs with surface mount components are easy these days, but things are a heck of a lot harder with older through hole components. Every through hole pin and via had to be drilled, and soldered to the top and bottom layers of the board. Not to mention the fact that both layers had to line up perfectly to avoid missing holes! To say this was a lot of work would be an understatement.
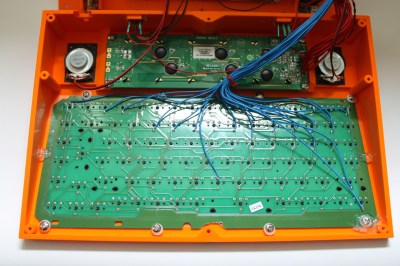 [Dirk] designed a custom 3D printed case for his computer and printed it out on his Ultimaker. To make things fit, he created his design in halves, and glued the case once printing was complete.
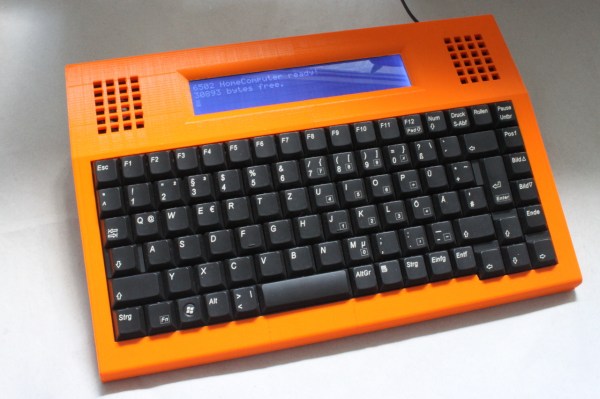