Building An Artisanal Tape Measure

Some tools are so common, so basic, that we take them for granted. A perfect example is the lowly tape measure. We’ve probably all got a few of these kicking around the lab, and they aren’t exactly the kind of thing you give a lot of thought to when you’re using them. But while most of us might not give our tape measure a second thought, [Ariel Yahni] decided to create an absolutely gorgeous new enclosure for his. Because if you’re going to measure something, why not look good doing it?

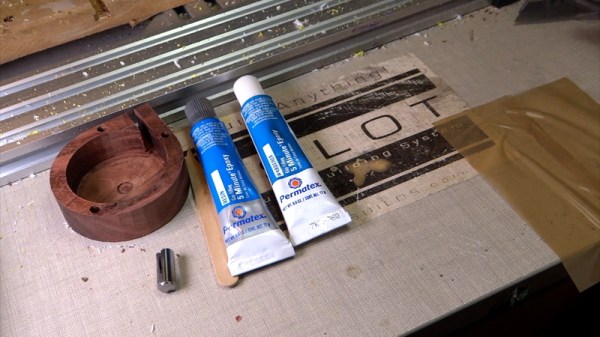
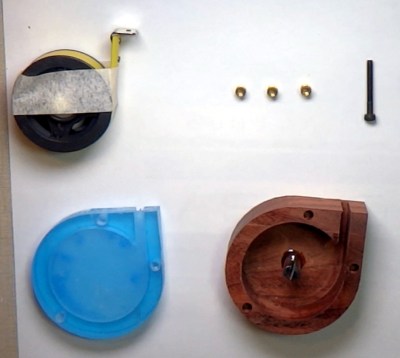
A CNC router is used to carve the body of the new tape measure out of a solid block of wood and cut a top plate out of clear acrylic. [Ariel] then used an angle grinder to cut off a small section of steel rod which he secured into a carved pocket in the base using epoxy. Finally, the internals of a commercial tape measure were inserted into this new enclosure, and the acrylic top was screwed down into place.

[Ariel] has made the DXF files for this project public for anyone else who wants to carve out their own heirloom tape measure, though it seems likely the designs will need some tweaking depending on the make and model of donor tape measure. While this might not be the most technically impressive project to run on Hackaday, it’s still a fantastic example of the sort of bespoke designs that are made possible with modern manufacturing methods.

This design reminds us of a similar project to turn a basic Honda key fob into a true conversation piece with the addition of some CNC’d hardwood and aluminum.

Continue reading “Building An Artisanal Tape Measure”

Plastics: Acrylic

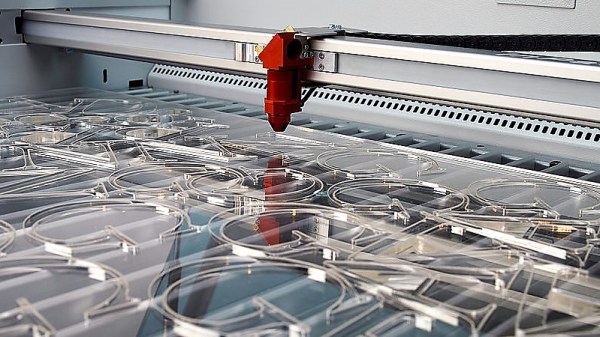
If anything ends up on the beds of hobbyist-grade laser cutters more often than birch plywood, it’s probably sheets of acrylic. There’s something strangely satisfying about watching a laser beam trace over a sheet of the crystal-clear stuff, vaporizing a hairs-breadth line while it goes, and (hopefully) leaving a flame-polished cut in its wake.

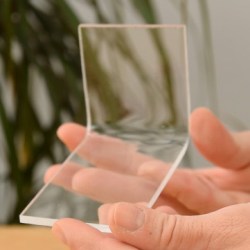
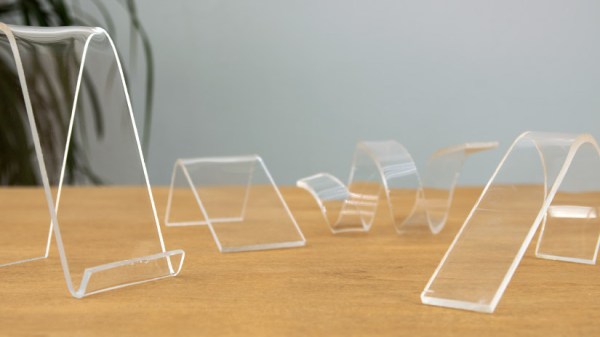
Acrylic, more properly known as poly(methyl methacrylate) or PMMA, is a wonder material that helped win a war before being developed for peacetime use. It has some interesting chemistry and properties that position it well for use in the home shop as everything from simple enclosures to laser-cut parts like gears and sprockets.

Continue reading “Plastics: Acrylic”

Behold The WT-220: A ‘Clever’ VT-220 Terminal

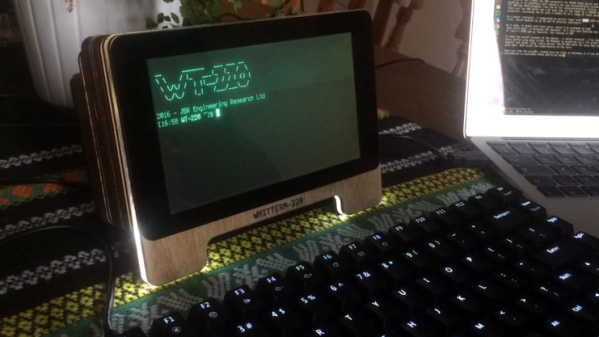
[John Whittington] failed to win a bid for an old VT-220 serial terminal on eBay, so he decided to make his own version and improve it along the way. The result is the Whitterm-220 (or WT-220) which has at its core a Raspberry Pi and is therefore capable of more than just acting as a ‘dumb’ serial terminal.

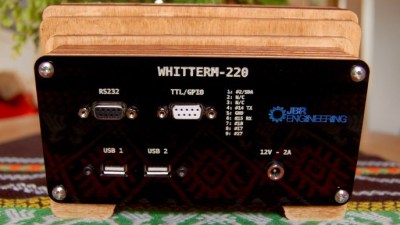
Rear of the WT-220 with paint-filled laser engraving and all necessary connectors.

The enclosure is made from stacked panels of laser-cut plywood with an acrylic plate on the back for labels and connectors, where [John] worked paint into the label engravings before peeling off the acrylic’s protective film. By applying paint after laser-engraving but before peeling off the film, it acts as a fill and really makes the text pop.

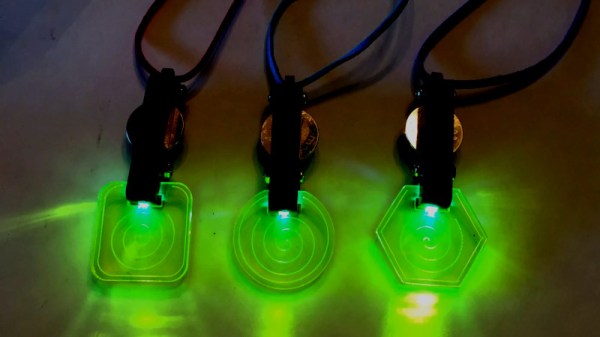
Near the front, one layer of clear acrylic among the plywood layers acts as a light guide and serves as a power indicator, also doing double duty as TX/RX activity lights. When power is on, that layer glows, serving as an attractive indicator that doesn’t interfere with looking at the screen. When data is sent or received, a simple buffer circuit tied to the serial lines lights up LEDs to show TX or RX activity, with the ability to enable or disable this functionality by toggling a GPIO pin. A video overview is embedded below, where you can see the unit in action.

Continue reading “Behold The WT-220: A ‘Clever’ VT-220 Terminal”

Scratch-Building A Supersized Laser Cutter

Now that 3D printers have more or less hit the mass market, hackers need a new “elite” tool to spend their time designing and fiddling with. Judging by the last couple of years, it looks like laser cutters will be taking over as the hacker tool du jour; as we’re starting to see more and more custom builds and modifications of entry-level commercial models. Usually these are limited to relatively small and low powered diode lasers, but as the following project shows, that’s not always the case.
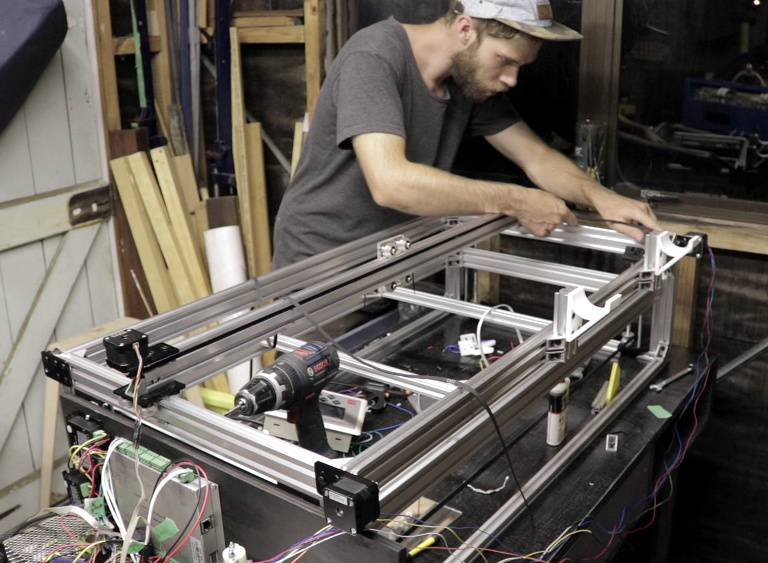
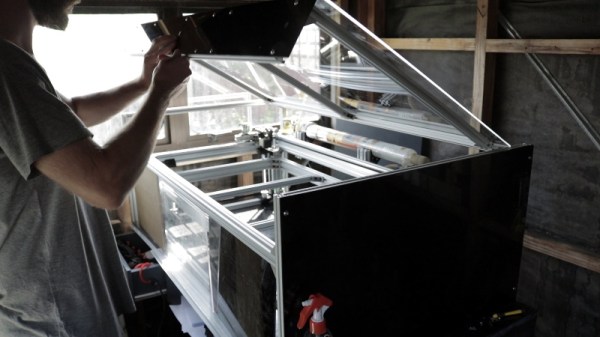
This large format laser cutter designed and built by [Rob Chesney] is meticulously detailed on his blog, as well as in the in the video after the break. It’s made up of aluminium profile and a splattering of ABS 3D printed parts, and lives in an acrylic enclosure that’s uniquely isolated from the laser’s internal gantry. All told it cost about $2,000 USD to build, but considering the volume and features of this cutter that’s still a very fair price.

[Rob] carefully planned every aspect of this build, modeling the entire machine in CAD before actually purchasing any hardware. Interestingly enough his primary design constraint was the door to his shed: he wanted to build the largest possible laser cutter that could still be carried through it. That led to the final machine’s long and relatively shallow final dimensions. The design was also guided by a desire to minimize material waste, so when possible parts were designed to maximize how many could be cut from a one meter length of aluminum extrusion.

The laser features a movable Z axis that’s similar in design to what you might see in a Prusa-style 3D printer, with each corner of the gantry getting an 8 mm lead screw and smooth rod which are used in conjunction to lift and guide. All of the lead screws are connected to each other via pulleys and standard GT2 belt, but as of this version, [Rob] notes the Z axis must be manually operated. In the future he’ll be able to add in a stepper motor and automate it easily, but it wasn’t critical to get the machine running.

He used 3D printed parts for objects which had a relatively complex geometry, such as the laser tube holders and Z axis components, but more simplistic brackets were made out of cut acrylic. In some components, [Rob] used welding cement to bond two pieces of acrylic and thereby double the thickness. Large acrylic panels were also used for the laser’s outer enclosure, which was intentionally designed as a separate entity from the laser itself. He reasoned that this would make assembly easier and faster, as the enclosure would not have to be held to the same dimensional tolerances as it would have been if it was integrated into the machine.

[Rob] gives plenty of detail about all the finer points of water cooling, laser control electronics, aligning the mirrors, and really anything else you could possibly want to know about building your own serious laser cutter. If you’ve been considering building your own laser and have anything you’re curious or unsure about, there’s a good chance he addresses it in this build.

Short of having the fantastically good luck to find a laser cutter in the trash that you can refurbish, building your own machine may still be the best upgrade path if you outgrow your eBay K40.

Continue reading “Scratch-Building A Supersized Laser Cutter”

SandBot Happily And Tirelessly Rolls Patterns In Sand

The patience and precision involved with drawing geometric patterns in sand is right up a robot’s alley, and demonstrating this is [rob dobson]’s SandBot, a robot that draws patterns thanks to an arm with a magnetically coupled ball.

SandBot, SCARA version. The device sits underneath a sand bed, and a magnet (seen at the very top at the end of the folded “arm”) moves a ball bearing through sand.

SandBot is not a cartesian XY design. An XY frame would need to be at least as big as the sand table itself, but a SCARA arm can be much more compact. Sandbot also makes heavy use of 3D printing and laser-cut acrylic pieces, with no need of an external frame.

[rob]’s writeup is chock full of excellent detail and illustrations, and makes an excellent read. His previous SandBot design is also worth checking out, as it contains all kinds of practical details like what size of ball bearing is best for drawing in fine sand (between 15 and 20 mm diameter, it turns out. Too small and motion is jerky as the ball catches on sand grains, and too large and there is noticeable lag in movement.) Design files for the SCARA SandBot are on GitHub but [rob] has handy links to everything in his writeup for easy reference.

Sand and robots (or any moving parts) aren’t exactly a natural combination, but that hasn’t stopped anyone. We’ve seen Clearwalker stride along the beach, and the Sand Drawing Robot lowers an appendage to carve out messages in the sand while rolling along.

Bixel, An Open Source 16×16 Interactive LED Array

The phrase “Go big or go home” is clearly not lost on [Adam Haile] and [Dan Ternes] of Maniacal Labs. For years they’ve been thinking of creating a giant LED matrix where each “pixel” doubled as a physical push button. Now that they’ve built up experience working on other LED projects, they finally decided it was time to take the plunge and create their masterpiece: the Bixel.

Creating the Bixel (a portmanteau of button, and pixel) was no small feat. The epic build is documented in an exceptionally detailed write-up on the team’s site, in addition to the time-lapse video included after the break. [Adam] tells us the Bixel took around 100 hours of assembly, and we don’t doubt it. This is truly one of those labors of love which is unlikely to be duplicated, though all of the source files for both the hardware and software are available if you’re feeling brave enough.

The write-up contains a lot of fascinating detail about the design and construction of the Bixel, but perhaps the least surprising of all of them is that the final product ended up being very different from what they originally envisioned. The plan was to simply use lighted arcade buttons in a 16×16 grid, as they were purpose-built for exactly what the guys had in mind. But when they priced them out, the best they could do was $2 a pop. That’s $500 for just the buttons alone, before they even got into the enclosure or electronics. Like any good hackers, [Adam] and [Dan] decided to ditch the ready-made solution and come up with something of their own.

In the end, they cut the individual LEDs out of RGB strips, and soldered them down to their custom designed 500mmx500mm PCB. To the sides of each section of strip are two tactile switches, and above is a “sandwich” made of laser cut acrylic. The sheet closest to the LEDs has a 25mm hole, the top sheet has a 20mm hole, and between them is a circle of acrylic that acts as the “button”. Once it’s all screwed together, the button can’t fall out of the front or move from side to side, but it can be pushed down to contact the tactile switches.

To wire it all up they took a cue from the DIY keyboard scene and used a Teensy, some 595 shift registers, and 256 1N4148 diodes. A Raspberry Pi running their Python framework does the heavy computational lifting, leaving the Teensy to just handle talking to the hardware. Overall it’s a fantastic design to emulate if you’re looking to create large arrays of buttons on the cheap; such as whenever you get around to building that starship simulator.

Continue reading “Bixel, An Open Source 16×16 Interactive LED Array”

An E-Bike Battery Pack Without Spot Welding

In somewhat of a departure from their normal fare of heavy metal mods, [Make It Extreme] is working on a battery pack for an e-bike that has some interesting design features.

The guts of the pack are pretty much what you’d expect – recovered 18650 lithium-ion cells. They don’t go into details, but we assume the 52 cells were tested and any duds rejected. The arrangement is 13S4P, and the cells are held in place with laser-cut acrylic frames. Rather than spot weld the terminals, [Make It Extreme] used a series of strategically positioned slots to make contacts from folded bits of nickel strip. Solid contact is maintained by cap screws passing between the upper and lower contact frames. A forest of wires connects each cell to one of four BMS boards, and the whole thing is wrapped in a snappy acrylic frame. The build and a simple test are in the video below.

While we like the simplicity of a weld-less design, we wonder how the pack will stand up to vibration with just friction holding the cells in contact. Given their previous electric transportation builds, like this off-road hoverbike, we expect the pack will be put to the test soon, and in extreme fashion.

Continue reading “An E-Bike Battery Pack Without Spot Welding”