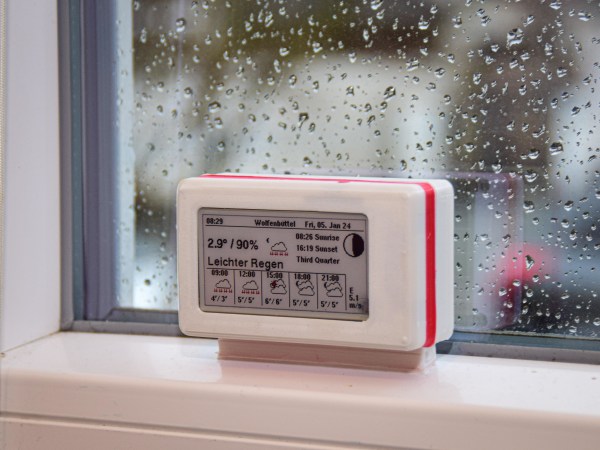
[educ8s.tv] has built weather stations before, but his latest is his best yet. It’s all thanks to its low-power design, enabled by its e-paper display.
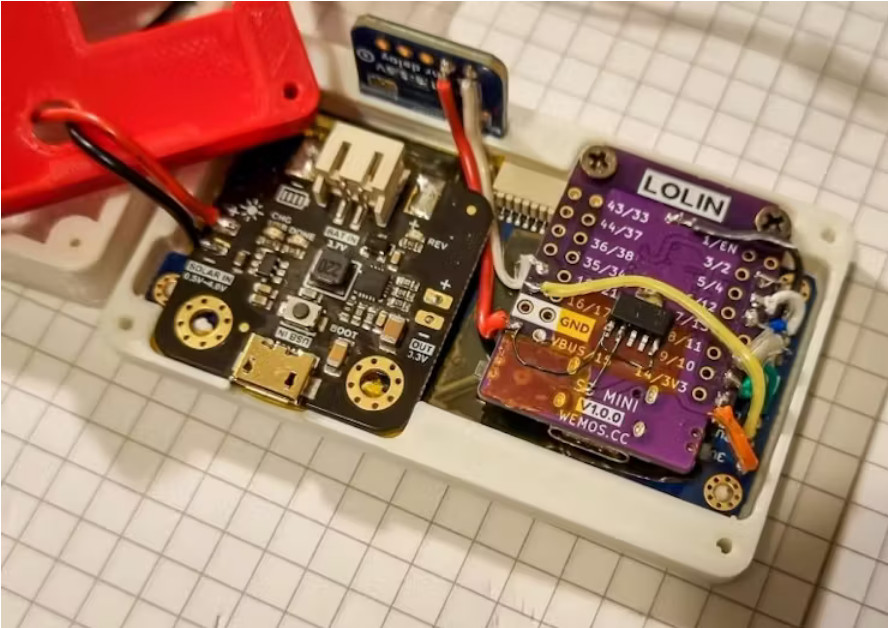
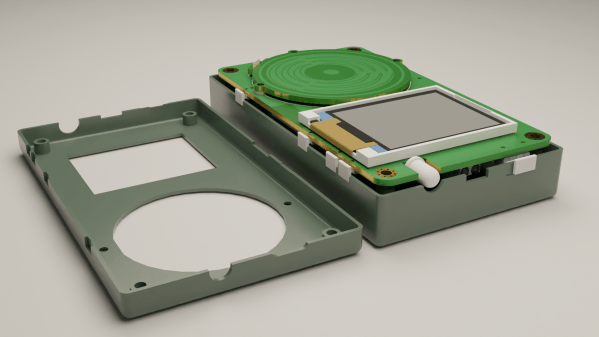
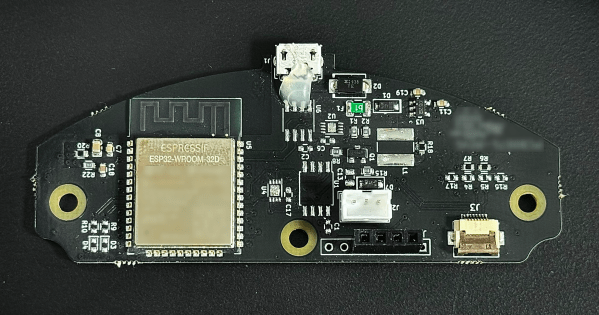
The build is based around an ESP32 microcontroller, combined with a BMP180 sensor for measuring barometric pressure, and a DHT22 sensor for measuring temperature and humidity. By taking these values and feeding them into the Zambretti algorithm, it’s possible to generate a rudimentary weather forecast.
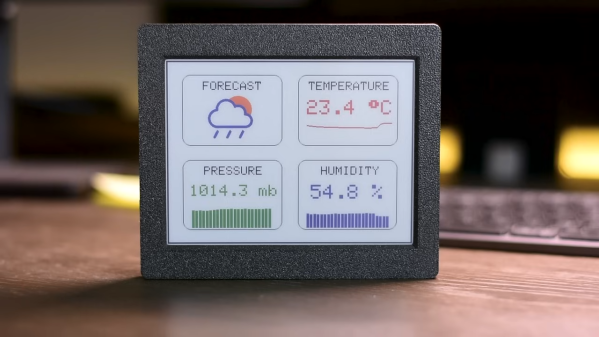
The weather station looks particularly impressive thanks to its six-color e-paper display. It’s brightly colored and easy to read, and displays graphs of temperature, pressure, and humidity over time. Plus, by virtue of the fact that it only draws power when updating, it allows the project to last a long time running solely on battery power.
As far as DIY weather stations go, this is an attractive and clean design that offers plenty of useful data to the user. We’ve seen some other neat builds in this vein before, too.
Continue reading “ESP32 Weather Station Looks Great With Color E-Paper Display”