An arcade cabinet is one of those things that every gamer wants at home, but few ever get. Getting a real arcade cabinet is usually expensive, and building one yourself is no small feat. There are kits you can get now which help the process along, generally taking the form of pre-cut cabinet parts, but with them comes the quiet shame of kit-building. What if your friends found out you used a kit instead of designing it yourself? The drama is almost too much to think about.
That’s how [Bogdan Berg] felt about it, at least. Not content with just getting a pre-cut cabinet kit from eBay, he decided to design and build his own bartop arcade machine in just one week: fast enough for him to fit the whole thing into his Christmas vacation. We don’t know what Christmas was like for his friends and family this year with him toiling away on this beautiful build the whole time, but we can confidently say his Christmas was awesome.
 He designed the cabinet in Fusion 360, working around the limitation that the laser cutter he had access to had a work area of 24 inches by 18 inches. Some interesting design choices were made here, including going with a tab and slot construction method. While [Bogdan] admits that this aesthetic isn’t always popular, he liked how sturdy it makes the final product.
He was originally going to use plywood for the cabinet, but owing to the fact that he couldn’t find any pieces that weren’t warped locally, he switched over to MDF. Using MDF did mean he had to seal all the cut pieces with shellac before painting, but in the end he’s happy with the final lacquer paint job; even if it did take more work and materials than he anticipated.
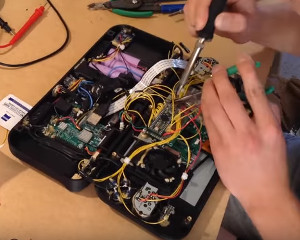
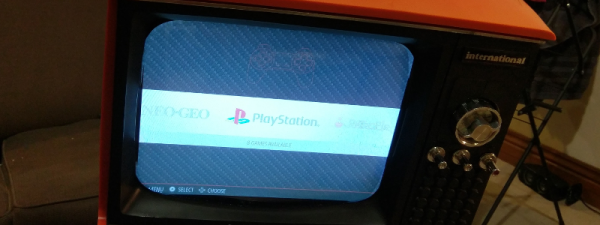
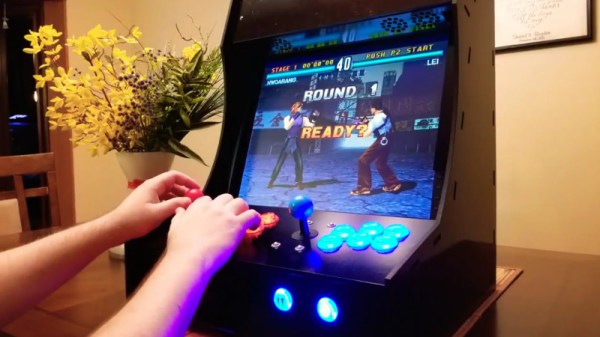
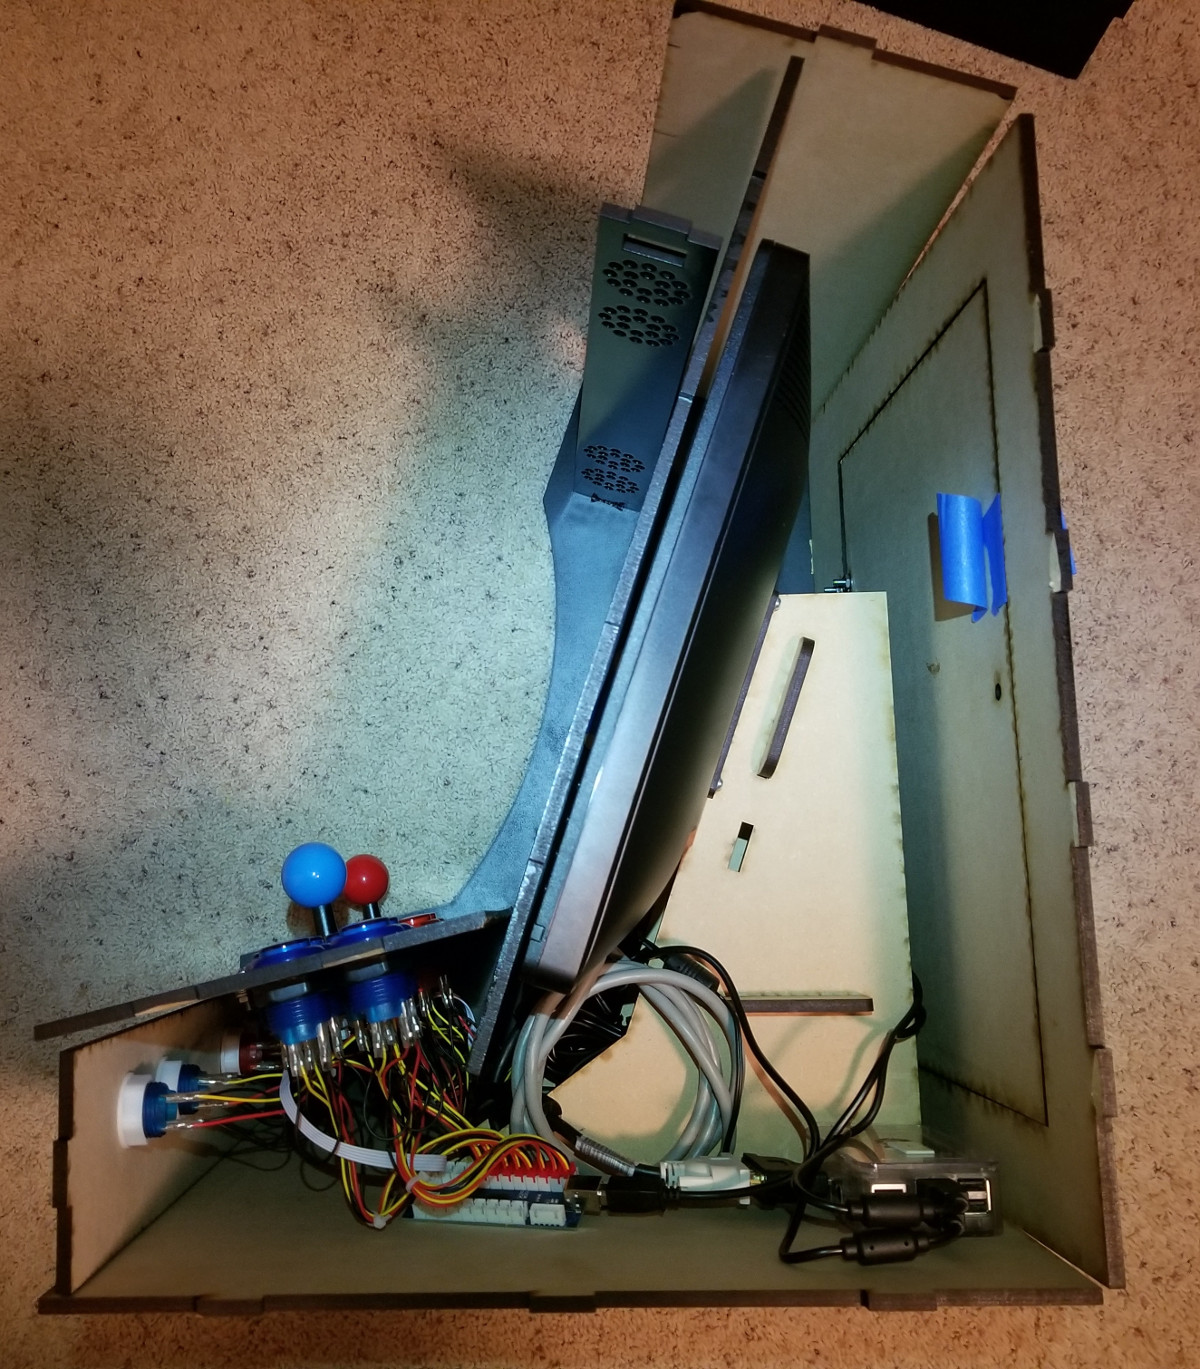
The hardware is pretty much the standard for DIY arcades these days: a 17 inch LCD monitor he had laying around is used for the display, a two player joystick and button kit from Amazon provides the user interface, and emulation is provided by a Raspberry Pi 3 running RetroPie. A recessed door in the rear allows him to get into the machine will still maintaining a finished look on the backside.
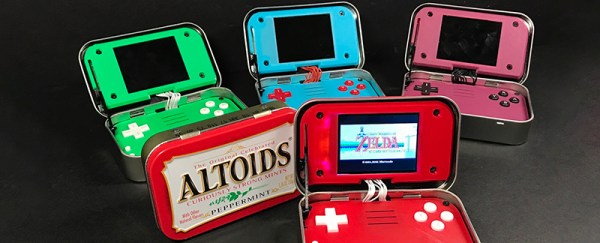
While the size of them may vary wildly, DIY arcade cabinets are always a popular project. Whether shamelessly emblazoned with our logo or playing host to glorious LED lighting, it seems like the design of these cabinets provide as much entertainment as the games they play.
Continue reading “Bartop Arcade Cabinet Build Skips The Kit”