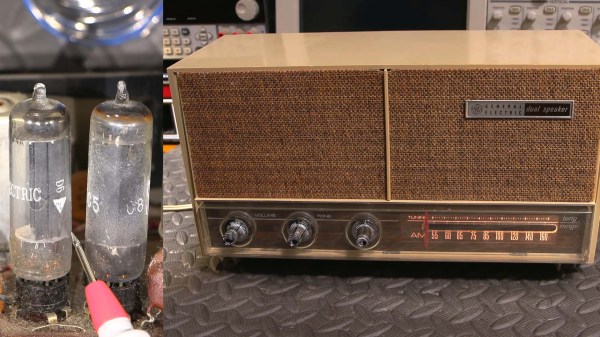
Regardless of the mythical qualities that are all too often attributed to vacuum tubes, they are still components that can be damaged and wear out over time. Much like with transistors and kin, they come with a stack of datasheets, containing various curves detailing their properties and performance. These curves will change as a part ages, and validating these curves can help with debugging a vacuum tube-based circuit. This is where one can either spend an enormous sum on a commercial curve tracer like the Tektronix 570, or build your own, as [Basin Street Design] has done.
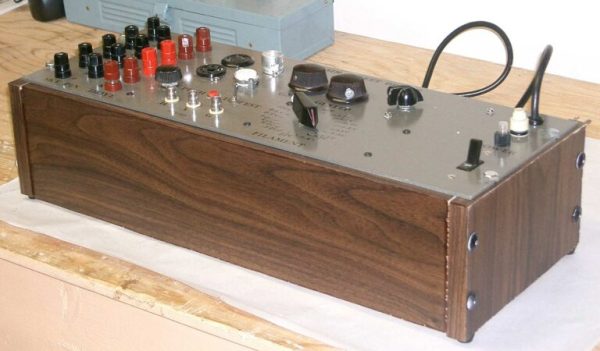
A semi-retired electronics design engineer by trade, he has previously covered the development of the curve tracer on Instructables for the version 1 and version 1.1. What this device essentially allows you to do is sweep the connected tube through its input parameter ranges, while observing the resulting curves on an attached (external) oscilloscope. Here a storage oscilloscope (or DSO) is immensely helpful to capture the curves.
In the project pages, the in-depth theory and functioning of the circuitry is explained, along with the schematics and a number of builds. The project has been around since before the VBA tracer which we covered last year, both of which are infinitely more affordable than a genuine Tektronix 570.
Thanks to [Fernando] for the tip.