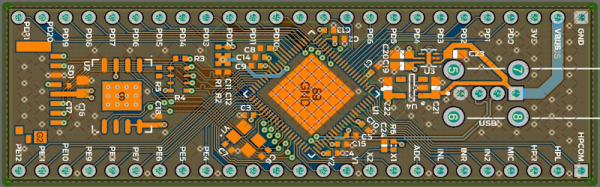
If you’ve ever wanted to try your hand at creating a Raspberry Pi-like board for yourself, you should check out [Jay Carlson’s] review of 10 different Linux-capable SoCs. Back in the 1960s, a computer was multiple refrigerator-sized boxes with thousands of interconnections and building one from scratch was only a dream for most people. Then ICs came and put all the most important parts in a little relatively inexpensive IC package and homebrew computing became much more accessible. Systems on Chip (SoC) has carried that even further, making it easier than ever to create entire systems, like the Pi and its many competitors.
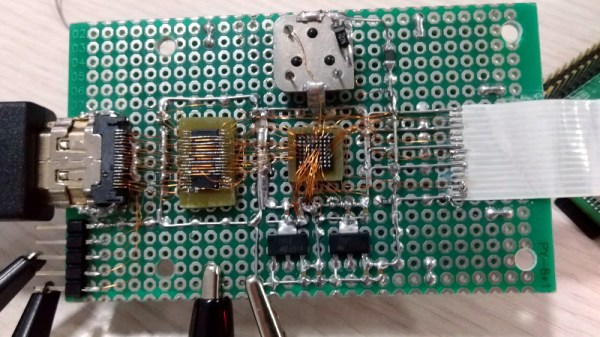
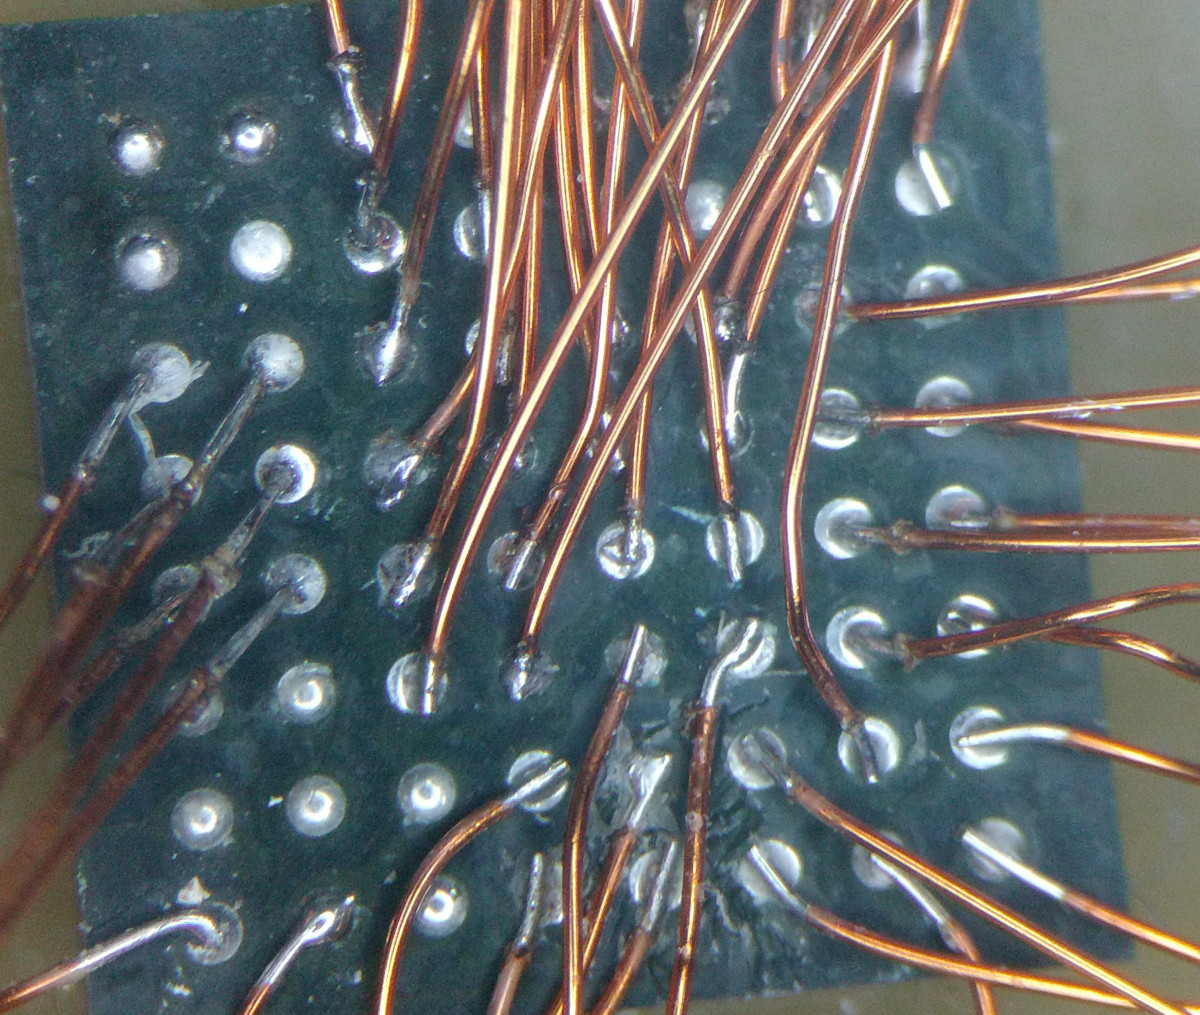
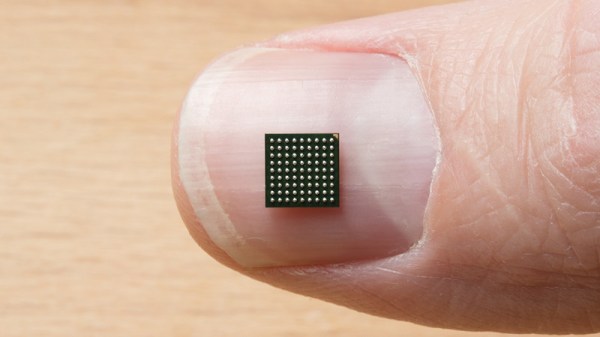
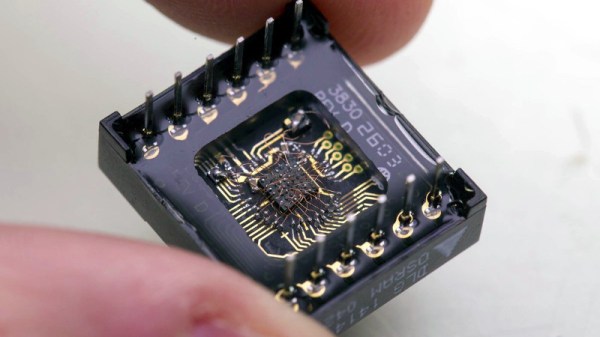
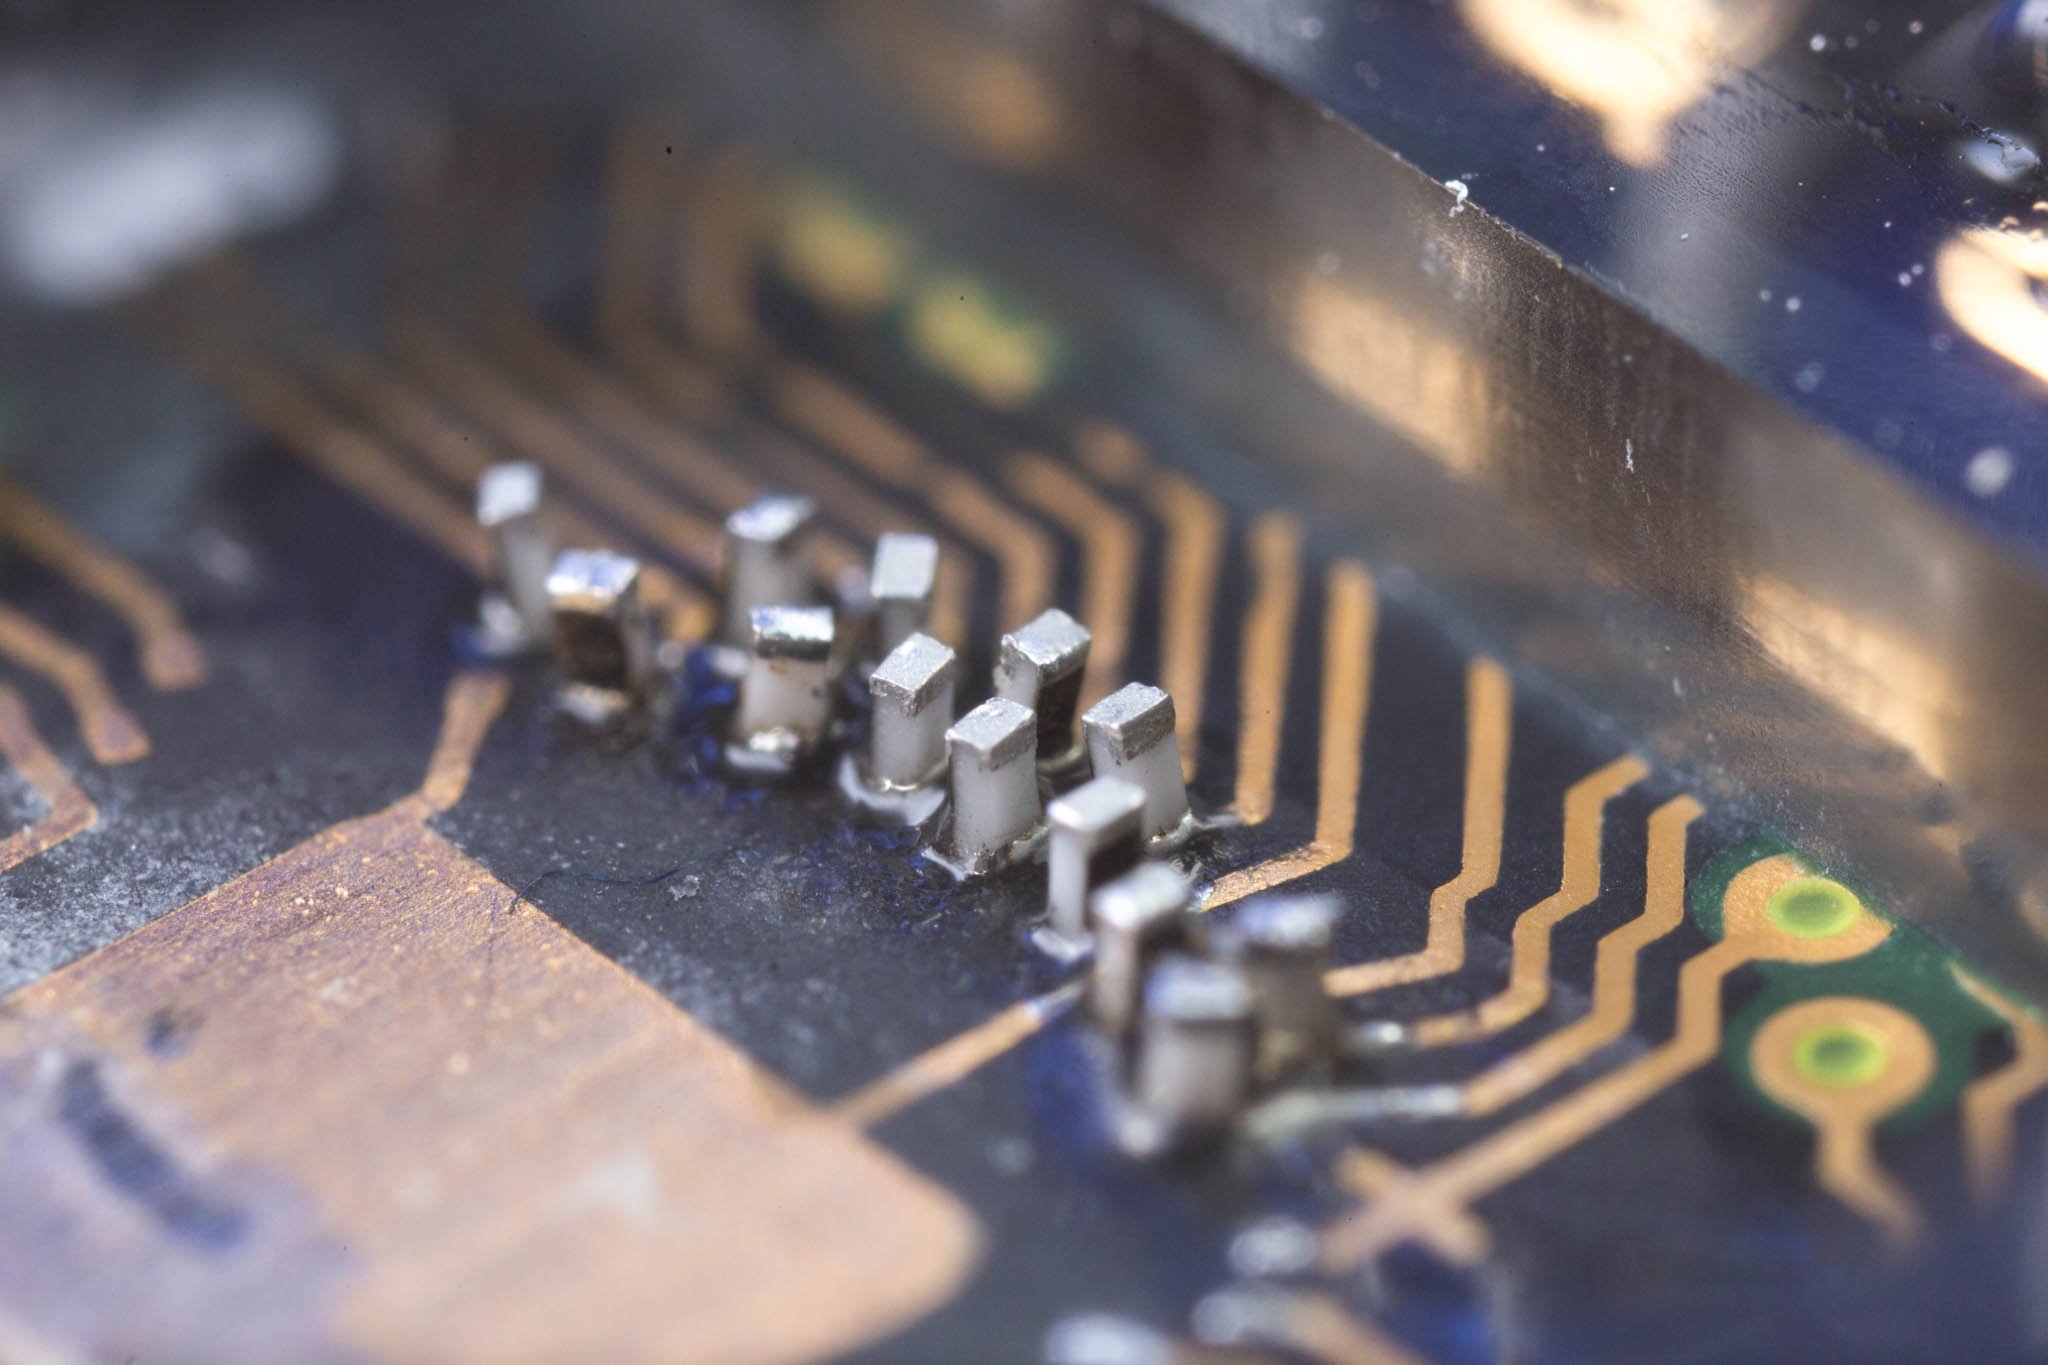
Only a few years ago, making an SoC was still a big project because the vendors often didn’t want to release documentation to the public. In addition, most of the parts use ball grid array (BGA) packaging. BGA parts can be hard to work with, and require a multilayer PC board. Sure, you can’t plug these into a typical solderless breadboard. But working with these relatively large BGAs isn’t that hard and multilayer boards are now comparatively cheap. [Jay] reports that he got cheap PCBs and used a hot plate to build each board, and has some sage advice on how to do it.
Continue reading “Thinking About Creating A Raspberry Pi Replacement?”