GPL Violations Cost Creality A US Distributor

One of the core tenets of free and open source software licenses is that you’re being provided source code for a project with the hope that you’ll “pay it forward” if and when you utilize that code. In fact some licenses, such as the GNU Public License (GPL), require that you keep the source code for subsequent spin-offs or forks open. These are known as viral licenses, and the hope is that they will help spread the use of open source as derivative works can’t turn around and refuse to release their source code.

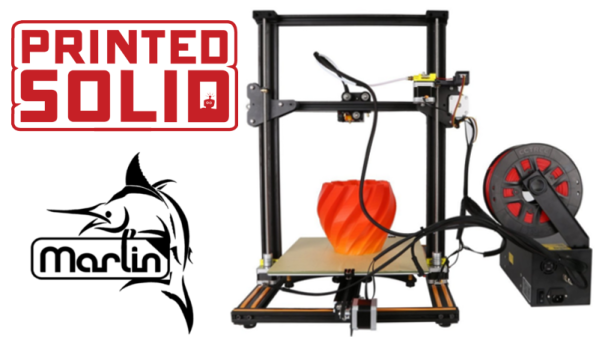
Unfortunately, not everyone plays by the rules. In a recent post on their blog, Printed Solid has announced they are ending their relationship with Chinese manufacturer Creality, best known for their popular CR-10 printer. Creality produces a number of printers which make use of Marlin, a GPLv3 licensed firmware that runs (in some form or another) a large majority of desktop 3D printers. But as explained in the blog post, Printed Solid has grown tired with the manufacturer’s back and forth promises to comply with the viral aspects of the GPL license.

Rather than helping to support a company they believe is violating the trust of the open source community, they have decided to mark down their existing stock of Creality printers to the point they will be selling them at a loss until they run out. In addition, for each Creality printer that is sold Printed Solid has promised to make a $50 USD donation to the development of Marlin saying: “if Creality won’t support Marlin development then we will.”

As is often the case when tempers are high and agreements break down, Printed Solid has also pulled back the curtain a bit as to the relationship they have had thus far with the manufacturer. According to the blog post, Printed Solid claims that some models of Creality printers have had a 100% fault rate, and that the company needed to repair and tweak the machines before sending them out to customers. The not so subtle implication being that Creality printers have been benefiting from the work Printed Solid has been doing on their hardware, and that purchasing a unit direct from the manufacturer could be a dicey proposition.

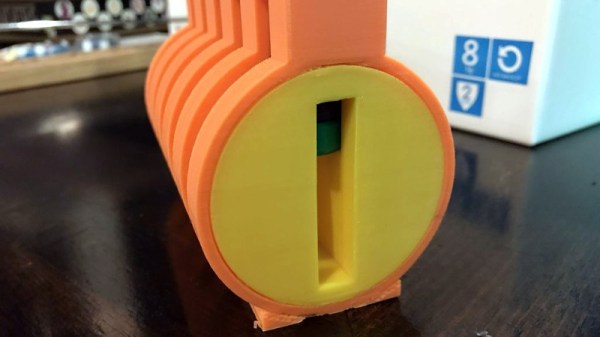
We’ve previously covered an issue with Creality’s CR-10S printer that required the end-user to replace an SMD capacitor just to get reliable results out of the machine, and of course we’ve talked of the extra work that’s often required when wrangling a low-end Chinese printer. It’s even more disheartening when you realize cheap machines sold by shady manufacturers are pushing open source manufacturers out of business.

FOSSCON 2018: Hacking The Indego Bike Sharing API

It’s often said that necessity of the mother of invention, but as a large portion of the projects we cover here at Hackaday can attest, curiosity has to at least be its step-mother. Not every project starts with a need, sometimes it’s just about understanding how something works. That desire we’ve all felt from time to time, when we’ve looked at some obscure piece of hardware or technology and decided that the world would be a slightly better place if we cracked it open and looked at what spilled out.

That’s precisely the feeling Eric O’Callaghan had when he looked out the window of his Philadelphia apartment a few years back and saw something unusual. Seemingly overnight, they had built an automated Indego bike sharing station right across the street. Seeing the row of light blue bicycles sitting in their electronic docks, he wondered how the system worked, and what kind of data they might be collecting. He didn’t need to rent a bike, he hadn’t even ridden one in years, but he suddenly had a strong urge to go across the street and learn as much as he could about this system.

He recently presented those findings during FOSSCON 2018 at the International House in Philadelphia, in the hopes that others might be interested in getting involved. Currently Eric is one of the only people who’s investigating the public data Indego offers, and as his personal MySQL database has now surpassed 15 million rows of data, he’s hoping to get some developers with big data experience into the fray. His approach to making this data useful is an interesting one which I’ll dive into after the break.

Continue reading “FOSSCON 2018: Hacking The Indego Bike Sharing API”

An Arduino Watch Without A Clock

When you show up at a party wearing this bare PCB watch, there are effectively two possible reactions you might receive from the other people there. Either they are going to snicker at the nerd who’s wearing a blinking circuit board on their wrist in public, or they are going to marvel at the ridiculously low part count. We’ll give you one guess as to which reaction you’d likely get at any event Hackaday is involved in.

Designed and built by [Electronoobs], this extremely simple watch consists of a ATmega328P microcontroller, a dozen LEDs with their associated 200 Ω resistors, and a battery. There’s also a single push button on the front which is used to not only set the watch, but turn the LEDs on when you want to check the time. Short of dropping down to one LED and blinking out the time, it’s hard to imagine a timepiece with fewer components than this.

You’re probably wondering how [Electronoobs] pulled this off without an external clock source for the ATmega328P chip. The chip actually has an internal 8 MHz oscillator that can be used, but you need to flash the appropriate bootloader to it first. Accordingly, the backside of the PCB has both SPI and a UART solder pads for external bootloader and firmware programming.

As you might expect, there’s a downside to using the internal oscillator: it’s not very good. The ATmega328P spec sheet claims a factory calibrated accuracy of ±10%, and [Electronoobs] has found that equates to a clock drift of around 15 seconds per day. Not exactly great, but considering the battery only lasts for two days anyway, it doesn’t have much of an impact in this case.

Compared to other “analog” LED watches we’ve seen, the simplicity of this build is really quite remarkable. The closest competitor we’ve seen so far is this slick binary watch.

Continue reading “An Arduino Watch Without A Clock”

Using Modern Nintendo Controllers On The C64

There are plenty of people out there who still enjoy playing games on vintage computers like the Commodore 64. But while they likely return to these classic games themselves out of a sense of nostalgia, the feeling doesn’t always extend to the hardware itself. For example, one can enjoy playing Impossible Mission without having to use a contemporary C64 joystick.

Thanks to an open source project developed by [Robert Grasböck], C64 owners who want to take advantage of the improvements made to gaming controllers in the nearly 40 years since the system’s release now have another option. Called Nunchuk64, it allows you to use various Nintendo controllers which make use of the Wii “Nunchuk” interface on original C64 hardware. This includes the controllers from the recent “Classic Edition” NES and SNES systems, which offer a decidedly retro feel with all the benefits of modern technology and construction techniques.

Both the hardware and software for Nunchuck64 are open source, and everything you need to build your own version is in the project’s repository. [Robert] even has assembly instructions, complete with images, which walk you through building your own copy of the hardware and flashing the firmware onto it. This is a nice touch that we very rarely see even in open source projects. The board is populated with a ATmega328P microcontroller and a handful of passive components, making assembly fairly straightforward assuming you are comfortable with SMD work.

Bringing more modern controllers to classic systems seems to be gaining popularity recently, within the last few months we’ve seen Xbox 360 controllers on the Nintendo 64, and newly manufactured pads for the Atari 5200.

Continue reading “Using Modern Nintendo Controllers On The C64”

Toil In Style With Salvaged Porsche Office Chairs

It seems as if everyone has finally decided to stop pretending that standing in front of a desk for 8+ hours was something anyone actually wanted to do, and once again embrace the classic adjustable office chair. But whether you’re writing code in a cubicle or are one of those people who apparently makes a living by having people watch them play video games, one thing is certain: your chair needs to be cool enough to make up for the years shaved off your life by sitting in it all day.

Case in point, these chairs that were made out of seats salvaged from a Porsche 996 by [Colby Newman]. You might never be able to afford the car they came out of on your salary, but at least you can pretend you’re power shifting into fifth while doing your TPS reports.

The first step, and arguably the most important one, was getting the seats from a Porsche. [Colby] wisely cautions the reader that they should avoid seats with air bags, as the last thing you want is your chair to explode while you’re streaming Fortnite. This is especially true if you are looking to salvage the seats yourself from the junkyard, as special care needs to be taken on how you remove them from the vehicle.

Assuming you got the seat without blowing yourself up, the next step is to mate it to the adjustable base. This part is going to depend on the make and model of vehicle you got the seats out of, but in this case it was fairly easy to use some flat steel bars to adapt the tubular frame of the Porsche’s seat to the base from the donor office chair. [Colby] put everything together with nuts and bolts, but this could potentially be an excuse to drag out the welder.

We’ve previously seen the driver seat salvaged from a wrecked car for use in a simulator, and a standard office chair upgraded with force feedback. We wonder who will be the first to combine all these ideas into one ultimate office racing chair…

An Incredible ATX Amiga 4000 Motherboard

No matter how far modern computer hardware advances, there’s still a fairly large group of people who yearn for the early days of desktop computing. There’s something undeniably appealing about these early systems, and while even the most hardcore vintage computer aficionado probably wouldn’t be using one as their daily computer anymore, it’s nice to be able to revisit them occasionally. Of course the downside of working with computers that may well be older than their operators is that they are often fragile, and replacement parts are not necessarily easy to come by.

But thanks to projects like this impressive ATX Amiga 4000 motherboard shown off by [hese] on the Amibay forums, getting first hand experience with classic computing doesn’t necessarily mean relying on vintage hardware. By making an Amiga that’s compatible with standard ATX computer cases and power supplies, it becomes a bit more practical to relive the Commodore glory days. Right now it’s mainly a personal project, but if there’s sufficient interest it sounds as if that might change.

This board could be considered a modern reincarnation of the Amiga 4000T, which was an official tower version of the standard Amiga 4000 released by Commodore in 1994. It features a 68030 CPU, with 16 MB Fast RAM and 2 MB Chip RAM. For expansion there are four full-length Zorro III slots and three ISA slots, as well as IDE ports for a floppy and hard drive.

The board really looks the part of a professionally manufactured computer motherboard from the late 1990s, which speaks not only to the attention to detail [hese] put into its design, but the manufacturing capabilities that are now available to the individual. With passionate people like this involved, it’s hardly surprising that the vintage computer scene is so vibrant.

Of course, this isn’t the first newly built “vintage” computer we’ve seen here at Hackaday. From bare-minimum 8085 computers to the comparative luxury of the 6502-powered Cactus, it seems like what’s old is new again.

[Thanks to Laurens for the tip.]

Giant 3D Printed Lock Helps Teach Picking

Despite what the media might tell you, picking locks isn’t just for spies and guys wearing balaclavas. Those who pick as a hobby, or even competitively, think of locks as logic puzzles. Each lock is a unique challenge, and defeating it requires patience, dexterity, and perhaps most importantly the experience that comes from regular practice. But where does one start if they want to get into the world of recreational lock picking, also known as locksport?

Many people begin their journey on a practice lock, usually made of clear plastic so you can see its inner-workings. That’s fine for the individual, but what if you’re trying to demonstrate lock picking to a group? [John Biggs] may have the solution for you, assuming you’ve got the time and material. His huge 3D printed cutaway lock, and appropriately sized tools, allow even the folks in the back of the room to see how basic picking techniques work.

A print of this size is nothing to sneeze at; a quick peek on the reference printer here at the Hackaday Chamber of Secrets indicates you’re probably looking at the better part of 20 hours to print everything out. Once printed you’ll likely need to take a file and some sandpaper to all the surfaces to make sure things operate smoothly. It doesn’t appear to be a terribly challenging print all things considered, but we wouldn’t call it a beginner’s project either.

The only non-printed part in this design is the springs, which [John] mentions he hasn’t quite found the solution for yet. They need to be fairly weak or else the lock is too hard to pick, but springs large enough to work with the pins are usually pretty strong. This might be a perfect application for some custom wound springs.

After you’ve mastered the PLA lock, it might be time to make your own picks and see if anyone is giving free lock picking workshops in your area.