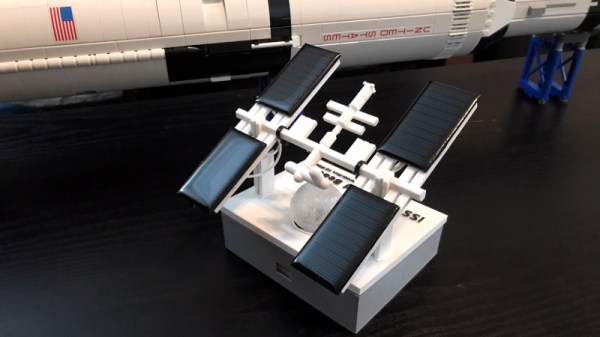
Over the years, we’ve seen a number of projects that can blink an LED or otherwise notify you when the International Space Station is overhead. It’s a neat trick that brings space a little closer to home, but not exactly a groundbreaking achievement in 2020. That said, we think this version built by [Lance] deserves some special recognition for the unbearably adorable miniature ISS he designed it around.
 Especially once you realize that its tiny little solar panels are actually functional. Well, more or less. [Lance] says conditions have to be pretty ideal for the panels to actually charge up the internal battery, so there’s the option to top things off with a USB cable if need be. To try and reduce power consumption as much as possible, he uses some pretty aggressive power saving tricks which are interesting in their own right.
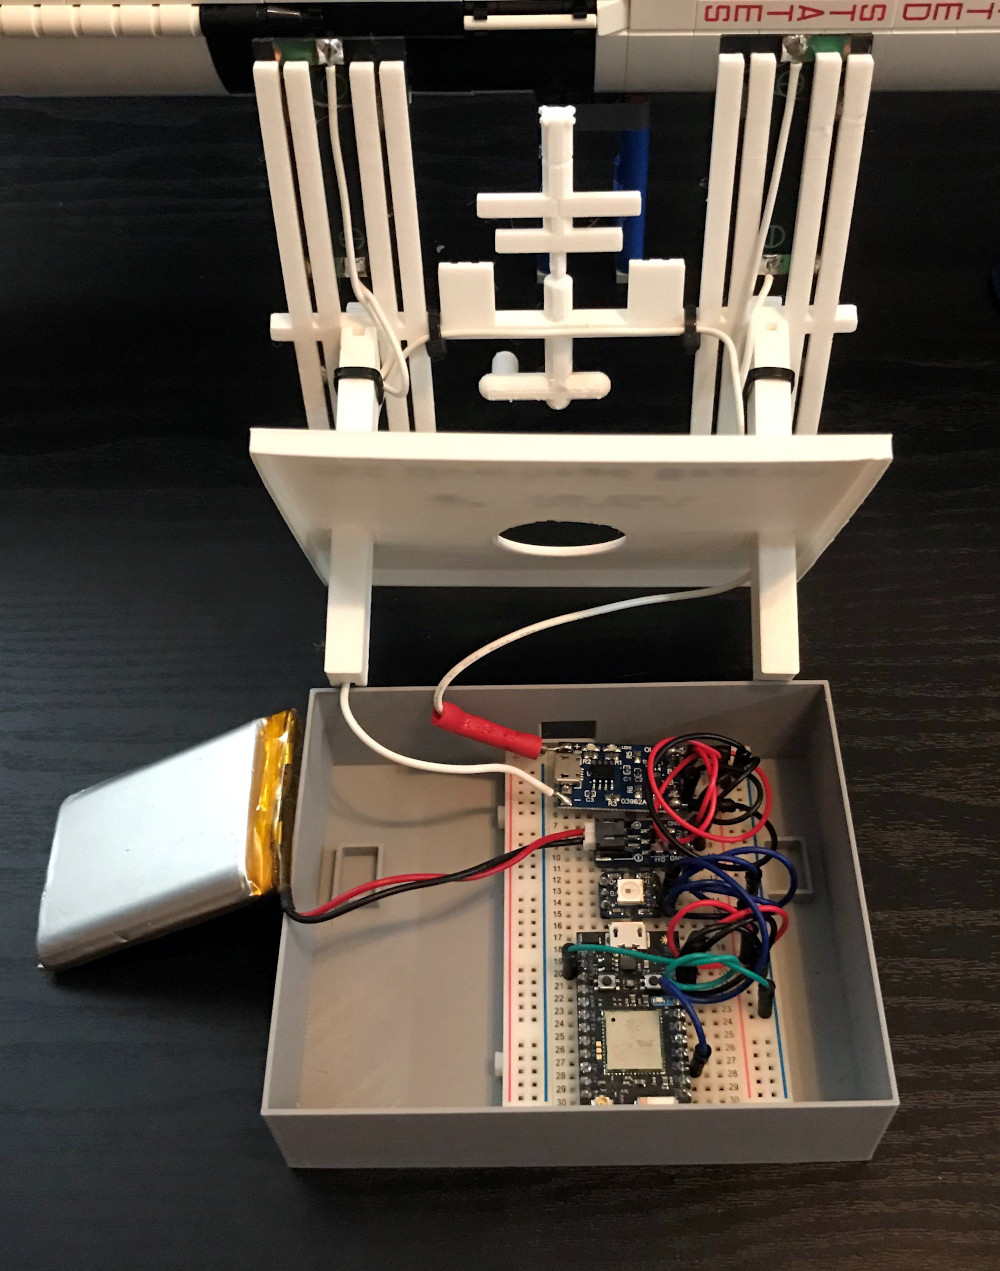
As the ISS silently passes over your head several times per day, the notifier can’t spend too much time sleeping on the job. The Particle Photon needs to wake up regularly to pull down the time of the next pass given the current geographical position, then go back to sleep until right before showtime. When the Station is nearby, it blinks an Adafruit Smart NeoPixel positioned under a small 3D printed model of the Earth, and finally goes back to sleep until the process starts over.
If you’re looking for something a little less complicated, this two dimensional representation of the Space Station might be more your speed. Then again, an even more complicated take on the idea using lasers sounds pretty good too.