Sometimes connectivity problems go away by power cycling a router. It’s a simple but inconvenient solution to a problem that shouldn’t exist, but that didn’t stop [Mike Diamond] from automating it for a few bucks in parts. The three-dollar router rebooter may be a simple device with only one job, but it’s well documented and worth a look.
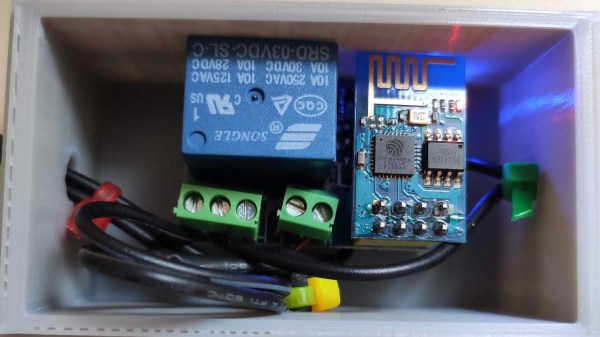
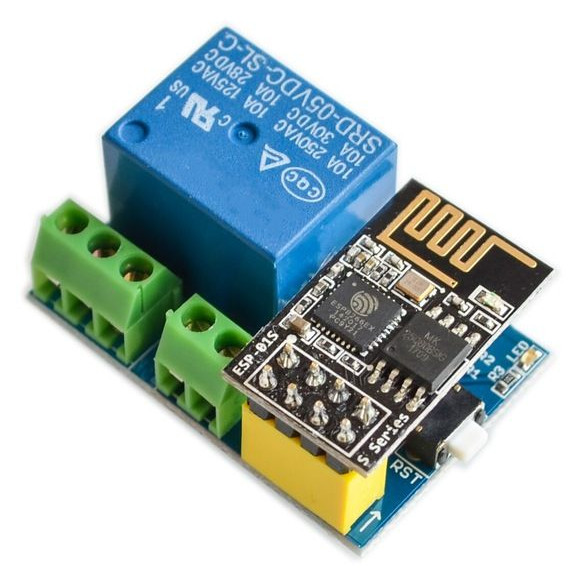 The device is an ESP8266 board configured to try to reach Google periodically via the local wireless network. If Google cannot be reached, the board assumes a reboot is needed and disconnects the 12 V power supply from the router by using a relay. Then, after a delay, power is re-connected and all of one’s problems are over until the next time it happens. [Mike] used a relay module that has built-in screw terminals and a socket for the ESP8266-01, so it looks like the whole device can be put together without soldering a thing.
While the code for making this happen may sound trivial, [Mike] nevertheless delves into documenting it. It makes a great example of how to implement a simple event-driven finite state machine in a way that’s clear and concise. By structuring the code so that there is a finite number of specific states the device can be in (router power on, router power off, and testing connection) and by defining exactly how and when the device switches between those states, operation and troubleshooting becomes a much more manageable job. Another great example is this IoT Garage Door Opener project. If you’re programming devices that interface to physical things, these techniques are definitely good practice.